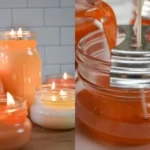

Celebrate Fall with Easy Jar Candles
Imagine this: the leaves are turning a golden hue, a soft chill is in the air, and you find yourself wrapped in a cozy blanket, sipping on a warm beverage. What better way to complement this autumnal bliss than with the scents of orange, cinnamon, and thyme wafting through your home? That’s the beauty of easy jar candles. These aren’t just candles; they’re an experience that brings warmth and cheer into your space, making it feel like a snug haven.
We’ve all been there, looking for quick ways to elevate our home ambiance, especially during the fall season when everything seems to slow down and invite more relaxation. Creating your very own jar candles is an easy and joyful way to enhance your self-care routine. Plus, it’s a wonderful activity that encourages creativity and mindfulness—two important components of any wellness journey.
Let’s dive into how you can create these delightful fall-inspired jar candles, making your home smell divine and your spirit feel uplifted.
Why Jar Candles Are Perfect for Fall
When thinking about home fragrances, nothing quite beats the combination of warm spices and citrusy notes as the weather cools down. Here’s why making your own candles in jars is a must for fall:
1. Control Over Ingredients
Unlike mass-produced candles, when you make your own, you get to choose the ingredients. This allows you to avoid harmful chemicals that can be found in many commercial candles. You can select natural waxes, eco-friendly materials, and pure essential oils.
2. Customization of Scents
You’re not locked into store-bought fragrances, which may not resonate with you. Want to amplify the cinnamon? Maybe add just a touch of vanilla? Go for it! Tailoring the scent to your preferences ensures your home feels uniquely yours.
3. A Family Activity
This is not just about creating candles. Imagine gathering your kids or friends around the kitchen table, chatting, and bonding while getting creative! It can become a cherished fall tradition.
4. Thoughtful Gifts
These candles make excellent gifts for friends and family. They not only smell incredible but also showcase the effort and love that went into making them.
5. Budget-Friendly
Store-bought jar candles can be pricey, especially those that use quality ingredients. By making them at home, you can save some cash while crafting multiple candles to enjoy and gift.
Simple Steps to Make Your Own Fall-Inspired Jar Candles
Here’s the truth: making candles at home is easier than it sounds. Let’s break it down into simple steps. We’ll focus on the aromas of orange, cinnamon, and thyme—a combination that perfectly embodies the cozy vibes of fall.
Gather Your Supplies
Before you get started, make sure you have everything you need. Here’s the list:
- Wax: You can use soy wax, beeswax, or paraffin wax. Soy is a popular choice as it burns cleanly.
- Wicks: Look for cotton or wood wicks in various lengths.
- Essential Oils: For this recipe, you’ll need sweet orange essential oil, cinnamon stick oil, and thyme oil.
- Containers: Glass jars are an attractive option, but you can also repurpose old candle jars or even use mason jars.
- Double Boiler: This is for melting your wax. If you don’t have one, you can create your own using a pot and a heat-safe bowl.
- Thermometer: Essential for checking the wax temperature.
- Stirring Stick: A wooden stick or a spoon works just fine.
Step-by-Step Guide to Candle Making
1. Melt the Wax
Start by chopping your wax into smaller pieces for quicker melting. Fill your double boiler with water and set it to medium heat. Place the wax in the top pot, letting it melt slowly. Stir occasionally until it’s completely liquefied.
2. Add Your Scents
Once the wax has melted, let it cool slightly to around 185°F (85°C) before adding your essential oils. You’ll want approximately 1 ounce of essential oil per pound of wax. In this case, mix equal drops of sweet orange, cinnamon, and a touch of thyme—let’s say about 20 drops of each for a delightful blend.
3. Prepare the Containers
While your wax is cooling, secure the wicks in the center of your jars. You can do this by dipping the base of the wick in melted wax and sticking it to the bottom of the jar or using a wick holder.
4. Pour the Wax
When the wax temperature has cooled to around 140°F (60°C), it’s time to pour! Slowly fill your jars with the melted wax. Leave some space at the top for leveling. This step is crucial, as pouring too hot can create holes in your candle.
5. Let Them Set
Allow the candles to cool completely (this can take a few hours). Once they’re solid, trim the wicks to about 1/4 inch above the wax, and your candles are good to go!
Bonus Tips for Candle Perfection
- Experiment with Colors: Want to make it more festive? Add natural dye to give your candles a lovely autumn hue.
- Layer It: You can create layers by pouring different colors of wax separately.
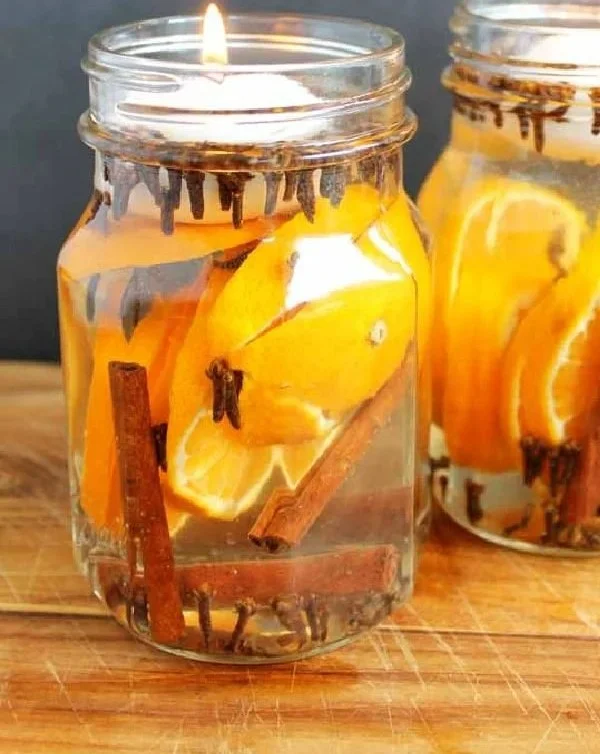
- Add Real Ingredients: You might also consider adding cinnamon sticks or dried thyme for added texture and fragrance.
Common Mistakes to Avoid
Let’s be honest: I’ve made my fair share of mistakes in candle making. Here are some things to avoid, so you don’t have a candle disaster on your hands:
- Using Too Much Scent: While the smell can be tempting, overdoing it can lead to a disappointing burn. Stick to the recommended amount.
- Not Prepping the Wick: If your wick isn’t secured well, it can end up leaning to one side, resulting in uneven burning.
- Pouring Wax Too Hot: A temperature that’s too high can cause the wax to shrink and create air pockets once cooled.
FAQs About Candle Making
Can I use other types of wax?
Absolutely! Beeswax and palm wax are great alternatives if you’re looking for natural options. Each type has its unique properties and scent throw.
How long do homemade candles last?
With proper care and storage, your candles can last up to a year. Just keep them in a cool, dry place away from direct sunlight.
Can I use food-grade essential oils?
Sure thing! Just ensure they’re safe for burning and have not undergone any chemical processing that might change their properties.
Embrace More Fall Self-Care Ideas
Now that you’ve got the candles sorted, let’s keep that fall self-care momentum going. Here are some enchanting self-care ideas to blend seamlessly with those delightful scents:
- Arrange a Cozy Reading Nook: Grab those cozy blankets and pillows. Settle down with a cup of herbal tea and a new book.
- Bake Seasonal Treats: Why not whip up some pumpkin spice muffins? The smells will pair beautifully with your candle scents.
- Plant Some Herbs: If you’re feeling adventurous, try planting some thyme or rosemary. They’re not just aromatic; they’re also great for cooking!
- Have a Spa Day at Home: Light your candles while enjoying a soothing bath or a homemade facial treatment. It enhances every moment of relaxation.
Conclusion
So there you have it—the world of homemade jar candles awaits, bringing the essence of orange, cinnamon, and thyme right into your home. It’s not just about creating a lovely fragrance; it’s a celebration of all that fall embodies. By making these candles, you’re embracing a healthier, more natural approach while also kindling creativity and connection.
As the air gets crisper and the colors change, let the warmth of these candles ignite those feelings of coziness, mindfulness, and joy. You’ve got this! Trust me, you won’t regret taking the time to cultivate this beautiful autumn ritual. So, grab your supplies and get crafting—you might just find that the process of making your jar candles becomes your favorite self-care ritual of the fall season.