
Embrace Your Creative Side by Making Candles at Home
Imagine this: You’re winding down after a long day, surrounded by the warm glow of flickering candlelight, the air infused with delightful scents that soothe your soul. Doesn’t it sound blissful? Candles have a way of transforming a simple space into a relaxation haven. But here’s the truth—you don’t have to splurge on expensive store-bought candles to achieve that cozy atmosphere. With a little patience and creativity, you can make your own candles right at home! This DIY project not only lets you express your personal style but also serves as a wonderful self-care activity that you can share with your family, especially your kids if you’re looking for a fun weekend project.
Why Candle Making is a Great Craft for Self-Care
Candle making is more than just a creative outlet; it’s a meditative process. You’re mindfully engaging with each step, from choosing the scent to pouring the wax. It’s a bit like skincare—thoughtful, intentional, and deeply satisfying. Plus, the end result? Beautiful, personalized candles that brighten up your life.
Let’s get started! Here’s everything you need to know to make your very own candles at home.
Gather Your Supplies
To begin, you’ll need to assemble some basic supplies. Here’s a quick checklist to ensure you have everything you need before you dive in:
- Wax: Choose between soy, paraffin, or beeswax. Soy is great for beginners as it’s easy to work with.
- Wicks: Make sure they’re appropriate for the type of wax you choose.
- Containers or molds: Think outside the box—old mason jars, teacups, or even small bowls can work!
- Double boiler: You’ll need this for melting the wax.
- Thermometer: To ensure the wax is at the correct temperature for pouring.
- Fragrance oils: This is where you can really express yourself!
- Color dyes: Optional, but a fun way to add some flair.
- Stirring sticks and measuring cups: For precise measurements and mixing.
Create Your Workspace
Before you start pouring wax, let’s talk about setting up your workspace.
Find a clean flat surface where you feel comfortable and won’t be interrupted. Lay down old newspapers or a silicone mat to catch any spills. You wouldn’t want to ruin your favorite table or countertop, right?
You might be wondering why setting up your space is so important. Well, you’ll want things to be organized and accessible as candle making requires you to be focused yet spontaneous. Trust me, it makes the whole process smoother and more enjoyable.
Measure the Wax
Sounds simple, right? But it’s crucial to measure your wax accurately.
Here’s a quick tip: A good rule of thumb is to use about 1 ounce of fragrance oil for every pound of wax. You might be tempted to use more for a stronger scent, but too much can mess with the wax’s performance—your candles may not burn properly.
Melt the Wax
Once you have your wax measured, it’s time to melt it.
- Place your wax in the top part of the double boiler and fill the bottom part with water.
- Heat the water on low, stirring occasionally. It’s best to keep an eye on the temperature—ideally, you want it to reach around 170 to 180 degrees Fahrenheit.
- Once the wax is melted, let’s infuse it with some lovely scents.
Add Fragrance and Color
Here comes the fun part!
Once your wax is melted, you can add your favorite fragrance oil. Remember, this is your chance to set the mood! Whether you’re feeling floral, fruity, or spicy, the options are nearly endless. Gently stir in your fragrance for about two minutes to ensure it’s evenly mixed. If you want to add color, this is the time! A little goes a long way, so start with a drop and go from there.
Prepare Your Wicks
While the wax is cooling a little, it’s time to get your wicks ready.
- Pre-cut your wicks to the right length, making sure they’re slightly taller than your container.
- Secure the wick in the center of your container using a wick sticker or a dab of melted wax.
- You might want to use a wick holder (like a pencil or chopstick) to keep the wick upright while pouring.
Pour the Wax
Now that everything is prepped, it’s time for the pour!
- Allow the melted wax to cool to about 160 degrees Fahrenheit before pouring. This helps prevent any discoloration or sinkholes in your candles.
- Slowly pour the wax into your container, leaving a little space at the top.
- Hold the wick in place, and don’t forget to keep stirring as you pour—you want to ensure that the fragrance is evenly distributed throughout the wax.
Let Your Candles Set
Sound familiar? Waiting can be the hardest part. But here’s a pro-tip—be patient!
Let the candles cool at room temperature for several hours. Once they are fully set (you’ll know when the surface is smooth and hard), you can trim the wick to about ¼ inch.
Your Candles Are Ready
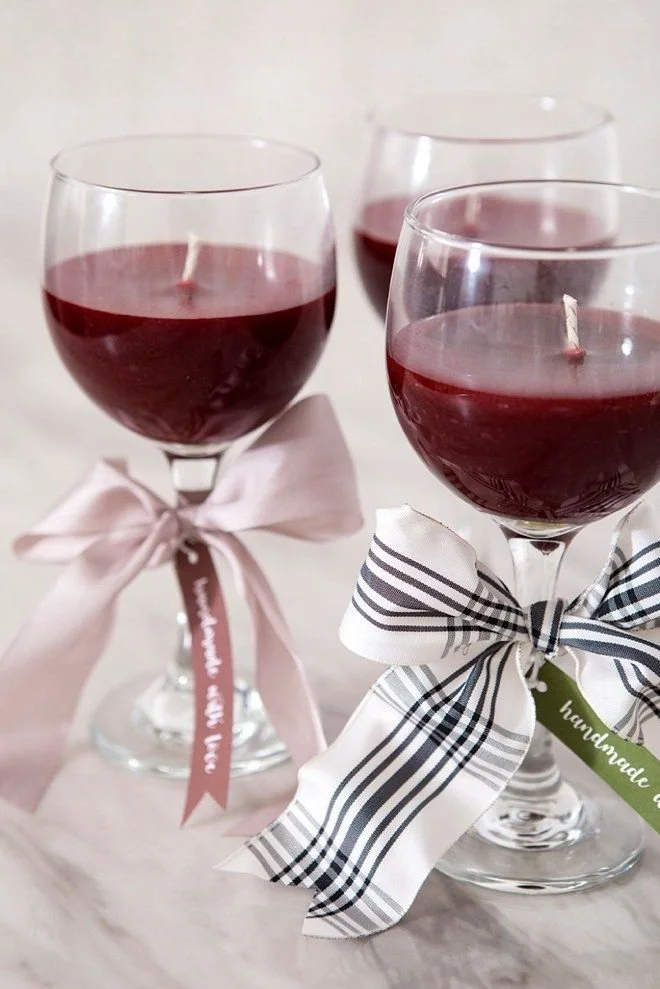
After all that hard work, your candles will be ready to burn, or you can package them up as thoughtful homemade gifts for friends and family. You might even consider adding cute labels or wrapping them up in beautiful paper.
Common Mistakes to Avoid
Before diving into candle-making, let’s chat about a few pitfalls to watch out for:
- Skipping wick testing: Not every wick works well with every wax. Always test one to ensure a good burn.
- Pouring too hot: If you pour your wax when it’s too hot, you might end up with cracks or holes in your candles.
- Using too much fragrance: Less is often more. Too much can lead to a weaker scent throw or improperly burning candles.
Bonus Self-Care Ideas
After you’ve made your candles, you might be wondering how else you could indulge in some self-care. Here are a few ideas:
- Create a cozy reading nook: Light your freshly made candles and curl up with a good book.
- Pamper yourself with a mask: Treat yourself to a sheet mask while you enjoy the soothing ambiance.
- Take a relaxing bath: Add your candles to the bath for a spa-like experience at home.
Conclusion
Creating your own candles is a beautiful and rewarding experience that doubles as a perfect form of self-care. It allows you to tap into your creativity, create a soothing atmosphere, and indulge your senses. So, the next time you’re looking for a way to unwind or a fun family activity, consider making your own candles. Trust me, once you see those candles flickering and filling your space with your chosen scent, you’ll feel accomplished and at peace.
Remember, we all need a moment to breathe and treat ourselves, so let candle making light the way to your self-care journey. You’ll not only enrich your living space but also create something special that has your own personal touch. So go ahead, grab those supplies, and let your creativity shine!