
Creating Special Holiday Gifts with Homemade Soy Candles
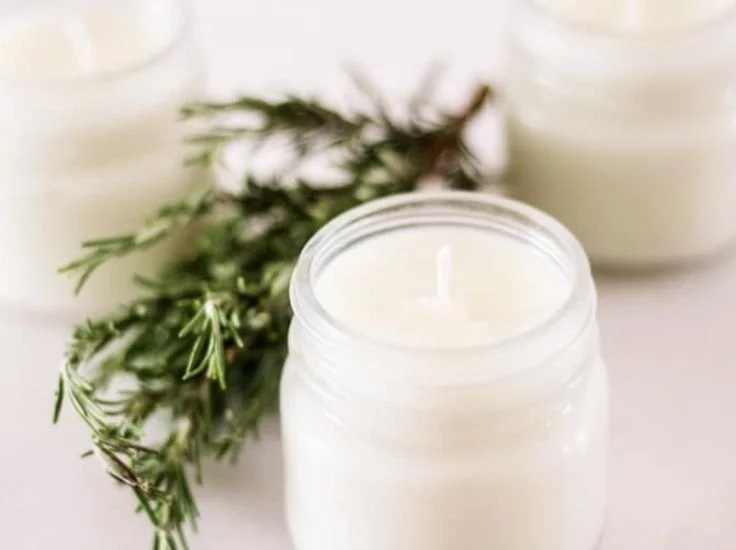
Imagine this: the holiday season is in full swing, and you’re caught up in the hustle and bustle of gift shopping. You’re trying to find that perfect present, but nothing feels special enough. Sound familiar? We’ve all been there, searching aisles filled with generic gifts that just don’t capture the essence of what we want to express. This year, why not try your hand at something truly unique? A homemade soy candle, infused with the uplifting scents of rosemary and mint, not only warms the atmosphere but also conveys a personal touch that store-bought gifts simply can’t match.
Here’s the truth: DIY gifts show love and thoughtfulness. They say, “I care enough to have put in the time and effort.” So, who wouldn’t want to light these lovely candles in their home or gift them to friends? This rosemary mint candle, scented only with pure essential oils, is one of the easiest DIY projects you can dive into, and I promise you’ll have a blast making it!
Why Soy Candles Are a Great Choice
Before we jump into the how-to, let’s chat a bit about why you should choose soy candles for your DIY project. Soy wax is:
- Eco-Friendly: Made from natural soybeans, it’s biodegradable and a renewable resource.
- Cleaner Burning: Soy candles produce less soot compared to traditional paraffin candles, making them a healthier choice for indoor air quality.
- Long Lasting: Soy wax burns slowly, meaning your candles will last longer – perfect for holiday use.
If you’ve ever burned a candle and felt that sense of calm wash over you, you know how magical scents can be. Imagine creating that experience for someone special.
What You’ll Need for Your Rosemary Mint Candle
Ingredients and Supplies
Gather these essentials before you dive in:
- Soy wax flakes (1 lb)
- Essential oils: rosemary and peppermint (roughly 20-30 drops each)
- Candle wicks (preferably cotton or wooden wicks)
- Glass containers (jars, old teacups, or metal tins)
- Double boiler or saucepan with a heat-safe bowl
- Thermometer
- Wooden spoon or crafting stirrer
- Wick holders (optional, but super handy)
Choosing Your Containers
Let’s talk about containers for a minute. The beauty of DIY candles is that you can use practically any heat-safe container! Old glass jars, metal tins, or even decorative cups you find at thrift stores can make your candles stand out. This personal touch can transform something ordinary into a charming centerpiece or thoughtful gift.
Step-by-Step Guide to Making Your Candle
Step 1: Prepare Your Workspace
First, clear a space on your counter or table. Candlemaking can be a bit messy, so using newspaper or old towels can help catch any wax spills.
Step 2: Measure and Melt the Soy Wax
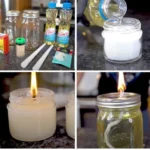
Now, let’s get our hands a little waxy! Measure about 1 pound of soy wax flakes, which should fill approximately 3—4 small jars, depending on their size.
- Fill your double boiler with water and bring it to a simmer.
- Place the soy wax in the top bowl or pot of your double boiler.
- Stir occasionally while watching the temperature. You want it to melt completely, reaching about 170°F.
Step 3: Add Your Essential Oils
Once the wax is completely melted, take it off the heat. This is the moment when your candle dreams turn into reality!
- Let the wax cool to about 160°F before adding your essential oils. The reason for this cooling step is to prevent any scent from burning off when you pour it into the containers.
- Add 20-30 drops each of rosemary and peppermint essential oils. Now, stir gently but thoroughly to incorporate the oils evenly.
Step 4: Get Your Wick Ready
While your wax cools a bit more, let’s prepare the wicks.
- Secure the wick to the bottom of each container using a bit of melted wax or super glue. This way, when you pour your wax, the wick won’t float around.
- If you have wick holders, you can use these to hold the wick centered at the top of the container as the wax cools.
Step 5: Pour the Wax
You’re almost at the finish line!
- Carefully pour the melted wax into your prepared containers. Leave a little space at the top; you don’t want it overflowing!
- If you notice any air bubbles, you can gently tap the sides of the container to help release them.
Step 6: Let Them Set
Now for the hardest part: waiting! Allow the candles to set undisturbed at room temperature for about 4—6 hours, or until they’re completely solid.
Step 7: Trim the Wicks
Once your candles are set, it’s time to trim the wicks. You want the wick to be about 1/4 inch above the wax surface. This ensures a good burn when it’s time to light them up.
Optional Step: Add Personal Touches
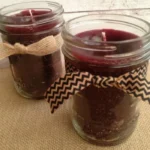
Here’s where you can really showcase your creativity. You could add labels or decorative twine around your jars, or even attach a little card with burning instructions and a personal message. Imagine how lovely it would be to gift one of these to your neighbor or best friend!
Common Mistakes to Avoid While Making Candles
Even the most seasoned DIY-ers can run into some hiccups while making candles. Here are a few common mistakes and how to avoid them:
Pouring Too Hot: Always let the wax cool a bit before pouring. Too-hot wax can crack your containers or burn off the essential oil scents.
Using Too Much Scent: While it’s tempting to add extra essential oil for a strong scent, it can actually hinder the candle’s performance. Stick to the recommended amount for the best results.
Wick Issues: Too short or too long wicks can cause burning problems. Always trim to about 1/4 inch before lighting.
Too Rapid Cooling: Avoid placing your freshly poured candles in the fridge or freezer to speed up the setting process. This can cause cracks or a strange texture on top.
Not Allowing the Candle to Cure: Letting your candles cure for a few days before burning can help the scent reach its full potential.
Bonus Self-Care Ideas to Pair with Your Candles
Creating these special candles can be a delightful self-care activity, but why not add a few more layers of relaxation? Create a cozy, aromatic atmosphere in your home with these ideas:
Host a Candle Making Party: Gather your friends for a fun afternoon of crafting. Pair it with some herbal tea and holiday treats for the perfect cozy vibe.
Set Up a Relaxation Corner: Once your candles are made, design a little nook with blankets and cushions, light those candles, and take time for yourself.
Incorporate Aromatherapy: Light your candle during meditative practices or yoga sessions for an elevated relaxation experience.
Combine with Bath Rituals: Light your candles while soaking in the tub for an indulgent self-care moment. Add some Epsom salts or your favorite bath oils for an extra touch of luxury.
Fun FAQs About Candle Making
How long do homemade candles last?
When stored correctly, homemade soy candles can last up to 1-2 years. Just keep them in a cool, dry place.
Can I use different scents?
Absolutely! Get creative with scents that resonate with you or the person you’re gifting to. Just make sure they’re compatible.
Do I need special tools for candle making?
While some tools can make the process easier, you can use common household items (like a saucepan) to get started.
What if my candles look imperfect?
Every candle shows its own personality! Embrace the unique characteristics of your creations, and remember that beauty often lies in the imperfect.
Conclusion
As the holiday season approaches, creating your own rosemary mint soy candles is more than just a crafty project; it’s a way to express love and care without saying a word. You’ve not only crafted unique gifts that warm both the body and spirit but also fostered a little self-care moment for yourself in the process. Just think of the joy lighting those candles will bring—both for you and for the special people in your life.
So, gather those supplies and get started! This holiday season, let’s gift something special, something personal, and something that smells just divine. Remember, the simple act of creating can be the most rewarding gift of all. Happy crafting!