
How to Make Homemade Candles in 5 Easy Steps
Imagine this: It’s the holiday season, and the air is filled with the scent of pine and cinnamon. You’re scrolling through social media, admiring the gorgeously packaged gifts that friends are sharing. You love the idea of giving a thoughtful present, but the thought of spending a fortune on store-bought items makes you cringe. Doesn’t it seem daunting to pull off chic gifting without breaking the bank?
Here’s the truth: making homemade candles is a fabulous way to spread joy, and it’s way easier than you might think. You’ll not only impress your teachers, co-workers, or neighbors with these gorgeous, personalized gifts, but you’ll also enjoy the satisfaction of a DIY project that feels so rewarding. So let’s dive right into how to create beautiful homemade candles in just five easy steps!
Gather Your Candle-Making Supplies
Before we get into the nitty-gritty of candle-making, let’s talk about what you need. Don’t worry; you probably have most of these items lurking in your cabinets or can find them at a nearby craft store.
What You’ll Need:
- Wax: You can choose between paraffin, soy, or beeswax. Soy is my personal favorite because it’s eco-friendly and burns longer.
- Wicks: Look for the right size wicks depending on your container size. Longer wicks can be trimmed.
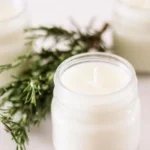
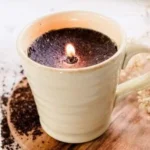
- Containers: Transform old glass jars, tea cups; the options are endless. Think cute and charming!
- Fragrance oils: Choose scents that resonate with you or the recipient. Lavender, vanilla, and citrus are all wonderful aromas.
- Colorants: Optional, but they can make your candles visually stunning. A little goes a long way!
- Double boiler: This is crucial for melting your wax safely.
- Thermometer: Keeping track of the temperature is key for optimal scent throw.
- Stirring utensil: Wooden sticks or metal spoons work perfectly.
Quick Tip:
If you’re unsure about selecting your wax, remember that soy is a great beginner option and is typically cruelty-free!
Step One: Prepare Your Space
This might sound simple, but taking the time to set up your candle-making station can really enhance your experience. Choose a flat, clutter-free surface—think kitchen table or countertop. It’s best to cover the area with newspaper or a tablecloth to catch wax spills.
Make sure you have all your supplies within reach. Picture this as your own crafting sanctuary where creativity flows freely. Trust me, a clean space equals a clear mind!
Step Two: Melt the Wax
Now for the fun part! Let’s get those candles started.
- Fill the bottom pot of your double boiler with water and place it on the stove, bringing it to a simmer.
- Measure out your wax—calculate about one cup of wax for a standard-sized candle.
- Add this wax to the top pot. Don’t rush this step; patience is key. The wax should melt slowly until it reaches about 170°F (76°C).
- Stir occasionally to help it along.
Common Mistake to Avoid:
Never leave the wax unattended while it melts! It can scorch if allowed to heat too quickly.
Step Three: Add Fragrance and Color
Once melted, it’s time to add that irresistible scent. Here’s where you can really personalize each candle:
- Remove the melted wax from heat and let it cool to about 160°F (71°C).
- For a strong scent, add fragrance oils at about 10% of the wax weight. For example, if you have one cup of wax, add about one tablespoon of fragrance oil.
- If you want to include colorants, now’s the time! Stir them in until well-combined.
This is when the magic happens! The aromatic blend fills the air, and you’ll feel like a candle-making pro already.
Step Four: Secure the Wick and Pour the Wax
Next, we’ll secure our wick. This is an essential step to ensure your candle burns evenly.
- While the wax cools a bit more (around 140°F or 60°C), stick the wick to the bottom of your chosen container using a little melted wax or a wick sticker.
- Hold the wick vertically in the center. You can use a chopstick or pencil to help keep it in place while you’re pouring.
- Slowly pour the wax into the container, leaving about half an inch from the top.
Pro Tip:
If you’re making layered candles or have multiple containers, keep your wax warm but not hot while you pour.
Step Five: Let it Cool and Finish Up
You’re almost there!
- Allow the candles to cool completely. This can take about 4-6 hours depending on their size, so it’s a good time to grab a cup of coffee and relax.
- Once cooled, trim the wick to about ¼ inch above the wax surface.
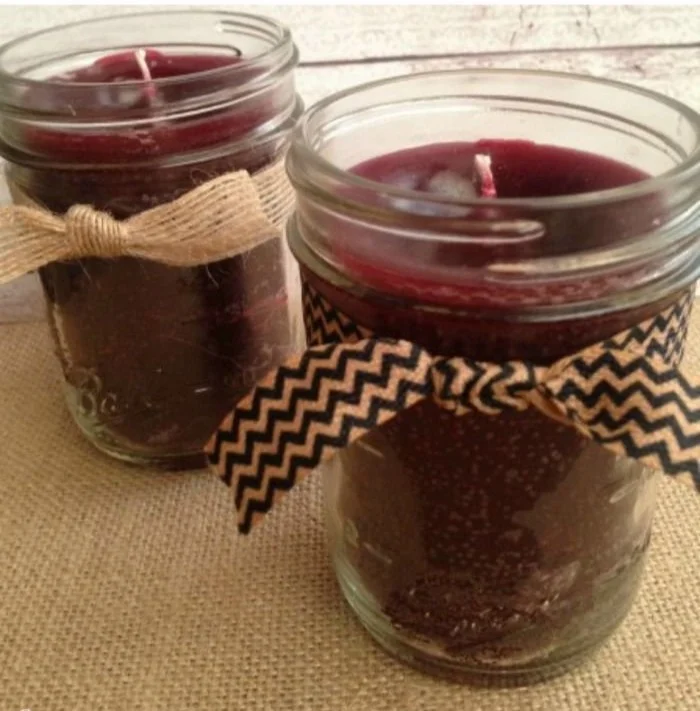
- If you want to dress up your candles, consider adding a small label or a decorative ribbon. This extra touch makes them look even more inviting.
Bonus Self-Care Idea:
Light your beautifully crafted candles while enjoying a cozy bubble bath or while you unwind with a good book. You deserve every moment of self-care!
Wrapping it Up
And there you have it! Five easy steps to create beautiful, homemade candles that are perfect for gifting. Imagine the joy on your friends’ faces when they unwrap a lovingly crafted item, all thanks to you.
As you take on this craft, remember that you’re not just making candles; you’re creating little moments of joy for others. These handmade gifts can brighten someone’s day and fill their home with warmth—what more could you want?
You might be wondering how to package your candles for gifting. Try using simple brown paper and twine or colorful fabric tied up with a bow. Get creative!
Don’t forget to share your creations on social media. Trust me, others will want to jump on this DIY bandwagon too. At the end of the day, it’s all about spreading love and light—one candle at a time.
So, gather your supplies, get cozy, and let’s make memorable gifts that truly inspire warmth in every home. You’ve got this!