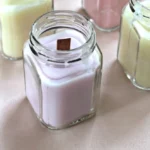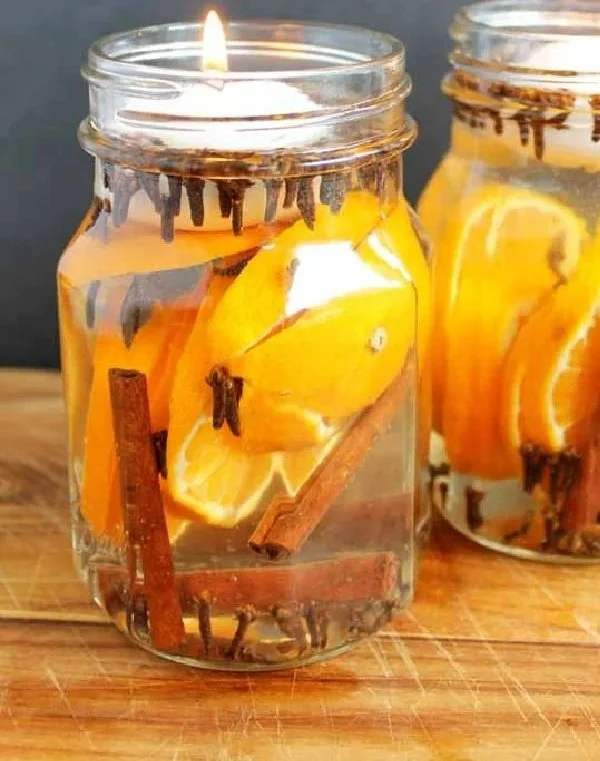

Make Your Home Aroma-Ready with Easy Scented Jar Candles
Imagine this: you’ve had a long day, and as soon as you step into your home, a warm, inviting scent wraps around you like a cozy hug. It’s the kind of aroma that makes you breathe a little easier and smile a little brighter. You might be wondering, how can I achieve this cozy vibe without breaking the bank or spending hours on a complicated project? Here’s the truth: crafting your own scented candles is simpler than you think. No special equipment or supplies are necessary, just a few ingredients and a sprinkle of creativity.
The Allure of Scented Candles
Let’s be honest, there’s something special about scented candles that transform your space. Whether it’s filling the air with a calming lavender scent after a hectic day, or a zesty citrus aroma that invigorates your morning routine, these little jars can make all the difference. They don’t just smell fantastic; they double as beautiful decor pieces too. Picture them flickering softly on a table or brightening up a shelf; instant mood-lifters, right?
You might also love that making candles at home is stress-free and allows you to customize your scents and colors! Plus, it’s a delightful activity to share with a friend or even your kids—imagine all that giggling and creativity together. So, what are we waiting for? Let’s dive into an easy guide that’ll have you filling your home with delightful scents in no time!
What You’ll Need
Before we get started, here’s a quick list of what you’ll need to gather. Don’t worry, you probably already have most of these at home!
- Mason jars: Any kind will do. They’re not just pretty; they also hold heat well.
- Wax: You can use simple paraffin wax, soy wax, or beeswax. Soy wax is particularly popular among the eco-conscious crowd since it burns cleaner.
- Essential oils or fragrance oils: This is where the magic happens! Choose scents that bring you joy. Some comforting options include vanilla, lavender, or citrus.
- A double boiler: Don’t worry; you can use a makeshift version with a pot and a heat-safe bowl.
- Wicks: You can buy these or even repurpose old candle wicks! Just make sure they’re the right size for your jar.
- Pencil or chopsticks: To help hold your wick in place while the wax sets.
- Color dyes (optional): If you want to add a pop of color, go for it! Just make sure they’re candle-safe.
- Thermometer (optional): For those who like precise temperatures, but it’s not a must-have!
Step-by-Step Candle Making
Step One: Preparing Your Workspace
First things first, let’s create a clean, cozy workspace. Clear off a counter or a table and lay down some old newspaper or a cloth. Candle making can get a bit messy, and you’ll be thankful for an easy cleanup later!
Step Two: Melting the Wax
Now, let’s melt that wax!
- Fill your pot with water and set it on the stove over medium heat.
- Place your wax in the bowl and set that over the pot—this is your double boiler.
- Stir it occasionally until it’s fully melted. This usually takes about 10-15 minutes.
Here’s a tip: If you’re using color dyes, this is the time to add them! Just a drop or two can go a long way, so start small until you achieve your desired shade.
Step Three: Adding Your Fragrance
Once your wax has melted, it’s time to infuse it with scent.
- Remove the bowl from the heat and let it cool for a minute. This is crucial. If the wax is too hot, it can evaporate some of the fragrance.
- Add your essential oils or fragrance oils to the melted wax. The general measurement is about 1 ounce of fragrance per pound of wax, but feel free to adjust based on your scent strength preference.
Step Four: Preparing the Jar and Wick
While your wax cools slightly and absorbs the fragrance, it’s time to prepare your jars.
- Secure the wick: Use a dab of melted wax or glue to stick the bottom of the wick to the center of the jar.
- To keep the wick straight, lay a pencil or chopstick across the top of the jar and let the wick drape down inside.
Step Five: Pouring the Wax
When your wax is nice and fragrant, carefully pour it into the prepared jars.
- Pour slowly to avoid air bubbles.
- Leave a small amount of wax in the bowl if you want to top off your candles after they harden (this helps create a smoother surface).
Step Six: Setting the Candles
Allow your candles to cool. This usually takes about 4-6 hours; however, it can depend on the size of your jars. You know they’re ready when the surface is firm to the touch.
Step Seven: Trimming the Wick
Once your candles have completely set, it’s time to finish them off.
- Trim the wick to about 1/4 inch. This helps prevent soot from forming when the candle is lit.
Common Mistakes to Avoid
We’ve all been there—trying something new and finding ourselves in a bit of a sticky situation. Here are a few mistakes to steer clear of:
- Overheating the wax: If your wax gets too hot, you risk losing the fragrance. Always keep an eye on it.
- Adding fragrance to hot wax: Remember to let your wax cool a bit before adding your chosen scents to preserve them.
- Wrong wick size: The size of the wick can affect how your candle burns. Too small, and it’ll extinguish itself; too large, and it may burn too quickly.
- Skipping the cure time: Candles need time to cure for the best scent throw. Plan to wait a day or two before lighting them if you can!
Bonus Self-Care Idea
Incorporating homemade candles into your self-care routine is a beautiful touch. Light one while you soak in a warm bath, meditate, or read your favorite novel. The soft glow and delightful aroma will enhance the experience, making you feel pampered and relaxed.
FAQs About Making Scented Candles
How long do homemade candles last?
Typically, homemade candles can last for around 6 months to a year or longer, depending on how they’re stored. Keep them in a cool, dry place to prolong their life.
Can I reuse old candle jars for new candles?
Absolutely! Just make sure to remove any leftover wax and clean the jars thoroughly before repurposing them.
What scents are best for relaxation?
Lavender, chamomile, and sandalwood are fantastic for creating a calming atmosphere. Experiment with blends until you find your perfect balance!
Can kids help with candle making?
Definitely! Just supervise, especially during the melting and pouring phases. They’ll love choosing the scents and colors!
Conclusion
You did it! You’ve just created your own stunning, scented candles that will add warmth and joy to your space. Isn’t it incredible how a little creativity can lead to such delightful results? The next time you step into your fragrant haven, you’ll feel proud knowing you crafted that ambiance yourself.
So, what if you host a candle-making afternoon with friends or family? Picture the laughter, creativity, and of course, the lovely scents wafting through the air. You’re not just making candles; you’re creating memories.
Now go on, light those candles and enjoy the cozy embrace they bring. Don’t forget to keep experimenting with new scents and styles—you’re on your way to becoming a candle-making pro!