
Create Your Own Amazing Orange Creamsicle Candle at Home
Imagine this: it’s a cozy afternoon, and you’ve just settled down with a warm cup of tea and your favorite book. The sunlight streams through the window, casting a golden hue across the room. But something’s missing. You need that perfect scent to evoke a sense of calm and joy. But instead of splurging on expensive scented candles, you realize there’s a more personal, meaningful way to fill your space with delightful aromas.
You might be wondering how on earth you can replicate those lavish scented candles at home without breaking the bank. Well, you’re in luck! Crafting your own candles is not only budget-friendly but also a wonderfully therapeutic activity. Plus, you get to choose your favorite scents, like the nostalgic and uplifting aroma of an orange creamsicle.
We’ve all been there, heart-eye emojis at those beautifully styled candles in shops, but then there’s that little voice in our head screaming about the prices. Here’s the truth: making homemade candles, especially one that smells as amazing as orange creamsicle, can bring joy and creativity to your self-care routine.
Are you ready to dive into the delightful world of candle-making? Let’s go!
Getting Started with Candle Making
Before we jump into the actual crafting, let’s go over what you’ll need. Fortunately, the ingredients and tools are quite simple and can be obtained from local craft stores or online.
Essential Supplies for Your Homemade Candle
- Wax: You can use soy wax, beeswax, or paraffin wax, depending on your preference. Soy wax is a popular choice for beginners because it’s easy to work with, burns cleaner, and holds fragrance well.
- Fragrance oils: For our orange creamsicle candle, you’ll need a scent that captures that refreshing orange essence blended with sweet vanilla.
- Wicks: Get the right size wicks based on the diameter of your candle container. Wooden wicks can add a subtle crackling sound—oh, so cozy!
- Containers: You can use glass jars, tin cans, or even silicone molds. Get creative with it!
- Double boiler or a heat-safe pitcher: This is for melting the wax.
- Thermometer: Optional, but useful for ensuring your wax is the right temperature for adding fragrance and pouring.
- Color dye (optional): If you want to add some fun color to your candle, choose candle dye that is safe to use.
Step-by-Step Guide to Making Your Orange Creamsicle Candle
Now, let’s roll up our sleeves and get crafting. You’ll love how simple this is!
Step 1: Measure Your Wax
Start by measuring how much wax you’ll need. A good rule of thumb is to fill your container with wax flakes to the top, then double it. If you’re using a large container, make sure to adjust the amount accordingly.
Step 2: Melt the Wax
Using a double boiler (or a heat-safe pitcher in a pot of simmering water), melt your wax on low heat. Keep an eye on it and stir gently until it’s completely melted. This will take about 10-15 minutes.
Step 3: Add Color (Optional)
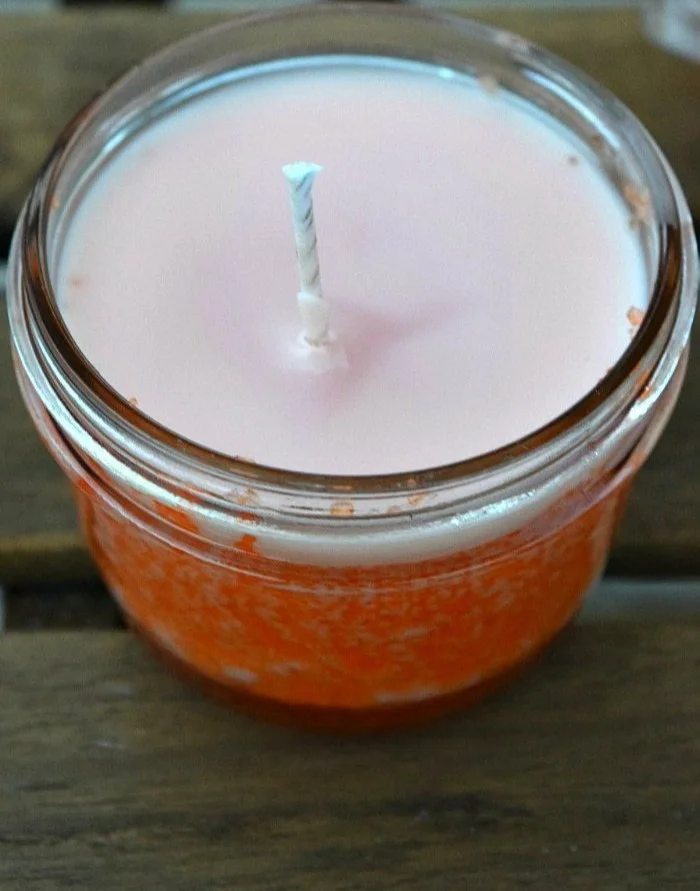
If you’re in the mood for a bit of color, now’s the time to add a few drops of candle dye. Stir the dye in until it’s fully dissolved, and you achieve your desired shade. For the orange creamsicle, you might want a sunny orange hue.
Step 4: Add Your Fragrance
Once your wax has melted and reached about 185°F (85°C), it’s time to add your fragrance oil (typically 1 ounce of fragrance per pound of wax). Stir carefully for at least two minutes to ensure the fragrance is evenly distributed.
Step 5: Prepare Your Container
Before pouring the wax, make sure your wick is centered in the container. You can use a wick holder or simply dip the wick’s base in the wax and place it in the center to secure it.
Step 6: Pour the Wax
Now for the fun part! Carefully pour the melted wax into your container. Leave a small amount of wax in the pot, as we’ll need that for topping off later. Make sure to pour slowly to avoid air bubbles.
Step 7: Secure the Wick
To keep your wick centered while the wax hardens, you can use a clothespin or popsicle stick laid across the top of the container.
Step 8: Let It Cool
Allow the candle to cool completely at room temperature, which usually takes about 4-6 hours. If you notice any dips or cracks on the surface after the first cool, use the leftover melted wax to smooth it out.
Step 9: Trim the Wick
Once fully set, trim the wick to about a quarter of an inch above the wax surface.
Why Make Your Own Candles
Alright, let’s talk about the perks of DIY candle-making because it’s not just about saving some bucks (although who doesn’t love a good deal?).
Personalization: You can experiment with different scents and colors. Do you love lavender? Add some! Want a winter fragrance? Go for cinnamon! The sky’s the limit, and that’s part of the fun.
Mindfulness: The process itself can be a meditative experience. It’s a time to disconnect from your phone and enjoy the simple act of creating something beautiful.
Eco-Friendly: By making your own candles, you can control what goes into them (no unwanted chemicals here!). Plus, you can choose sustainable waxes like soy or beeswax that are better for the environment.
Perfect Gifts: Candles make great gifts for friends or as party favors. Who wouldn’t love a handcrafted scented candle tailored just for them?
Common Mistakes to Avoid
Even the most seasoned DIYers can have a mishap or two. Here are a few mistakes to dodge on your candle-making journey:
Using Too Much Fragrance: While it might be tempting to dump in a whole bottle for a more potent scent, it can burn too hot and cause your candle to smoke.
Skipping the Wick Centering: If your wick is off-center, it can cause uneven burning, which is a sure way to ruin your gorgeous creation.
Pouring at the Wrong Temperature: If the wax is too hot when you pour it, you may end up with a sinkhole in the middle. Conversely, if it’s too cool, the wick might not stay centered.
Frequently Asked Questions
Can I use essential oils instead of fragrance oils?
Absolutely! Essential oils can create lovely scents, but keep in mind that they may not throw the fragrance as well as specially formulated fragrance oils.
How long will my homemade candles last?
With proper storage (keep them out of direct sunlight, and store them in a cool place), homemade candles can last for several months to a year, depending on the type of wax used.
What containers are best for candle-making?
Glass jars and tins are typically great choices as they can withstand heat well. Just be sure whatever container you choose can handle the hot wax when you pour.
Bonus Self-Care Ideas
After making your orange creamsicle candles, consider lighting them while indulging in a few more self-care rituals:
- Take a Relaxing Bath: Add a few drops of your favorite essential oil in warm water and immerse yourself in tranquility.
- Create a Vision Board: With your candle flickering beside you, use this time to dream big and map out your goals.
- Deep Condition Your Hair: While your candles are curing, treat your locks to a nourishing deep-condition session for that extra pampering.
Conclusion
The beauty of homemade candles is that they’re not just about the end product; it’s the entire experience that makes them special. From the melting wax to the scent of sweet orange and creamy vanilla wafting through your home, making an orange creamsicle candle is like a warm hug for the senses.
Next time you’re tempted to splurge on that overpriced candle, remember that the joy of crafting something beautiful is waiting for you at home. You might just find it becomes one of your go-to self-care rituals. So, grab your supplies, light that candle, and let your worries melt away—you’re embarking on a beautiful journey of creativity and scent!
Happy candle-making, everyone!