
How to Make Homemade Natural Candles
Imagine this: you’re cozied up on a chilly evening, a gentle flicker of candlelight casting a warm glow in your living room. The tranquil scent of fresh lavender wafts through the air, soothing your soul after a long day. Can you picture it? Now, what if I told you that creating this serene ambiance doesn’t require a trip to the store? You can enjoy the delightful joy of homemade natural candles. Not only is this a fun project to brighten your day, but these candles also make thoughtful and personal gifts for your loved ones.
We all crave that special touch in our homes, something that makes our space uniquely ours. And let’s be honest, a beautifully crafted candle, made with love, is the perfect way to achieve that. Today, I’m going to guide you through the art of making your very own candles at home. So let’s get started!
Gathering Your Supplies
Before diving into this candle-making adventure, you’ll want to gather your supplies. Here’s a quick list of what you’ll need:
- Wax: Choose from soy wax, beeswax, or palm wax. Soy wax is a popular choice for its clean burn and ease of use.
- Wicks: Make sure to select wicks that match the type of wax you’re using.
- Container: You can repurpose glass jars, tin cans, or buy ready-made candle containers.
- Essential oils: This is where the magic happens! Pick your favorite scents or blend them for a personal touch.
- Double boiler: If you don’t have one, a heatproof bowl sitting over a simmering pot of water works just fine.
- Thermometer: This isn’t a must-have, but it’s helpful for measuring the wax temperature.
- Stirring utensil: A wooden or silicone spoon works well.
- Colorants (optional): If you want to add a splash of color to your candles.
What’s exciting is that you likely have many of these supplies at home, making this a super accessible craft.
Step-by-Step Candle-Making Guide
Once you have everything ready, it’s time to get down to business. Here’s a simple guide to crafting your homemade candles in just a few steps.
Step 1: Prepare Your Work Area
Let’s be honest, candle-making can get a bit messy, so it’s best to prepare your workspace. Lay down some newspapers or an old tablecloth to protect surfaces. Collect all your supplies in one spot, so you’re not running around mid-process.
Step 2: Melt the Wax
In your double boiler, add your chosen wax. If you’re using soy wax flakes, start with about 1 pound for small candles. Heat the wax gently over medium heat, stirring occasionally until it’s fully melted.
Here’s the truth: keeping an eye on the temperature is crucial. Ideally, you want your wax to reach about 170°F (77°C). If you don’t have a thermometer, don’t worry—just wait until the wax turns from solid flakes to a smooth, shiny liquid.
Step 3: Prepare Your Containers
While the wax is melting, it’s the perfect time to prepare your containers. If you’re using jars, make sure they’re clean and dry. You might want to center your wick at the bottom of the container. A little glue or a drop of melted wax can help hold it in place.
Step 4: Add Scent and Color
Once your wax is melted, it’s time to get creative! Remove the pot from heat and let it cool slightly—around 160°F (71°C) is ideal. Stir in your essential oils; about 1 ounce per pound of wax is a good rule of thumb. If you’re using colorants, now’s the time to add them as well. Don’t hesitate to mix scents—lavender with vanilla, for example, is a dreamy combo.
Step 5: Pour the Wax
Carefully pour the wax into your prepared containers. Hold the wick in place, ensuring it remains centered. Leave a little space at the top of the container. As you pour, take a moment to appreciate the beautiful process you’re part of. This is a mindfulness moment, a chance to reflect on the beauty of creating something with your own hands.
Step 6: Secure the Wick
To prevent your wick from moving while the wax cools, you can use a skewer or chopstick laid across the top of the container. This way, the wick stays centered as the wax solidifies.
Step 7: Let Them Cool
Now for the hardest part: patience! Allow your candles to cool completely. This usually takes a few hours. You’ll know they’re ready when the surface is solid and no longer warm to the touch.
Step 8: Trim the Wicks
Once your candles are cooled and hardened, it’s time to trim the wicks. Aim for about ¼ inch above the wax. A shorter wick helps prevent soot and a flickering flame—keeping your cozy ambiance intact.
Step 9: Personalize and Package
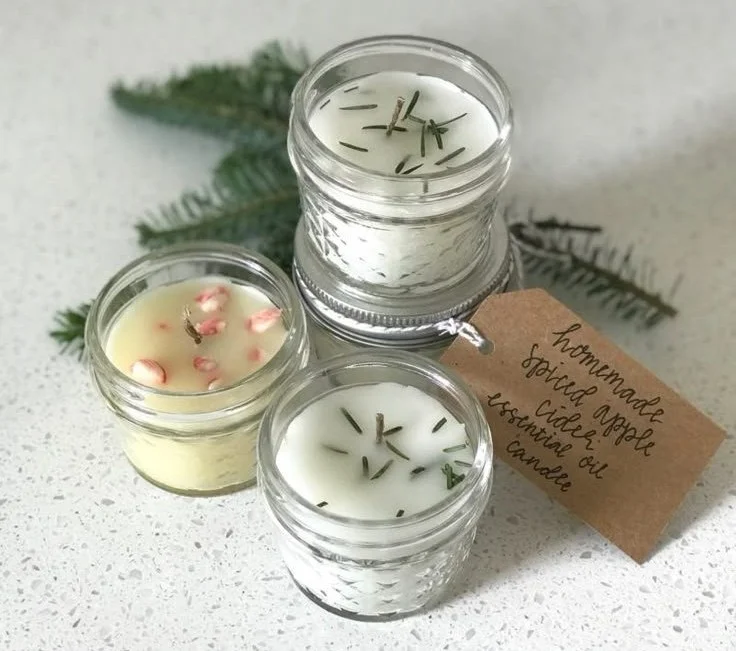
Here’s where you can show off your creativity! If you’re planning to gift these candles, think about labeling them. Use simple stickers or ribbon. You could even write down the scent notes or a sweet message. Trust me, personal touches mean the world to recipients!
Step 10: Enjoy or Gift
Now that you’ve made your candles, enjoy them yourself or gift them to family and friends. Light one on a cozy night in or bring them as thoughtful gifts to your next gathering. There’s something truly special about sharing a piece of yourself through a handmade gift.
Bonus Ideas for Candle Magic
Feeling inspired? There are so many ways to elevate your candle-making. Here are a few fun ideas:
- Layered Candles: Use different colors of wax to create stunning layers. Pour one color, let it cool slightly, then add the next.
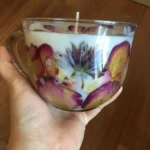
- Herbs and Flowers: Add dried herbs or flowers to your wax for a rustic look. Think chamomile, rose petals, or even citrus peel.
- Eco-Friendly Options: Consider using recycled materials for your containers. Everyone loves a good upcycle!
Common Mistakes to Avoid
As with any craft, there are some common pitfalls to be aware of when candle-making. Here are a few tips to keep in mind:
- Overheating the Wax: This can affect the scent throw and burning properties of your candle. Always use gentle heat.
- Too Much Scent: While it’s tempting to pour in all your favorite essential oils, too much can lead to soot or an overpowering scent.
- Ignoring Safety: Always be cautious around hot wax and open flames. Keep flammable items away from your workspace.
FAQs About Candle Making
What type of wax should I use?
Soy wax is a great beginner option because it’s easy to work with and burns cleanly. Beeswax is also fantastic, though it tends to be a bit pricier.
Can I use regular cooking pots for melting wax?
It’s best to use a dedicated double boiler. Wax can be hard to clean off cooking utensils and pots used for food.
What happens if my candle cracks?
Cracks can be caused by cooling too quickly or pouring too hot. Don’t worry—it won’t ruin the candle. Just be sure to watch your pouring temperatures next time.
Last Thoughts
Creating homemade natural candles is more than just an engaging project; it’s a chance to bring warmth, light, and a personal touch into your home and the homes of those you care about. Each candle holds the essence of creativity and love, making them perfect for self-care nights or as gifts that come from the heart. So, whether you’re treating yourself or surprising someone special, remember: you’re not just making candles, you’re crafting memories. Now, grab your supplies and let your creativity shine—you might just ignite a passion for candle-making that lights up your life!