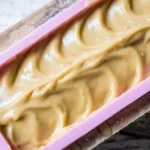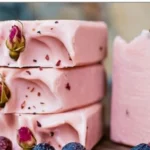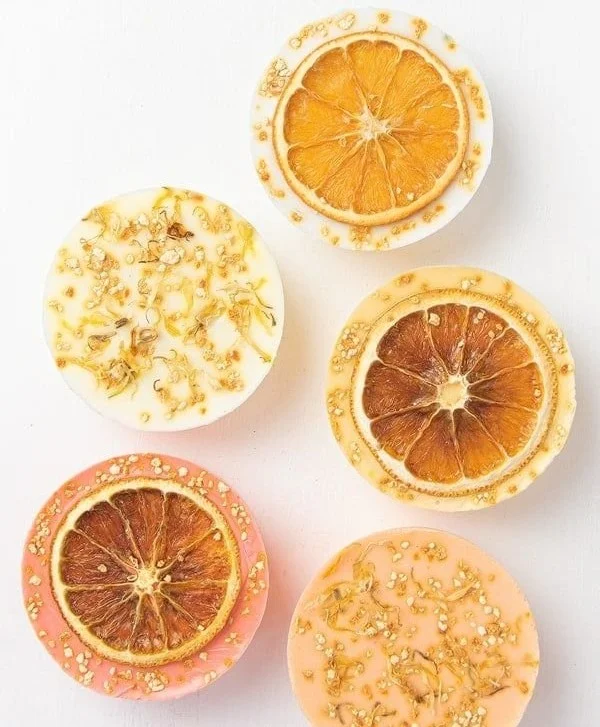

Homemade Citrus Soap Recipe: A Refreshing DIY Lemon Soap
Making your own soap at home is not only a fun and creative project, but it also allows you to customize the scent, texture, and ingredients to fit your preferences. This homemade citrus soap recipe features an uplifting lemon scent, rich lather, and a host of skincare benefits. Perfect for beginners, this DIY lemon soap will leave your skin feeling refreshed and invigorated!
Why You Will Love This Recipe
- Uplifting Aroma: The vibrant scent of lemon not only brightens your mood but also creates a spa-like experience in your shower.
- Skin Benefits: Lemon is known for its natural astringent properties, and its vitamin C content can help brighten your skin.
- Rich Lather: This soap produces a creamy lather, making washing hands or body feel luxurious.
- Simple Ingredients: This recipe uses basic ingredients that are easy to find, making it perfect for beginners.
Ingredients
Here’s what you’ll need to create your DIY lemon soap:
Base (Choose one):
- 1 lb (about 450g) of melt and pour soap base (I recommend a glycerin or shea butter base for moisture)
Lemon Essential Oil:
- 1-2 teaspoons (5-10ml) depending on your preference for scent strength
Natural Colorant (optional):
- A few drops of lemon-yellow mica powder or turmeric for a natural yellow tint
Additives (optional):
- 1-2 tablespoons of finely shredded lemon zest for texture and added scent
Equipment
Gather the following tools for your soap-making process:
- Microwave-safe container or double boiler
- Soap mold (silicone molds work best for easy removal)
- Stirring tool (like a spoon or spatula)
- Rubbing alcohol in a spray bottle (to eliminate bubbles on the surface)
- Safety goggles and gloves for protection (especially if using additives)
Step-by-Step Instructions
Follow these easy steps to create your refreshing lemon soap:
Prepare Your Work Area: Clear a space in your kitchen or workspace. Lay down newspapers or a silicone mat to catch any spills.
Cut the Soap Base: Cube your melt and pour soap base into small, even pieces to ensure even melting.
Melt the Soap Base:
- For microwave: Place the cubes in a microwave-safe container and heat in 30-second intervals, stirring in between until fully melted.
- For double boiler: Fill the bottom pot with water, bring to a simmer, and place the soap base in the top pot, stirring occasionally until melted.
Add Fragrance and Color: Once melted, remove from heat. Add the lemon essential oil, colorant, and lemon zest if using. Stir gently but thoroughly to combine.
Pour into Mold: Carefully pour the melted soap mixture into your soap mold.
Eliminate Bubbles: Lightly spray the surface with rubbing alcohol to reduce bubbles.
Cool and Set: Allow the soap to cool at room temperature until completely set, which may take a few hours. For quicker setting, place in the refrigerator for about 30 minutes.
Unmold: Once firm, gently pop the soap out of the mold.
Tips for Success
- Timing Matters: Don’t leave the melted soap base unattended as it can harden quickly once it starts cooling.
- Scent Preferences: Experiment with essential oils. If you prefer it less citrusy, consider adding a few drops of lavender to balance the scent.
Common Mistakes to Avoid
- Overheating: Microwaving for too long can cause the soap base to bubble and alter its texture. Always melt in short bursts and stir between.
- Using Too Much Fragrance: More isn’t always better—using too much essential oil can irritate skin or destabilize the soap.
Variations and Customization Ideas
Helming your creativity, try these variations on your DIY lemon soap:
- Herbal Infusion: Add dried herbs such as rosemary or mint for a fresh twist.
- Layering Colors: Create a layered effect by pouring one color and allowing it to set before adding another layer.
- Moisturizing Additives: Incorporate a small amount of coconut oil or vitamin E for extra moisture.
Storage and Shelf Life
Store your handmade soap in a cool, dry place away from direct sunlight. Ideally, wrap the soap in wax paper or place it in a cardboard box to maintain its shape. Properly stored, the soap should last for about 6 months to a year.
Safety Tips
While this recipe is simple and beginner-friendly, it’s essential to keep safety in mind:
- Essential Oil Sensitivity: Test for skin sensitivity by applying a small amount of diluted oil on your wrist. Wait 24 hours to check for any reactions.
- Personal Protective Equipment: If making soaps with lye in the future, always wear gloves and goggles as lye can be caustic.
Frequently Asked Questions
1. Can I use other citrus essential oils besides lemon?
Absolutely! Orange, lime, or grapefruit essential oils can all produce delightful scents.
2. What if I don’t want to use artificial colorants?
Natural colorants, such as turmeric for yellow, or even finely grated carrot are great alternatives.
3. How should I package my soaps for gifts?
You can wrap them in kraft paper, tie with twine, or place them in decorative boxes for a personal touch.
4. My soap is too soft. What went wrong?
A common issue can arise from not using enough soap base. Always measure accurately and ensure your measurement matches the mold size.
5. Can I make these soaps in bulk?
Yes! Just multiply the recipe as needed while ensuring uniform heating and mixing.
6. Is there a shelf life for this soap?
Yes, when stored properly, the soap can last for 6 months to a year.
Conclusion
Creating your own homemade citrus soap is not only rewarding but also an excellent introduction to the world of DIY soap making. With this simple lemon soap recipe, you can make delightful gifts for family and friends or treat yourself to a refreshing bathing experience. So grab your ingredients and get crafting—your skin will thank you for it! Happy soap making!