
Learn to Make Your Own Natural Grapefruit Soap with This Simple, Step-by-Step Tutorial
Making your own natural grapefruit soap is not just a delightful DIY project; it’s also a fantastic way to create a personalized skincare item. Grapefruit essential oil offers a refreshing scent and has fantastic properties for the skin, making this a wonderful addition to your homemade soap collection. In this guide, we’ll dive into the straightforward process of crafting your very own natural grapefruit soap, perfect for beginners and seasoned DIY makers alike.
Why You Will Love This Recipe
This natural grapefruit soap recipe is loved for several reasons:
- Refreshing Scent: The zesty aroma of grapefruit isn’t just a fantastic way to wake up your senses; it can enhance your mood.
- Natural Ingredients: By making your soap, you control what goes into it, avoiding synthetic fragrances and colors.
- Customizable: You can easily tailor this soap recipe to fit your personal tastes or skincare needs.
- Great Gift Idea: Handmade soap makes for thoughtful gifts for friends and family.
Ingredients
To make your natural grapefruit soap, you will need the following ingredients:
- Base: 2 lbs of glycerin soap base (clear or white)
- Essential Oil: 1 oz of grapefruit essential oil
- Colorant (optional): A few drops of natural orange or pink colorant
- Additives (optional):
- 1 oz of dried grapefruit peel for texture (optional)
Equipment
Before you start, gather your equipment:
- Microwave-safe bowl or double boiler
- Soap mold (silicone molds work best for easy removal)
- Stirring spoon or spatula
- Measuring spoons
- Scale for precision
- A thermometer (optional but helpful)
- Safety goggles and gloves (for handling essential oils and dyes)
Step-by-Step Instructions
Follow these easy steps to create your grapefruit soap:
Prepare Your Workspace: Ensure your area is clean and free of clutter, and gather all your ingredients and equipment.
Melt the Soap Base:
- Cut the glycerin soap base into small cubes for quicker melting.
- Place the cubes in a microwave-safe bowl or double boiler.
- If using a microwave, heat in 30-second intervals, stirring between each interval until completely melted. Use a thermometer if you want to ensure the temperature stays below 170°F (77°C).
Add Fragrance and Color:
- Once the soap base is fully melted, remove it from heat.
- Add grapefruit essential oil and any colorant you’re using. Stir well to combine all ingredients thoroughly.
Incorporate Additives: If you’re adding dried grapefruit peel or any other texture elements, now is the time to mix them in.
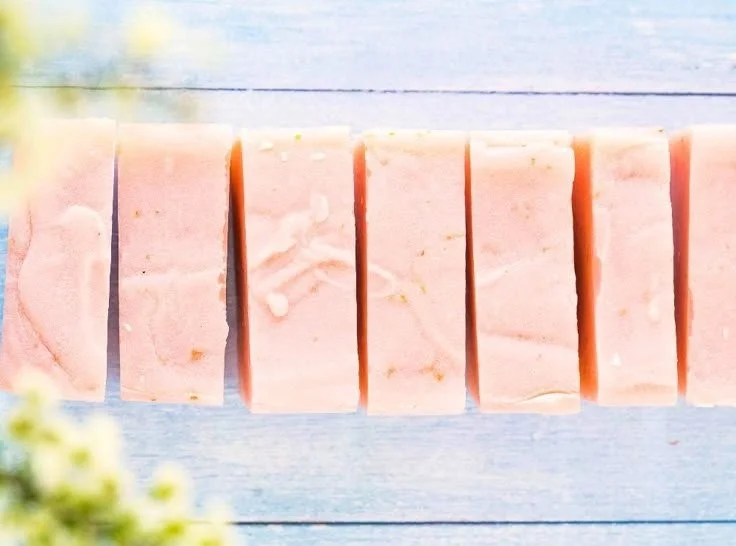
Pour into Molds: Carefully pour the soap mixture into your molds. You can add slices of fresh grapefruit peel on top for a decorative touch.
Cool and Set: Allow the soap to cool at room temperature or place it in the refrigerator to speed up the process. This usually takes about 1-2 hours, depending on the size of your soap molds.
Remove from Molds: Once the soap is solidified, gently pop them out of the molds and place them on a drying rack or clean surface.
Cure (Optional): If you prefer a harder bar, let them cure for another 24 hours before using them.
Tips for Success
- Go Slow: When melting the soap base, take your time. Overheating can cause bubbling or the soap to burn.
- Do Not Overmix: Mix just enough to combine ingredients without introducing excess bubbles.
- Test Scents: Start with less essential oil and add more gradually, to find the perfect strength for your preference.
Common Mistakes to Avoid
- Skipping Color Test: Not all colorants work similarly. Always test a small batch before using it in your main mixture.
- Neglecting Safety Gear: Always wear gloves and goggles when handling essential oils, as they can irritate the skin and eyes.
Variations and Customization Ideas
- Different Essential Oils: Experiment with other essential oils like lemon or lavender for a completely different scent.
- Exfoliating Additives: Consider adding oatmeal or coffee grounds for an exfoliating effect.
- Natural Colorants: Use beet or carrot powder for a natural color instead of synthetic dyes.
Storage and Shelf Life
Store your homemade grapefruit soap in a cool, dry place away from direct sunlight. Well-made soap can last for up to 6 months, while the scent and properties remain fresh. To extend shelf life, individually wrap the bars in plastic wrap or store them in an airtight container.
Safety Tips
- Essential Oils: Some people may have sensitivities to certain essential oils. Always perform a skin patch test before using your soap.
- Ventilation: Ensure your workspace is well-ventilated while working with essential oils.
Frequently Asked Questions
1. Can I use any soap base for this recipe?
Yes, you can use different glycerin soap bases, such as shea butter or olive oil soap base, based on your preference.
2. What should I do if my soap won’t come out of the mold?
Gently press around the edges and use a soft silicone spatula to help release it without damaging the soap.
3. Can I use fresh grapefruit juice in my soap?
Fresh juice is not recommended because it can spoil and affect the soap’s shelf life. Stick with essential oils and dried peels for the best results.
4. How can I increase the firmness of my soap?
Adding additional melt-and-pour soap base or mixing in beeswax can help firm up your soap. However, proportions must be tested for best results.
5. Is there a way to make this soap vegan?
Yes, stick with a glycerin base that is labeled vegan. Many melt-and-pour bases are already vegan-friendly.
Conclusion
Making your own natural grapefruit soap can be a fulfilling and fragrant experience. With this simple step-by-step tutorial, you’ll gain the skills to craft your very own delightful bars of soap that not only cleanse but also uplift your spirits. Enjoy experimenting with this recipe, and be sure to customize it to turn out the perfect soap for you or as a thoughtful handmade gift! So, roll up your sleeves, gather your materials, and start your DIY soap-making journey today! 🧼