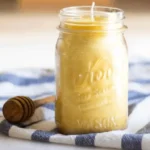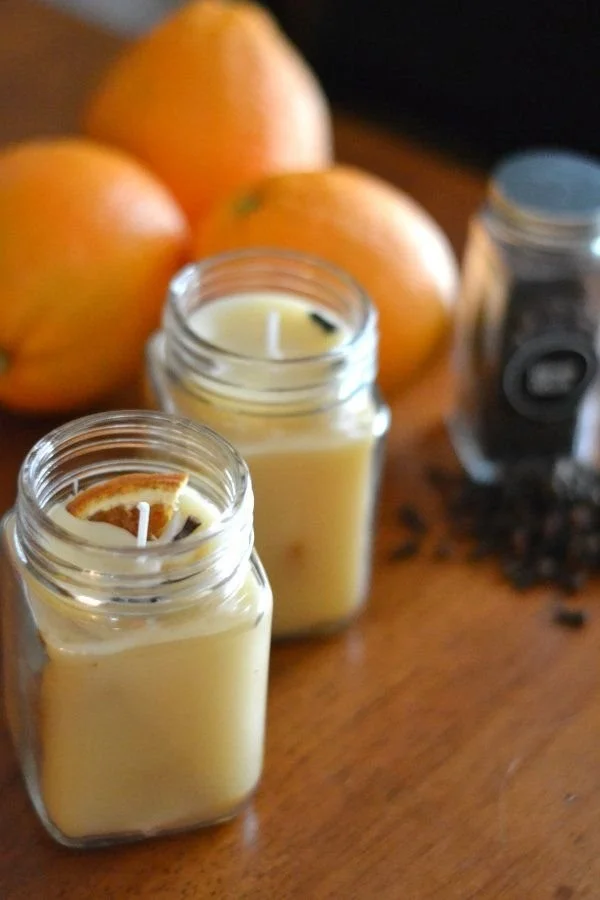

Learn to Make Homemade Beeswax Candles with Clove and Orange Essential Oils: A Perfect Fall DIY Project
As the cool air of fall begins to settle in, there’s no better way to create a cozy atmosphere than by making your very own homemade beeswax candles scented with the warm, spicy notes of clove and the zesty brightness of orange essential oil. These non-toxic candles are not only easy to make but will also add a beautiful glow to your home. Plus, they make excellent handmade gifts for friends and family. So grab your supplies, and let’s get started!
Why You Will Love This Recipe
Making beeswax candles is a delightful and fulfilling DIY project. Here’s why you’ll love this particular recipe:
- Natural Ingredients: Beeswax is a non-toxic, natural wax that burns cleanly and emits a subtle sweet scent. It’s a fantastic alternative to paraffin candles, which can release harmful toxins when burned.
- Scented Perfection: The combination of clove and orange essential oils creates an inviting aroma that perfectly captures the essence of fall, making your home smell warm and inviting.
- Easy to Customize: This recipe is simple enough for beginners and can be easily modified to suit your personal fragrance preferences or seasonal themes.
- Sustainable Crafting: By making your own candles, you’re reducing waste and creating a more eco-friendly environment.
Ingredients
To make your own homemade beeswax candles, you’ll need the following ingredients:
- 1 pound of beeswax (you can find this at craft stores or online)
- 1 tablespoon of clove essential oil
- 1 tablespoon of orange essential oil
Note:
To adjust scent intensity, you can vary the amount of essential oils, but this ratio provides a balanced fragrance that’s delightful without being overpowering.
Equipment
Gather the following equipment before you get started:
- Double boiler or a makeshift double boiler (a heat-proof bowl over a pot of simmering water)
- Candle wicks (cotton or wooden, with a length appropriate for your container)
- Heat-resistant containers (like glass jars or metal tins)
- Stirring stick (wooden or metal)
- Thermometer (optional, but useful for monitoring wax temperature)
- Pouring pitcher (optional, for easier pouring)
Step-by-Step Instructions
Preparation Time:
- 10 minutes to prepare the workspace and ingredients.
Making Time:
- Approximately 30–40 minutes based on your setup.
Yield:
- This recipe makes about 4–6 medium-sized candles.
Instructions:
Prepare Your Workspace: Lay down newspaper or a protective cloth on your work surface to catch any wax spills. Measure and cut your wicks to fit the height of your containers, leaving a bit extra to make wicking easier.
Set Up the Double Boiler: Fill the bottom pot of your double boiler with water, ensuring it doesn’t touch the top bowl. If using a makeshift double boiler, place the heatproof bowl on top of the pot.
Melt the Beeswax: Place your beeswax in the top half of the double boiler. Turn the heat to medium-low and allow the beeswax to melt completely. Stir occasionally to promote even melting.
Monitor the Temperature: If you have a thermometer, keep an eye on the beeswax’s temperature—ideally, it should be around 145°F to 175°F. Avoid overheating to maintain the wax’s quality.
Add the Essential Oils: Once the beeswax is melted, remove it from heat. Carefully stir in the clove and orange essential oils. Mix thoroughly to ensure the oils are evenly distributed.
Prepare the Containers: While the wax cools slightly, secure the wicks in the center of your containers. You can use hot glue or a dab of melted wax to help hold them in place.
Pour the Wax: Carefully pour the melted wax into the prepared containers, leaving a small amount of space at the top. Be cautious not to disturb the wicks.
Set and Cure: Allow the candles to cool and harden at room temperature, which may take a few hours. Do not refrigerate, as this can cause cracks.
Trim the Wicks: Once the candles are fully cooled, trim the wicks to about 1/4 inch above the wax surface.
Cure the Candles: Ideally, let your candles cure for a day before burning them for the best scent throw.
Tips for Success
- Choose Quality Beeswax: Look for 100% pure beeswax from a reputable source to ensure a clean, safe burn.
- Use a Wick Suitable for Beeswax: Make sure your wick is the right size for your candle diameter, as improper size can lead to tunneling or excessive flickering.
- Test Your Scents: Before pouring a large batch, try making a smaller test candle to adjust your scent ratios if necessary.
Common Mistakes to Avoid
- Overheating the Wax: This can degrade the quality of the beeswax and affect the scent. Always use low heat.
- Skipping Wick Testing: Different wick sizes burn differently depending on the wax used. Conduct a burn test if you are unsure.
- Pouring Too Quickly: If you pour the wax too fast, it can create bubbles in the final product. Slow and steady wins the race!
Variations and Customization Ideas
- Change the Scents: Feel free to experiment with other essential oils, such as cinnamon or vanilla, for a different seasonal blend.
- Add Color: Use candle dyes if you want colored candles. Just make sure they are compatible with beeswax.
- Layering Scents: Slowly pour layers of different scented beeswax for a unique aromatherapy experience.
Storage and Shelf Life
Store your homemade beeswax candles in a cool, dry place away from direct sunlight. They can last for a year or more when kept in ideal conditions. Ensure containers are closed to prevent dust contamination.
Safety Tips
- Burn Candles Safely: Always keep burning candles within sight, away from flammable materials, and out of reach of children and pets.
- Use Heat-Proof Equipment: Ensure that all your equipment is rated for high temperatures to avoid accidents or injuries.
- Ventilation: When working with essential oils, ensure your workspace is well-ventilated.
Frequently Asked Questions
1. Can I use other types of wax instead of beeswax?
While this recipe is specifically for beeswax, you can substitute it with soy or palm wax, but be mindful that the scent throw and burning characteristics will differ.
2. Why is my candle tunneling?
Tunneling often occurs due to improper wick sizing. Ensure you’re using a wick size that matches the diameter of your candle.
3. How do I clean wax spills?
If you have wax spills, let them cool completely and then scrape them off with a plastic card or warm the surfaces slightly to lift them away.
4. Can I use fragrance oils instead of essential oils?
Yes, you can use fragrance oils, but be sure to check that they are safe for candle making.
5. What do I do if my candle is smoking?
If your candle is smoking, it might be due to a wick that is too long. Trim the wick to 1/4 inch above the wax.
6. Can I reuse old candle holders for my beeswax candles?
Absolutely! Just clean them thoroughly to remove any residual wax or scent.
Conclusion
Making homemade beeswax candles scented with clove and orange essential oils is a fantastic DIY project that allows you to enjoy the warmth and coziness of fall in your home. With just a few simple ingredients and straightforward steps, you can create beautiful candles that not only smell amazing but also serve as lovely gifts for loved ones. So, grab your supplies, embrace your creativity, and enjoy the wonderful ambiance that your homemade candles will bring! Happy crafting!