
No Fancy Tools Needed! Make Beautiful, Fragrant Candles at Home with This Easy Step-by-Step Guide 🕯️🌿
Candles have a magical ability to transform any space into a cozy sanctuary, filling the air with enchanting fragrances. Whether you’re looking to create a warm ambiance or find a heartfelt DIY gift, making candles at home is not only enjoyable but also surprisingly easy! In this guide, I’ll walk you through the straightforward process of creating your very own scented candles, using materials and tools you likely already have at hand.
Why You Will Love This Recipe
Homemade candles are a fantastic way to express your creativity and personalize your home decor. You’ll enjoy the satisfaction of making something beautiful while also immersing your space in delightful scents. Plus, as you master the basics, you’ll be able to customize your candles to suit any occasion or aesthetic. Let’s dive into this beginner-friendly project that requires no fancy tools!
Ingredients
- Wax: 1 pound of soy wax (natural and easy to work with)
- Fragrance Oil: 1 ounce of your choice (essential oils or fragrance oils)
- Wicks: Pre-tabbed wicks (choose the size according to your container)
- Dye (optional): Candle dye if you wish to color your candles
- Pouring jug: A heatproof container for melting
- Thermometer: To monitor the wax temperature
Equipment
- Double boiler or microwave-safe container
- Stirring utensil (like a wooden spoon or silicone spatula)
- Scale (for measuring wax and fragrance)
- Candle containers (glass jars, tins, or any heatproof container)
- Wick holder (to keep the wick centered while the wax sets)
Step-by-Step Instructions
Preparation Time: 15 minutes
Making Time: 1 hour (plus cooling time)
Approximate Yield: 3-4 standard candles (depending on container size)
Gather Your Materials: Ensure you have all your ingredients and equipment ready before you start.
Measure the Wax: Weigh out 1 pound of soy wax using the scale. This will typically yield about 3-4 candles, depending on your container size.
Melt the Wax:
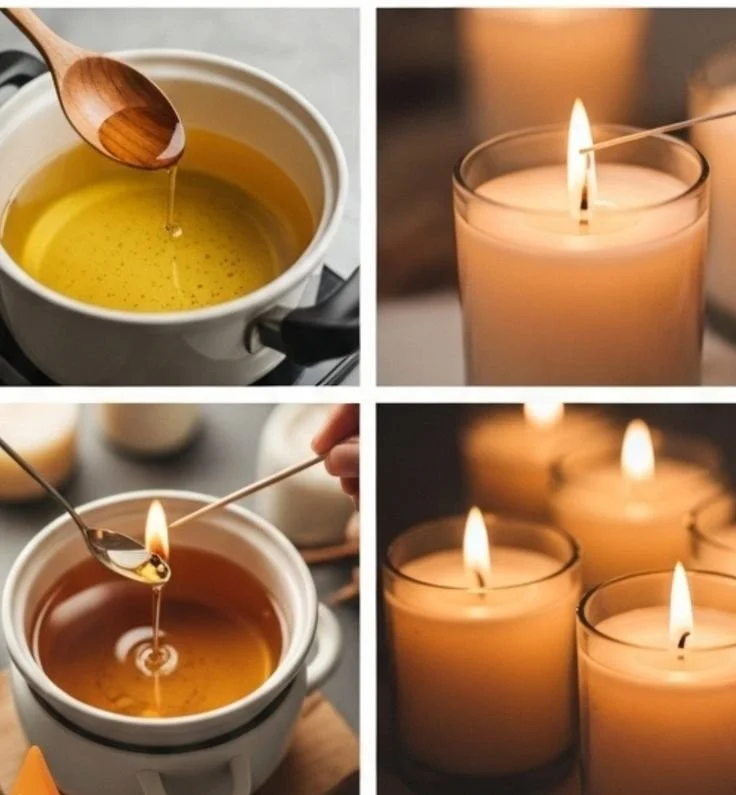
- Double Boiler Method: Fill the bottom pot of your double boiler with water and bring it to a simmer. Add the wax to the top pot and let it melt, stirring occasionally.
- Microwave Method: Place the wax in a microwave-safe container and heat in short 30-second intervals, stirring after each interval until fully melted.
Add Fragrance: Once the wax reaches around 185°F (85°C), remove it from heat and stir in 1 ounce of your chosen fragrance oil (or essential oil). Stir gently for about 2 minutes to ensure it’s evenly distributed.
Prepare Your Containers: Attach the wicks to the bottom of your containers using a bit of melted wax or wick stickers. Center the wick and use a wick holder to keep it in place.
Pour the Wax: Let the wax cool to around 140°F (60°C) before gently pouring it into your prepared containers. Fill each container, leaving about half an inch of space at the top.
Cool and Set: Allow the candles to set undisturbed at room temperature for several hours or until completely firm. Trim the wick to about 1/4 inch above the surface.
Cure Your Candles: For the best scent throw, allow your candles to cure for at least 48 hours before burning.
Tips for Success
- Use Quality Materials: The fragrance quality can significantly affect your candle’s scent throw; opt for high-quality fragrance oils.
- Temperature Matters: Always monitor the temperatures carefully to ensure the wax adheres well to the wick and to avoid issues with separation.
- Experiment with Scents: Try combining different fragrances to create your unique blend!
Common Mistakes to Avoid
- Using Too Much Fragrance: Adding too much fragrance can cause the candle to burn poorly. Stick to the recommended 1 ounce per pound of wax.
- Pouring When Too Hot: Pouring wax when it’s too hot can lead to cracking. Always allow it to cool appropriately before pouring.
- Using the Wrong Wick Size: Choosing an incorrect wick can lead to issues like tunneling or excessive soot. Refer to wick sizing guides available online.
Variations and Customization Ideas
- Color: Add candle dye at the melting stage to create colored candles. Experiment with different hues for festive occasions.
- Layering: Pour different wax colors separately to create beautiful layered candles.
- Special Occasion: Customize your candles with themed fragrances—such as pumpkin spice for fall or fresh linen for spring.
Storage and Shelf Life
Store your candles in a cool, dry place. Homemade candles typically last for 1-2 years if kept away from direct sunlight and extreme temperatures.
Safety Tips
- Work in a Well-Ventilated Area: Ensure proper ventilation when working with fragrance oils to avoid inhaling fumes.
- Hot Wax Caution: Use caution when handling hot materials. Always wear protective gloves if necessary.
- Storage: Keep candles away from high heat sources and flammable materials.
Frequently Asked Questions
1. Can I use essential oils instead of fragrance oils?
Yes! Essential oils can be used, but remember that they may have a lighter scent throw compared to synthetic fragrance oils.
2. How can I fix a candle that has a sunken top?
You can reheat a portion of the wax and pour it on top to smooth out the surface.
3. What type of wick should I use?
The wick size depends on the container’s diameter. Generally, for larger containers, use a thicker wick as it burns larger pools of wax.
4. How do I properly trim the wick?
Use wick trimmers or scissors to cut the wick before lighting. Trimming it to 1/4 inch ensures a cleaner burn.
5. What should I do if my candle is burning too fast?
Ensure you’re using the right wick size and verify that there’s an adequate fragrance load when remelting the wax.
Conclusion
Making your own scented candles at home doesn’t require any fancy tools or skills—just a little patience and creativity! Dive into this rewarding DIY project, and soon you’ll find yourself crafting beautiful and fragrant candles that can enhance your living space or serve as thoughtful handmade gifts. So grab your materials, get comfy, and enjoy the process of candle making! Happy crafting!