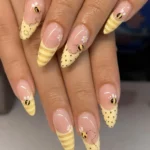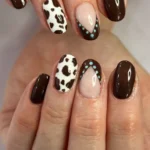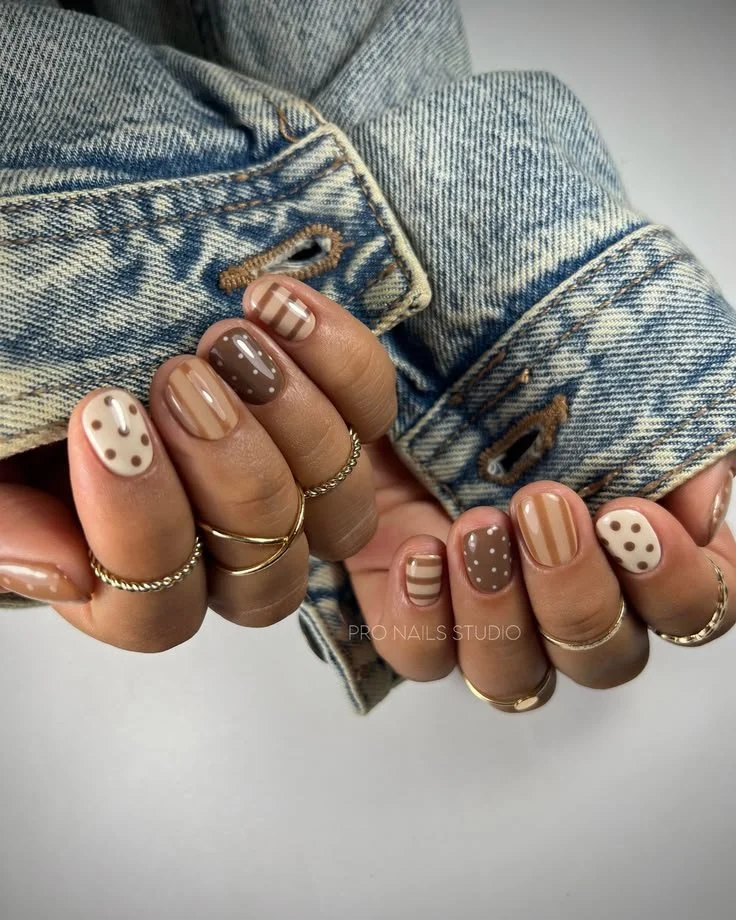

Find Your Nail Inspiration on Instagram
If you’re on the hunt for beautiful, wearable, and creative nail inspiration, Instagram is the ultimate treasure trove. This vibrant social platform is overflowing with talented nail artists and everyday enthusiasts alike sharing their manicures, nail art designs, and beauty tips. Whether you’re a seasoned nail art pro or just starting your manicure journey, Instagram has something for everyone—a captivating world of nail ideas awaits you.
In this article, we’ll explore various nail designs, styles, and tips for recreating Instagram-worthy nail art that’s perfect for any occasion. From trendy colors to unique shapes, you’ll discover how to embrace your nail art passion while looking fabulous!
Why You Will Love These Nails
The beauty of nail inspiration found on Instagram lies in its diversity. You can find:
- Trending Designs: Stay ahead of the curve with the latest nail trends that pop up on your feed.
- Wearable Art: Discover intricate designs that are still suitable for everyday wear.
- Inclusive Ideas: No matter your nail shape or length, there’s something for everyone.
These elements empower you to express your individuality through stunning nail art.
What You Need
To get started on your nail art journey inspired by Instagram, here’s a handy list of essentials:
- Base coat for a strong foundation.
- Nail polish in your chosen colors.
- Top coat for a glossy finish.
- Nail art brushes for detailed designs.
- Stickers or stencils for easy application.
- Dotting tool for intricate patterns.
- Nail file and buffer for shaping.
Arm yourself with these tools, and you’ll be ready to bring your favorite Instagram nail designs to life.
How to Recreate the Look
Recreating popular nail designs from Instagram can be easier than you might think. Follow these steps to achieve an eye-catching manicure:
Clean and Prep: Start with clean, dry nails. Push back your cuticles and file your nails to your desired shape.
Apply Base Coat: Apply a layer of base coat to protect your nails and help polish adhere better.
Paint the Base Color: Choose a solid color as your base—think trendy pastel hues, bold neons, or sophisticated neutrals.
Add Design Elements: Use nail art brushes or stickers to apply intricate designs. For example, stripes, florals, or charming dots can elevate your look dramatically.
Accent Nail: Consider making one nail an accent with glitter or chrome finish for an added pop of glamour.
Seal the Art: Finish off with a top coat to lock in your design and add shine.
Curing Time: If using gel polish, don’t forget to cure each layer under the UV lamp.
Best Nail Shapes for This Design
The shape of your nails can significantly change how your nail art appears. Here are the best nail shapes to complement popular designs:
- Almond Nails: Great for elongated designs and intricate artwork.
- Square Nails: Perfect for geometric patterns and clean lines.
- Stiletto Nails: Ideal for dramatic, eye-catching designs.
- Round Nails: Soft designs like florals work beautifully on shorter, round nails.
Adjust your nail shape depending on your personal style and the specific design you want to try!
Best Nail Length
While short nails can show off understated designs beautifully, long nails allow for more intricate and creative nail art. Here’s a breakdown:
- Short Nails: Opt for simple, chic designs or negative space art to keep it classy.
- Medium Length: This offers a balanced surface for detailed nail art without overwhelming your fingers.
- Long Nails: Go wild with creative designs; larger canvases allow for plenty of fun details.
Color Combinations
When selecting a color palette, consider these trendy combinations that are sure to turn heads:
- Pastels: Soft pinks, mint greens, and lavender are perfect for spring.
- Neon Brights: Coral, lime, and electric blue shine brightly during summer.
- Earthy Tones: Rust, mustard, and sage greens are perfect for autumn styles.
- Deep Hues: Dark navy, forest green, and burgundy are excellent choices for winter.
Don’t be afraid to mix and match these colors—layering shades can create a gorgeous ombre effect!
Cute Variations to Try
Once you get the hang of a basic design, why not mix it up? Here are some cute variations you can experiment with:
- Glitter Gradient: Add a shimmering glitter effect that fades from the base to the tips.
- Marble Effect: Use a swirl technique to imitate the look of beautiful marble.
- Negative Space Designs: Leave portions of your nail bare for an artsy yet chic look.
- Foil Accents: Gold or silver foil can add a touch of luxury to any manicure.
Nails for Different Occasions
Nail art can enhance your look regardless of the situation. Here are some ideas for specific occasions:
- Weddings: Opt for soft pastels or elegant nude shades with delicate floral accents.
- Parties: Go bold with neon colors or glamorous glitter for nights out.
- Everyday Wear: Keep it simple yet chic with a classic French manicure or muted tones.
- Seasonal Themes: Customize your nail art to reflect the season—think warm oranges and browns for fall, frosty blues for winter!
Seasonal Ideas
Seasonal nail designs allow you to embrace the ambiance of the time of year. Here are some ideas:
- Spring: Floral prints, pastel colors, and light-hearted accents like polka dots.
- Summer: Bright pop colors, ombre designs, and beach-themed accents.
- Autumn: Warm, rich colors, plaid patterns, and cozy textures like matte finishes.
- Winter: Shimmering hues, snowflake accents, and deep jewel tones.
Beginner Tips
If you’re new to the nail art scene, here are some helpful hints:
- Start Simple: Begin with straightforward designs like solid color with a single accent nail before moving on to more complex styles.
- Practice Makes Perfect: Don’t be discouraged if your first attempts aren’t perfect; keep practicing!
- Use Quality Products: Invest in good quality nail polish and tools for better application and durability.
How to Make Your Manicure Last Longer
To ensure your beautiful nail art stands the test of time, consider these tips:
- Base and Top Coats: Never skip the base and top coats as they provide necessary protection and increase longevity.
- Avoid Hot Water: Try to avoid prolonged contact with hot water since this can lift your polish.
- Moisturize: Keep your cuticles moisturized to prevent breakage and enhance your manicure’s look.
Frequently Asked Questions
How can I remove glitter nail polish?
Glitter polish can be tough to remove. Consider soaking a cotton ball with remover and placing it on your nail to let it sit for a few minutes before gently rubbing away the glitter.How do I fix a chipped nail?
If you chip a nail, you can buff it gently and apply a fresh coat of polish. For deeper chips, consider using nail glue to fix any broken sections.Can I do nail art if I have short nails?
Absolutely! There are plenty of stunning designs that look fantastic on short nails, focusing on color and subtle patterns.
Conclusion
Instagram is a boundless source of nail art inspiration, brimming with creative ideas for any nail type, shape, or occasion. By exploring different designs and following the tips we’ve shared, you’ll be well on your way to achieving stunning manicures that reflect your style. From glossy finishes to intricate nail art patterns, the possibilities are endless!
So open up Instagram, follow some fabulous nail artists, and let your creativity flow. Whether you go for vibrant colors, chic neutrals, or dazzling glitter, remember that your nails are a canvas waiting for your personal touch. Embrace the beauty of nail art, share your creations, and inspire others in this gorgeous community!