
Manly Sandalwood Soap Recipe: A DIY Guide for All Skin Types
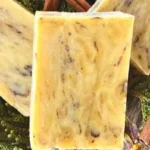
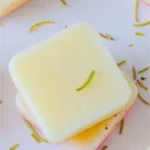
My manly man asked me the other day to make him some soap. You might be thinking, "Soap? Really?" But trust me, this isn’t just any soap—it’s a ruggedly refined, Manly Sandalwood Soap that caters to all skin types. Perfect for keeping your skin feeling deep clean and luxuriously smooth, this homemade soap is not only straightforward to make but also a fun project for DIY enthusiasts of all levels.
Why You Will Love This Recipe
Making your own soap can feel incredibly rewarding, and this simple Manly Sandalwood Soap Recipe is a fantastic introduction to the world of DIY soap crafting. It combines the masculine scent of sandalwood with natural ingredients that nourish the skin, making it suitable for everyone. Whether you’re crafting for yourself or preparing thoughtful handmade gifts, this soap recipe is a versatile choice.
Ingredients
To get started, you will need the following ingredients:
- Base:
- 1 lb (16 oz) of melt-and-pour glycerin soap base (clear or opaque, depending on your preference)
- Fragrance:
- 2-3 tablespoons of sandalwood essential oil (adjust for stronger or gentler scent)
- Color (optional):
- A dash of brown oxide or a natural colorant to mimic sandalwood (optional)
- Additives (optional):
- 1 tablespoon of finely ground oatmeal for exfoliation
- 1 tablespoon of shea butter or cocoa butter for added moisture
Equipment
Here’s what you’ll need to gather before starting:
- A microwave-safe bowl or double boiler
- Soap mold (silicone molds work great for easy release)
- Stirring spoon or stick blender
- Measuring spoons
- Kitchen scale (for precise measurements)
- An optional thermometer to check the soap base temperature
Step-by-Step Instructions
Preparation
Cut the Soap Base: Chop your glycerin soap base into small cubes for even melting.
Melt the Soap:
- Microwave Method: Place the soap cubes in a microwave-safe bowl and heat in short bursts (30 seconds) until completely melted. Stir in between bursts to avoid overheating.
- Double Boiler Method: Fill the bottom pot of a double boiler with water and allow it to simmer. Add the soap cubes to the top pot and melt, stirring frequently.
Mix in Additives: Once the soap is melted, remove it from heat. Quickly mix in the optional ground oatmeal and shea or cocoa butter if using.
Add Fragrance: Stir in 2-3 tablespoons of sandalwood essential oil. The warmth of the soap will help release the fragrance.
Color it Up: If using the brown oxide or colorant, add a tiny amount now and mix until you achieve your desired shade.
Pour into Molds: Carefully pour the melted soap mixture into your molds. Leave a little space if adding embeds or decorative elements.
Let it Set: Allow the soap to cool completely at room temperature, or hasten the process by placing it in the fridge for about 30 minutes.
Remove from Molds: Once hardened, gently pop the soap out of the molds.
Tips for Success
- Monitor Temperature: Ensure the soap base doesn’t exceed 140°F (60°C) as it can affect the consistency and clarity.
- Prevent Bubbles: If you see bubbles on the surface, you can lightly spray rubbing alcohol to eliminate them.
Common Mistakes to Avoid
- Overheating the Soap: Melting too quickly can cause the soap to burn or turn cloudy. Always melt slowly and carefully.
- Skipping Measurements: Even if it feels intuitive, measuring your additives, especially fragrances and colorants, can lead to inconsistencies.
Variations and Customization Ideas
Feel free to experiment with the basic recipe! Here are some customization ideas:
- Change the Scent: Try different essential oils like cedarwood, pine, or eucalyptus for varied aromas.
- Add Natural Exfoliators: Coffee grounds, poppy seeds, or sea salt can enhance exfoliating properties.
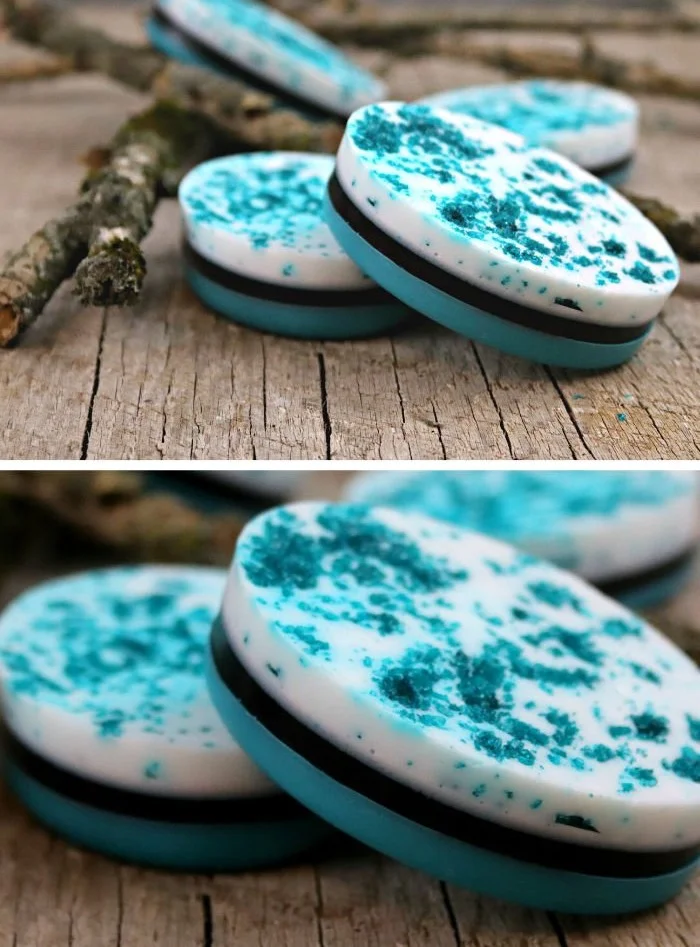
- Creative Molds: Use fun-shaped molds or add layers of colored soap for a striped effect.
Storage and Shelf Life
Store the completed soap bars in a cool, dry place away from direct sunlight. They can last for about 6 to 12 months without losing quality, though they can be used much longer if kept dry and protected.
Safety Tips
- While this recipe uses a melt-and-pour method and avoids lye, always ensure your workspace is clean and organized.
- Avoid ingesting any soap ingredients and keep them out of reach of children and pets.
- Wear gloves if you have sensitive skin to prevent irritation from essential oils or other additives.
Frequently Asked Questions
1. Can I use any soap base for this recipe?
Yes, you can use any melt-and-pour soap base. Choose clear, opaque, or even natural soap bases depending on your preference for ultimate customization.
2. Is sandalwood oil suitable for all skin types?
Sandalwood essential oil is generally considered safe for most skin types; however, those with sensitive or allergic skin should do a patch test first.
3. How can I enhance the scent of my soap?
To enhance the scent, you can increase the amount of sandalwood essential oil, but do so gradually to avoid overpowering the fragrance.
4. Can I add colorants?
Absolutely! Natural colorants like clays or micas can enhance visual appeal and can be mixed in while melting the soap base.
5. What is the best way to package handmade soap?
You can package your soap in craft paper, cellophane, or a decorative box. Adding ribbons or labels makes it a perfect gift!
6. Why did my soap turn out cloudy?
Cloudiness can occur if the soap base was overheated. Always melt slowly at lower temperatures for a clear finish.
Conclusion
Making your own Manly Sandalwood Soap is a fulfilling project that not only taps into your creativity but also provides a personal touch for gifts or everyday use. I encourage you to dive into this DIY project, experiment with scents and textures, and enjoy the soothing satisfaction this homemade soap brings. Happy crafting!