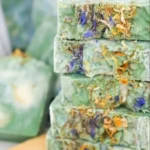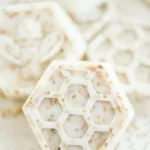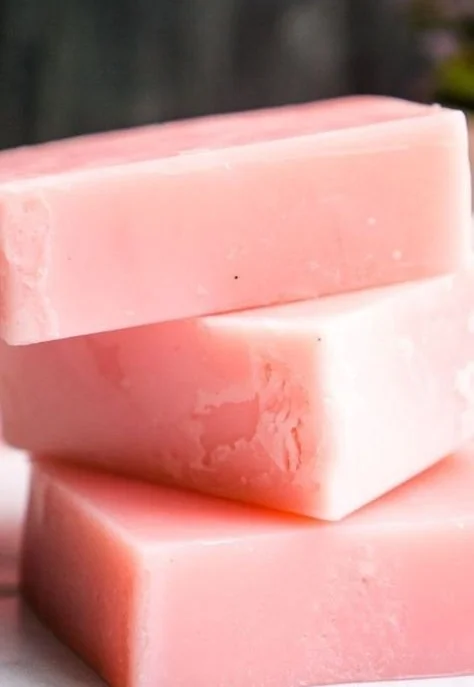

Start Your Soapmaking Journey with the Best Beginner-Friendly Recipe!
If you’re looking to dive into the world of handmade soap, you’re in the right place! Nothing beats the satisfaction of crafting your very own beautiful bars of soap that not only look good but feel great on your skin. In this guide, we’ll walk you through a simple yet effective soap recipe that’s perfect for beginners. So, grab your supplies and let’s make some delightful homemade soap!
Why You Will Love This Recipe
This soapmaking recipe is designed specifically for beginners, offering a moisturizing and bubbly bar that’s straightforward to create. You’ll love how customizable it is, allowing you to experiment with scents, colors, and additives. Furthermore, making your own soap can also be a thoughtful gift for friends and family.
Ingredients
For this beginner-friendly recipe, you’ll need the following:
- Olive Oil: 16 oz (provides moisture)
- Coconut Oil: 16 oz (adds bubbles and hardness)
- Palm Oil: 16 oz (helps stabilize the soap)
- Distilled Water: 12 oz (for mixing with lye)
- Sodium Hydroxide (Lye): 6.6 oz (caustic soda required for saponification)
- Essential Oils or Fragrance Oils: 1 oz (optional for scent)
- Colorants: (optional, depending on your preference)
Note: Always use a reliable soap calculator for exact lye quantities based on your oils to ensure safety and effectiveness.
Equipment
Before you start, you’ll need the following equipment:
- Digital Scale: For accurate measurements
- Heat-Resistant Mixing Pitcher: For mixing lye and water
- Mixing Bowl: For your oils
- Stick Blender: To ensure a smooth consistency
- Soap Molds: Silicone molds work best and are easy to use
- Safety Gear: Gloves, goggles, and a long-sleeved shirt to protect your skin and eyes
- Thermometer: To check temperatures
- A Well-Ventilated Area: To safely handle lye
Step-by-Step Instructions
Now that you have your ingredients and equipment ready, let’s dive into the soap-making process.
Step 1: Prepare Your Workspace
Safety first! Make sure you’re wearing your protective equipment (gloves, goggles) and working in a well-ventilated area. Clear your workspace of any clutter, so you have plenty of room to work.
Step 2: Measure the Ingredients
Using your digital scale, accurately measure out your oils (olive, coconut, and palm) and set them aside. Weigh your distilled water and sodium hydroxide separately—always remember to use lye in a well-ventilated area.
Step 3: Mix the Lye and Water
- Caution: Always add lye to the water, never the other way around.
- Slowly pour the lye into the water while stirring continuously. It will heat up and release fumes; this is normal, so make sure you’re in a well-ventilated area.
- Set it aside to cool to about 100-110°F.
Step 4: Heat the Oils
In a microwave or on the stovetop, gently heat your oils until they are melted and combined. Allow them to cool to the same temperature range (100-110°F) as your lye solution.
Step 5: Combine Lye and Oils
Once both the lye and the oils are at the desired temperature, carefully mix them together:
- Pour the lye solution into your melted oils.
- Use the stick blender to mix them until you reach "trace"; this means it should leave a light swirl on the surface for a few moments.
- If using, add your fragrance or essential oils and any colorants you desire. Blend until fully incorporated.
Step 6: Pour Into Molds
- Gently pour your soap mixture into the molds.
- Tap the molds on a surface to remove any air bubbles.
Step 7: Insulate and Cure
Cover the molds with a towel to insulate them. Let them sit for 24-48 hours until they harden. Once solid, remove them from the molds.
Step 8: Cut and Cure the Soap
- Cut your soap into bars if necessary.
- Allow the bars to cure for about 4-6 weeks in a cool, dry place to complete the saponification process.
Tips for Success
- Measure Accurately: Use a digital scale for all measurements, especially for lye.
- Temperature Control: The success of your soap relies on the temperatures of your oils and lye.
- Stay Organized: Keep all your tools and materials ready before you start.
Common Mistakes to Avoid
- Lye Exposure: Always remember that lye is hazardous. Handle it with care, and ensure no children or pets are nearby.
- Skipping Safety Gear: Never skip your gloves and goggles when handling lye.
- Not Testing for Lye Concentration: Always double-check your calculations with a soap calculator to avoid an incorrect lye mixture.
Variations and Customization Ideas
- Essential Oils: Experiment with different scents like lavender, eucalyptus, or orange for unique soap bars.
- Colorants: Use natural colorants, like turmeric or spirulina, for earthy tones.
- Additives: Incorporate oatmeal, dried flowers, or honey for added texture and benefits.
Storage and Shelf Life
Store your finished soap bars in a cool, dry area away from direct sunlight. They can last up to a year if stored properly. Homemade soap can also be packaged beautifully for gifts, making it a thoughtful present.
Safety Tips
- Always measure lye in a well-ventilated area.
- Wear protective gloves and goggles.
- Be mindful of where you store your chemicals and soap supplies to avoid any accidents.
- Always label any containers containing lye or lye-heavy mixtures clearly.
Frequently Asked Questions
Q: Can I make soap without lye?
A: All soap is made from lye, as it is necessary for the saponification process. However, melt-and-pour soap bases have already undergone this process, making them beginner-friendly.
Q: How do I know when my soap is ready to cut?
A: Your soap should be firm to the touch, and you should be able to see a significant change in texture from the plain oils.
Q: What if my soap doesn’t harden?
A: If your soap remains soft, it may need more curing time. Ensure that you measured lye correctly. If it’s too soft, it could mean an excess of water.
Q: Can I use this recipe without palm oil?
A: Yes! You can substitute palm oil with additional coconut or olive oil, but keep in mind this may affect the soap’s hardness and lather.
Q: What’s the best way to store soap?
A: Store your soap in a cool, dry place, preferably away from moisture and sunlight, to ensure it stays fresh.
Q: How can I adjust the scent and color of my soap?
A: You can experiment with different essential oils and colorants based on your preferences. Just make sure to test small batches first.
Conclusion
Congratulations on taking your first step into soapmaking! This beginner-friendly recipe is a fantastic introduction to the world of DIY soap. With time, you’ll gain confidence and creativity in crafting your unique bars. Remember to have fun and explore different scents and designs! Enjoy your soapmaking adventure, and don’t hesitate to share your creations with family and friends! Happy crafting!