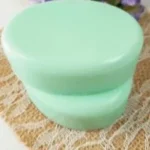

A Simple Hot Process Soap Recipe with Cooling Aloe Vera for Soothing Sun-Kissed Skin
Making your own soap is both a rewarding and creative endeavor, especially when you can enjoy beautiful, natural products that soothe and pamper your skin. If you’ve spent a little too much time in the sun this summer, this hot process soap recipe featuring cooling aloe vera is perfect for rejuvenating your sun-kissed skin. Plus, with hot process soap, you don’t have to wait weeks for it to cure; it’s ready to use after just 1-2 days!
Why You Will Love This Recipe
This DIY soap not only comes together quickly but also contains aloe vera, renowned for its soothing and hydrating properties. When combined with a selection of natural oils, your skin will thank you for this gentle and nourishing bar. Here’s why you’ll love this recipe:
- Quick to Make: Unlike cold process soap, hot process soap doesn’t require a long cure time.
- Natural Ingredients: Utilizing safe and skin-friendly ingredients means you can customize it to your needs.
- Soothing Properties: Aloe vera is fantastic for calming sunburned or irritated skin.
Ingredients
Here’s a list of what you’ll need for this soothing soap:
- Lye (Sodium Hydroxide): 4.68 oz (133g)
- Distilled Water: 12.3 oz (348g)
- Coconut Oil: 5.9 oz (168g) – great for lather and hardness
- Olive Oil: 5.5 oz (156g) – nourishing and moisturizing
- Sweet Almond Oil: 3.5 oz (99g) – adds nourishment
- Aloe Vera Gel: 4 oz (113g) – soothing agent
- Essential Oils: (optional) 1 oz (28g) – choose your favorites for fragrance (lavender and tea tree work well)
- Colorants: (optional) 1 tsp – natural colorants to customize your soap
Equipment
Gather the following tools and materials before starting:
- Safety Gear: Gloves, goggles, and a long-sleeved shirt to protect against lye
- Large Pot: For heating oils
- Heat-Resistant Mixing Bowl: For lye solution
- Stick Blender: To blend your soap
- Soap Molds: Silicone molds work best for easy removal
- Thermometer: To check temperatures of oils and lye solution
- Scale: To weigh your ingredients accurately
- Spatula: For scraping down the sides of your pot
Step-by-Step Instructions
Follow these steps to create your own soothing aloe vera soap:
Prepare Safety Gear:
- Wear your gloves and goggles before handling lye.
Mix the Lye Solution:
- In a heat-resistant bowl, carefully add the lye to the distilled water (NEVER the other way around, as it can create a dangerous reaction).
- Stir gently until the lye is completely dissolved. The solution will heat up. Allow it to cool to around 100°F (38°C).
Heat Oils:
- In a large pot, combine coconut oil, olive oil, and sweet almond oil. Heat gently until melted and mixed together.
Combine Lye and Oils:
- When both the oils and lye have cooled to approximately 100°F (38°C), slowly pour the lye solution into the oils.
- Use the stick blender to mix until you reach trace—a pudding-like consistency where droplets remain on the surface for a few moments before sinking.
Add Aloe Vera and Essential Oils:
- Once you reach trace, mix in the aloe vera gel and any essential oils. Blend thoroughly to incorporate everything evenly.
Cook the Soap:
- Cover your pot and let it cook on low heat for about 30-45 minutes, stirring occasionally. The soap will transform from a thick paste to a translucent, gel-like consistency.
Mold the Soap:
- Once the soap is fully cooked, pour it into your prepared molds. You can smooth the top with a spatula if desired.
Cure the Soap:
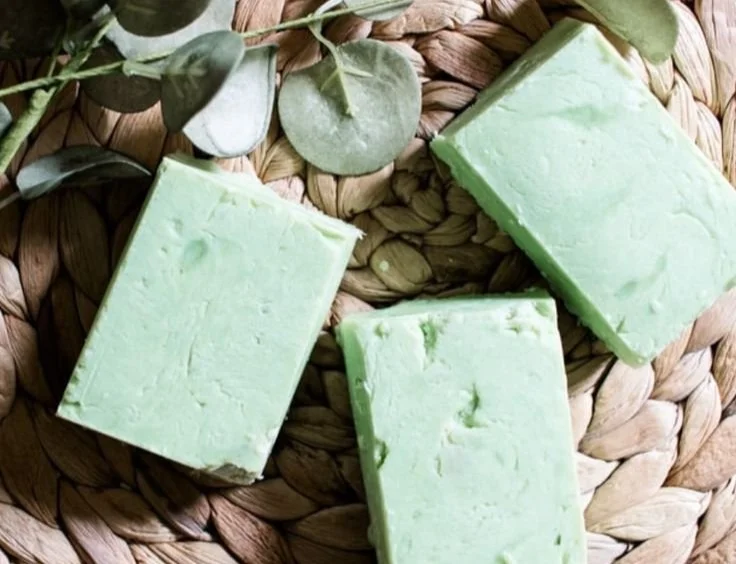
- Allow the soap to cool and harden for 1-2 days. Once solid, remove it from the molds and cut into bars.
Tips for Success
- Use a Scale: Accurate measurements ensure your soap turns out well.
- Blend at Intervals: Avoid over-blending by mixing in short bursts with the stick blender.
- Temperature Checks: Keep an eye on the temperatures of your oils and lye; both should be close to the same for excellent emulsification.
Common Mistakes to Avoid
- Skipping Safety Gear: Always wear protective equipment when handling lye.
- Imprecise Measurements: Not weighing your ingredients can lead to inconsistencies in your soap.
- Not Cooking Long Enough: Make sure to let your soap cook long enough to avoid a lye-heavy finish.
Variations and Customization Ideas
- Change the Oils: Substitute any of the oils with others like avocado or jojoba for different properties.
- Add Exfoliants: Consider incorporating oatmeal or coffee grounds for an added scrubby texture.
- Colorants: Use natural colorants like turmeric or spirulina for a beautiful hue.
Storage and Shelf Life
Store your finished soap in a cool, dry place away from direct sunlight. Properly stored, your soap should maintain its quality for 6 months to a year.
Safety Tips
- Handle lye with care and always in a well-ventilated area.
- Store lye and finished soap out of reach of children and pets.
- Always follow safety instructions and guidelines when using chemicals.
Frequently Asked Questions
Q1: Can I substitute aloe vera with something else?
Absolutely! You can use other soothing ingredients like honey or yogurt, but this may slightly alter the properties of the soap.
Q2: What if I don’t have a stick blender?
You can use a whisk, but it will take longer to reach trace. Be ready to stir vigorously and patiently!
Q3: Is the lye solution safe to pour down the drain after use?
This should be neutralized before disposal. It’s better to consult local regulations on disposal.
Q4: Can I use fragrance oils instead of essential oils?
Yes, but ensure they are skin-safe and suitable for soap-making.
Q5: What can I do if I notice a lye-heavy smell after cooking?
Ensure the soap has been properly cooked. If in doubt, re-cook it for an additional 10-15 minutes.
Q6: Can I make this recipe using the cold process method instead?
While this recipe is specifically designed for hot process, the ingredients can be adapted to cold process with adjustments to measurements and timing.
Conclusion
Making your own hot process soap with cooling aloe vera is an enjoyable and fulfilling craft that yields amazing products with gentle ingredients. Perfect for soothing that sun-kissed skin, this recipe eliminates the long curing times associated with cold process soap-making. Whether you keep the bars for yourself or give them as handmade gifts, this natural soap creation will surely delight. So gather your materials, follow the steps, and immerse yourself in the wonderful world of soap-making! Happy crafting!