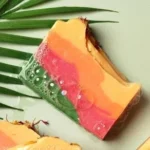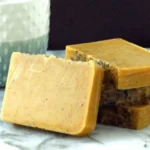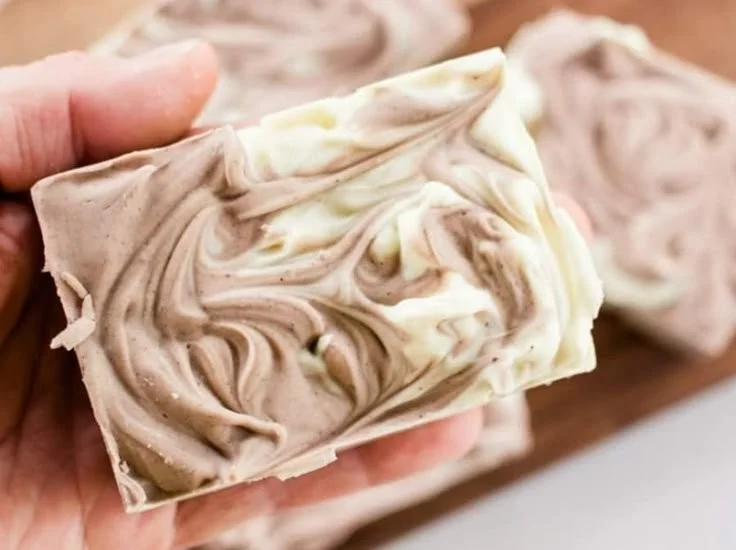

Homemade Soap Bars for Men: Fresh, Convenient, and Easy to Make
Smelling good and saving time is high on many men’s wish lists. That’s why homemade soap bars for men are just the thing—they’re quick to grab on the run and perfect for freshening up whenever you need. Making your own soap not only allows you to customize aromas and aesthetics but also ensures that you are using natural ingredients that are gentle on your skin. Follow this comprehensive guide to create your very own handmade soap bars that are stylish, functional, and packed with masculine scents.
Why You Will Love This Recipe
Creating DIY soap bars is an enjoyable and rewarding project. Not only do you get to personalize your soap with your favorite essential oils and natural colors, but you also save money in the long run. Plus, homemade soap makes an excellent gift for friends and family, showcasing your creativity and thoughtfulness.
Key Benefits of Homemade Soap Bars
- Customization: Choose scents, colors, and add-ins that suit your taste and style.
- Quality Control: Know exactly what’s in your soap, eliminating harsh chemicals found in commercial products.
- Saves Time: Quick and easy to make, perfect for busy lifestyles.
Ingredients
To create these homemade soap bars for men, you’ll need the following ingredients. This recipe uses the melt and pour method, which is beginner-friendly and safe.
Basic Ingredients
- 1 lb (16 oz) soap base (goat’s milk, shea butter, or glycerin)
- 1 tbsp (15 ml) fragrance oil (choose masculine scents such as sandalwood, cedarwood, or bergamot)
- 1 tsp (5 ml) natural colorant (optional, e.g., activated charcoal for a rugged look)
- Add-ins: optional ingredients like oats, coffee grounds, or dried herbs for texture.
Equipment
Before you start, gather the following equipment:
- Microwave-safe bowl or double boiler for melting soap base
- Soap mold (silicone molds work great for easy removal)
- Stirring utensil (a wooden stick or spoon)
- Digital scale for precise measurements
- Oven mitts for handling hot materials
- Cutting board and knife for chopping soap base
Step-by-Step Instructions
Preparation Time:
- 15 minutes for preparation
- 30 minutes for making and setting
- Total Yield: Approximately 4-6 bars (depending on the size of your mold).
Making Your Soap Bars:
Cut the Soap Base: Using a knife, cut your soap base into small cubes. This allows for easier melting.
Melt the Soap Base: Place the soap cubes in a microwave-safe bowl or double boiler. If using a microwave, melt for 30-second intervals, stirring between each interval until fully melted. If using a double boiler, stir regularly until melted.
Add Fragrance Oils: Once melted, remove the soap base from heat. Add your chosen fragrance oil. Stir gently to combine.
Color and Texture: If desired, add the natural colorant for visual appeal. You can also stir in any add-ins such as oats or coffee grounds.
Mold the Soap: Pour the mixture into your soap molds. Tap the molds gently on the counter to release any air bubbles.
Cool and Set: Allow the soap to cool at room temperature for about 30 minutes, or until it hardens completely. You can speed up this process by placing the molds in the refrigerator.
Remove from Molds: Once hardened, carefully remove the soap bars from the molds.
Cure Time: Let your soap bars set in a cool, dry place for a few days to allow any excess moisture to evaporate.
Tips for Success
- Work Quickly: The soap mixture can begin to cool and harden if left for too long. Always be prepared when adding ingredients.
- Use Quality Ingredients: Opt for high-quality soap base and fragrance oils for the best results.
- Experiment with Scents: Feel free to blend different fragrance oils to create a unique scent profile.
Common Mistakes to Avoid
Overheating the Soap Base: Keep an eye on your soap as it melts to avoid burning, which can affect the scent and texture.
Too Much Add-In: Overloading the soap with oatmeal or herbs can prevent the soap from hardening properly. Stick to recommended amounts.
Not Using a Proper Mold: If your mold isn’t flexible enough, it can be difficult to remove the finished bars. Silicone molds are highly recommended.
Variations and Customization Ideas
- Essential Oils: Instead of fragrance oils, try essential oils for a more natural scent. Lavender, eucalyptus, and peppermint are excellent choices.
- Add Natural Scrubs: Incorporate natural scrubs such as poppy seeds or sea salt for an exfoliating effect.
- Colors: Experiment with different natural colorants, such as turmeric for yellow or spirulina for green, depending on the look you want.
Storage and Shelf Life
To maintain the integrity of your soap bars, store them in a cool, dry place away from direct sunlight. Wrap them in wax paper or place them in a cardboard box for protection. When stored properly, your soap can last up to a year—though you will likely want to use it before then!
Safety Tips
- Avoid Lye: This recipe does not require lye, making it safe for beginners. If you decide to explore other methods in the future, remember that sodium hydroxide (lye) is hazardous and needs to be handled with caution.
- Work in a Well-Ventilated Area: Even when using safe methods, ensure good ventilation while you work.
- Protective Gear: If you ever use lye, wear goggles and gloves to protect yourself.
Frequently Asked Questions
1. Can I use regular cooking oil in my soap?
No, cooking oil won’t produce the same results as soap-specific oils. Stick to oils designed for soap making for the best texture and lather.
2. How long does it take for the soap to cure?
Using the melt-and-pour method, your soap is ready to use as soon as it hardens. However, letting it sit for a couple of days improves its quality.
3. Can I add colors after the soap base is melted?
Yes, adding colors after melting is the best way to ensure an even distribution.
4. Will my soap smell as strong once it hardens?
The scent typically mellows out a bit as it dries, so a stronger fragrance can be added if desired—up to about 1.5% of the total weight of the soap base.
5. Can I remelt and re-add ingredients if I’m not satisfied?
Yes, soap can be remelted if you need to add more scented oils or color, just make sure to keep an eye on the temperature.
6. How do I ensure my soap doesn’t sweat?
If your soap develops a film or "sweat" on the surface, it’s usually excess glycerin from the base. Making sure to properly cure your soap and store it in cool, dry conditions can prevent this.
Conclusion
Creating your own homemade soap bars not only adds a personal touch to your hygiene routine but also allows you to control the ingredients and scents. With this simple melt-and-pour recipe, you can enjoy fresh-smelling bars that are easy to whip up and even easier to use. Plus, these soaps make fantastic, personalized gifts. So why not gather your ingredients, unleash your creativity, and embark on this fun DIY adventure? Happy soap making!