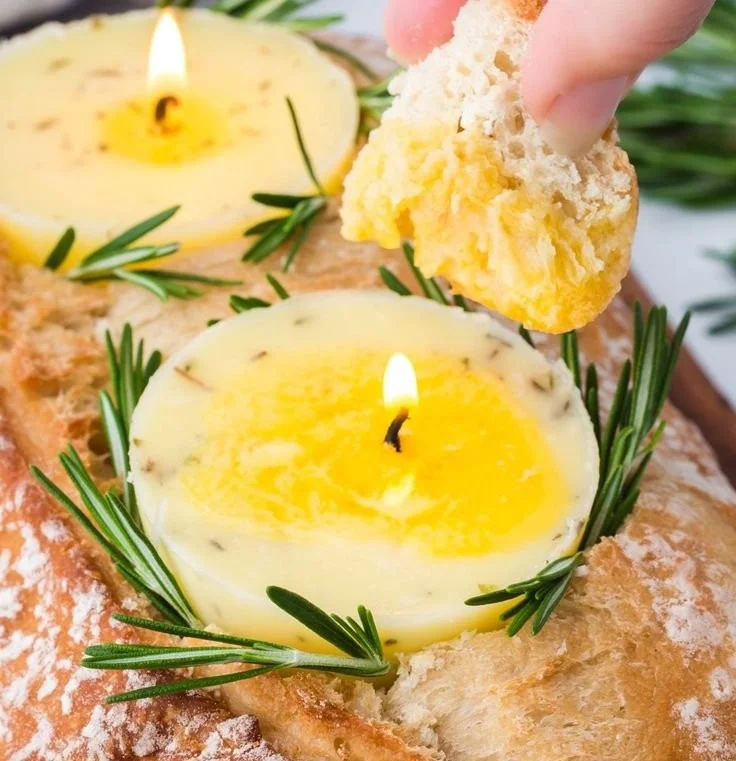

Have you ever been enchanted by the alluring aroma of a garlic butter candle? The idea of a soothing candle that doubles as a delightful dip for your bread is both intriguing and delicious! In this article, I will guide you step-by-step in creating your very own Garlic Butter Candle at home. Whether you want to impress your guests at dinner parties or enjoy a comforting ambiance during a cozy night in, this unique candle will both scent and serve.
Why You Will Love This Recipe
Creating a Garlic Butter Candle is not just about making a unique piece for home decor; it’s also a fun and rewarding DIY project. When you make this candle, you’ll learn about candle-making techniques, understand how to properly infuse scents, and create a culinary experience you and your guests will love. With easy-to-follow instructions and the comforting smell of garlic and butter wafting through the air, this project is a true delight in the world of homemade candles.
Ingredients
To make your own Garlic Butter Candle, you will need:
- Candle Wax: 1 pound of soy wax (or beeswax, if you prefer)
- Fragrance Oils: 20-30 ml garlic essential oil (or garlic-infused olive oil for a more natural approach)
- Butter Infusion: ½ cup unsalted butter
- Optional: 2-3 tablespoons of dried herbs (like rosemary or thyme) for added fragrance
- Wick: One cotton or wood wick (the size will depend on your chosen container)
Equipment
To successfully create your candle, gather the following tools:
- Double boiler or a heatproof bowl and pot
- Pouring pitcher
- Thermometer
- Stirring spoon
- Kitchen scale
- Wick holder (or pencil)
- Heat-safe container (a small ceramic dish or glass jar works well)
- Sharp knife or scissors
- Safety goggles and gloves (optional but recommended)
Step-by-Step Instructions
Follow these simple steps to create your Garlic Butter Candle:
Prepare Your Workspace: Ensure your work area is clean and free of clutter. Put on safety goggles and gloves if desired.
Melt the Wax:
- Fill the bottom pot of your double boiler with water and bring it to a simmer.
- Place the soy wax in the top pot or heatproof bowl and allow it to melt slowly, stirring occasionally. Monitor the temperature with a thermometer until it reaches around 180°F (82°C).
Add Your Aroma:
- Once the wax has melted, remove it from heat.
- Add your garlic essential oil or garlic-infused olive oil, stirring thoroughly to combine. If you want to add dried herbs, do so now.
- Allow the mixture to cool to about 160°F (71°C).
Prepare the Wick:
- Attach your wick to the center of your container using a bit of melted wax or a wick adhesive. Hold the wick in place with a wick holder or pencil laid across the top of the container.
Pour the Wax:
- Carefully pour the melted wax into the container, ensuring the wick remains centered. Leave about half an inch of space at the top.
- Allow the candle to cool completely until set. This may take several hours.
Trim the Wick:
- Once fully cooled, trim the wick to about ¼ inch above the wax surface.
Storage:
- If not using immediately, store your Garlic Butter Candle in a cool, dry place away from direct sunlight.
Tips for Success
- Choose Quality Ingredients: For the best fragrance and burn time, opt for high-quality wax and fragrance oils.
- Experiment with Scent: Don’t hesitate to adjust the amount of garlic oil or add other fragrant herbs based on your preference.
- Wick Testing: Depending on the size of your candle, you may need to test different wick sizes for an optimal burn.
Common Mistakes to Avoid
- Overheating Wax: Always monitor the melting wax closely to avoid overheating, which can lead to smoking or a poor candle burn.
- Wrong Wick Size: Using a wick that is too small may not produce enough heat for a proper melt pool—resulting in a candle that won’t burn properly.
- Skipping the Cure Time: Allow your candle to cure for about 24 hours before lighting it. This enhances the scent throw.
Variations and Customization Ideas
Feel free to customize your Garlic Butter Candle to suit your taste! Here are some suggestions:
- Herb Infusions: Integrate different dried herbs like basil or parsley for a more complex flavor.
- Colorants: Add natural colorants to the wax like spices (turmeric for yellow) to give your candle a unique hue.
- Layered Candles: Pour layers of different waxes or fragrances to create a stunning visual effect.
Storage and Shelf Life
Your Garlic Butter Candle can last 6-12 months when stored properly. Keep it in a cool, dry place out of direct sunlight. Avoid extreme temperature changes which can cause the wax to crack or sweat.
Safety Tips
- Fire Safety: Always supervise burning candles and keep them away from flammable materials. Never leave a burning candle unattended.
- Handling Wax: Wax can be hot and cause burns, so handle it with care.
- Ventilation: Ensure good ventilation while working with hot wax and essential oils.
Frequently Asked Questions
1. Can I use regular butter instead of infused oils?
- Regular butter can introduce water to the candle, which could affect the burn and scent. For best results, use garlic-infused oil or essential oils.
2. How do I know if my candle wick is the right size?
- If your wick is too small, it may not sustain a flame; if it’s too large, it could burn too quickly. Consider testing a few different sizes before finalizing your candle.
3. Can I add color to my Garlic Butter Candle?
- Yes! Consider using natural colorants like food coloring or herbs to add a unique look to your candle.
4. How often should I trim the wick?
- Trim the wick to ¼ inch before every use to ensure a clean and efficient burn.
5. What do I do if my candle cracks?
- Small cracks can sometimes be remedied by reheating the surface with a heat gun or hairdryer to fill in the cracks with additional wax.
6. Can I store my candle in the fridge?
- While some people store candles in the fridge, it’s generally best to keep them in a cool, dry place to avoid condensation and temperature shock.
Conclusion
Creating a Garlic Butter Candle can be a delightful addition to your home or an impressive handmade gift for someone special. Not only does it fill your space with a warm, inviting aroma, but it offers a unique culinary twist that can elevate any occasion. By following the steps and tips provided, you will be well on your way to mastering this unique DIY project. Enjoy the process, and let your creativity shine! Happy candle-making!