
DIY Candles: A Step-by-Step Guide for Beginners
Creating your own candles at home can be a fun and satisfying experience. Not only do you get to customize scents and styles to match your personal taste, but you can also craft beautiful handmade gifts for friends and loved ones. In this guide, you’ll learn how to make your very own DIY candles, complete with useful tips and troubleshooting advice.
Why You Will Love This Recipe
Making homemade candles is enjoyable, and it allows you to express your creativity. Imagine filling your living space with the gentle glow of your creations, each fragrance tailored to your preferences. Whether you wish to make a calming lavender scent for relaxation or an invigorating citrus scent for energizing mornings, the options are endless.
Ingredients
For this basic candle-making project, you’ll need:
- Wax: 1 lb of soy wax (for a clean burn and easy scent throw)
- Fragrance oil: 2 oz (adjust based on scent strength preference)
- Wick: One or more wicks suitable for your container size
- Container: Glass jars or metal tins (heat-resistant)
Equipment
You’ll need the following tools to help with the candle-making process:
- Double boiler (or a microwave-safe container)
- Thermometer
- Stirring utensil (preferably wood or silicone)
- Scale for measuring wax and fragrance oil
- Wick holder or pencil (to stabilize the wick while pouring)
- Safety gloves and goggles (for handling hot materials)
Step-by-Step Instructions
Measure the Wax: Weigh out 1 lb of soy wax using a scale. This should fill your container about 3/4 full.
Melt the Wax:
- If using a double boiler: Fill the bottom pot with water and place the wax in the top pot. Heat it over medium attention while stirring until fully melted.
- If using a microwave: Place the wax in a microwave-safe container and heat in 30-second intervals, stirring in between, until fully melted.
Check the Temperature: Use a thermometer to ensure the wax has reached a temperature of about 170-180°F (76-82°C).
Add Fragrance Oil: Once the wax is melted, remove it from heat and add your fragrance oil (2 oz). Stir thoroughly to ensure even distribution.
Prepare the Wick: Secure the wick to the bottom of the container using a dab of melted wax or a wick sticker. Use a wick holder or pencil laid across the top of the container to keep the wick centered as the wax cools.
Pour the Wax: Slowly pour the melted wax into your container, leaving about 1/4 inch from the top.
Cool and Cure: Allow the candle to cool undisturbed at room temperature for several hours. For optimal scent throw, let your candle cure for about 24-48 hours.
Trim the Wick: Once the candle is completely solid, trim the wick to about 1/4 inch above the wax surface.
Tips for Success
- Temperature Control is Key: If you add fragrance oil at too high a temperature, it can burn off. Always follow the recommended pouring temperature for your wax type.
- Container Selection: Make sure the container you choose is heat-resistant and appropriate for candle-making.
Common Mistakes to Avoid
- Skipping the Cure Time: Allowing your candle to cure enhances the fragrance throw significantly. Patience pays off!
- Incorrect Wick Size: Using a wick that is too small can lead to tunneling, while a wick that is too large can cause a flame that’s too high. Make sure to choose the right wick size for your container.
Variations and Customization Ideas
Feel free to experiment with different colors and scents! Here are a few ideas:
- Color: Add candle dyes according to the manufacturer’s instructions while the wax is melting.
- Layered Candles: Create a layered effect by pouring wax in different colors, letting each layer cool slightly before adding the next.
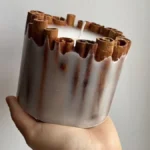
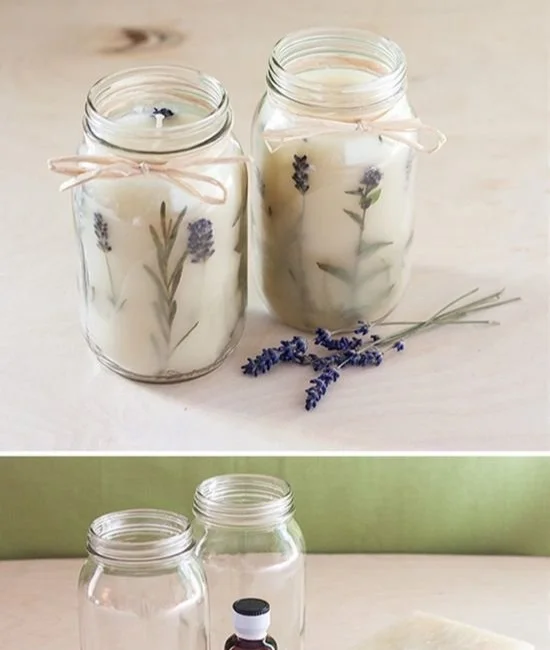
- Natural Additives: Consider adding dried flowers, herbs, or spices for a unique touch—just remember they should be heat-resistant.
Storage and Shelf Life
Store your homemade candles in a cool, dry place away from direct sunlight, which can cause them to fade or become damaged. Properly made candles can last for several months up to a year, but always check for any signs of degradation before use.
Safety Tips
- Always work in a well-ventilated area to avoid inhaling fumes.
- Wear safety gloves and goggles when handling hot materials to protect your skin and eyes.
- Never leave melting wax unattended, and keep it away from children and pets.
Frequently Asked Questions
1. How do I choose the right wick for my candle?
Choosing the right wick depends on the diameter of your container and the type of wax used. Refer to wick sizing charts available online to find a suitable option based on your container size.
2. Can I use essential oils instead of fragrance oils?
Yes, you can use essential oils, but keep in mind that they may not throw scent as strongly as fragrance oils, especially in soy wax.
3. How can I fix a candle with a tunneling problem?
If your candle has tunneled, you can carefully melt the top layer with a heat gun or hairdryer to smoothen it out evenly, allowing a fresh burn pool.
4. Can I use leftover wax from old candles?
Definitely, you can melt down leftover wax from other candles as long as you ensure it’s clean and free from debris.
Conclusion
Making your own candles is not only a rewarding DIY project but also a wonderful way to personalize your space or create meaningful gifts. With a few simple ingredients and tools, you can experiment with different scents and styles, making each candle a unique piece of art. Don’t hesitate to explore your creativity, and remember that practice makes perfect. Enjoy your candle-making journey!