
Making Homemade Beeswax Candles: A Step-by-Step Guide
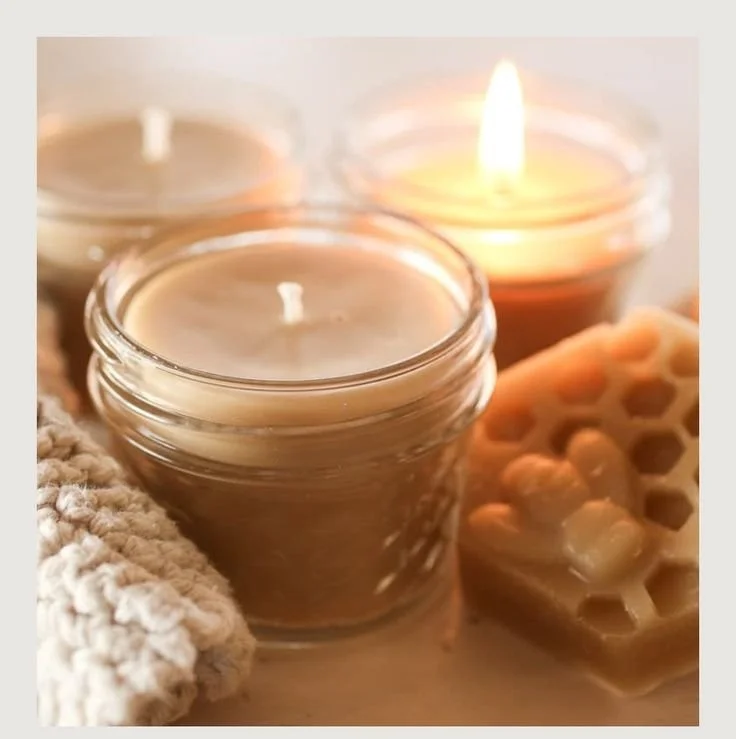
Creating your own beeswax candles offers a wonderful opportunity to connect with natural materials and enjoy the satisfaction of DIY craftsmanship. In this guide, we’ll walk you through the process of making and pouring beeswax candles—perfect for beginners and seasoned crafters alike. Whether you’re looking to enhance your home with the warm glow and subtle honey scent of beeswax candles or create thoughtful handmade gifts, this article is here to help.
Why You Will Love This Recipe
- Natural Materials: Beeswax is a natural, renewable resource that burns cleanly without producing toxic by-products.
- Customizable: You can easily modify your candles with essential oils, colors, or various molds.
- Sustainable Choice: By making your own candles, you contribute positively to the environment and reduce packaging waste.
Ingredients
Beeswax Candles Recipe:
- Beeswax: 1 pound (approximately 450 grams)
- Essential Oils (optional): 1 ounce (approximately 30 ml) for fragrance
- Candle Wick: Suitable for the diameter of your container (cotton or wooden wicks recommended)
Equipment
- Double boiler or a heat-safe bowl and pot
- Thermometer (optional but helpful)
- Pouring pitcher or metal container
- Stirring utensil (non-wooden, such as stainless steel or silicone)
- Wick holder or pencil/stick for wick placement
- Mold or container for pouring (glass jar, metal tin, etc.)
- Scale for measuring
Step-by-Step Instructions
Prepare Your Work Area: Lay down newspapers or an old cloth to protect your surfaces. Make sure you have a well-ventilated area.
Measure Beeswax: Weigh out 1 pound of beeswax. Break it into small chunks, which will make melting easier.
Set Up Double Boiler: Fill the bottom pot of your double boiler with water and bring it to a simmer. If you don’t have a double boiler, you can use a heat-safe bowl set over a pot of simmering water.
Melt the Beeswax: Place the beeswax in the top portion of the double boiler. Allow it to melt completely, stirring occasionally. Using a thermometer, aim for a temperature between 145°F and 175°F (63°C to 80°C).
Add Essential Oils (Optional): If you want to add fragrance to your candles, now is the time. Remove the melted wax from the heat and stir in your essential oils.
Prepare Your Wick: While the wax is melting, you can prepare your wick. Secure the wick to the bottom center of your container using a small amount of melted wax or a wick sticker. Use a wick holder or a pencil to keep the wick centered and upright as you pour the wax.
Pour the Wax: Once the beeswax is melted and scented (if desired), carefully pour it into your prepared container. Leave a little space at the top.
Cool and Set: Allow the candle to cool at room temperature until it solidifies completely, which may take a few hours. Avoid moving the candles while they are still setting.
Trim the Wick: After the candle has cooled, trim the wick to about 1/4 inch above the wax surface.
Tips for Success
- Quality Beeswax: Look for pure, filtered beeswax to ensure a clean burn and great scent.
- Wick Size: The wick size is crucial. Generally, a thicker wick is needed for wider candles. You may need to experiment with different wick sizes.
- Patience: Don’t rush the cooling process. Allow the candle to set undisturbed for the best results.
Common Mistakes to Avoid
- Overheating the Wax: Never exceed 175°F (80°C) to avoid changing the wax’s properties.
- Poor Wick Placement: Make sure your wick is centered and secured before pouring to prevent uneven burning.
- Rushing the Process: Let the candles cool completely before moving them to prevent cracks or uneven surfaces.
Variations and Customization Ideas
- Color: Add a few drops of candle dye specifically designed for beeswax to create colorful candles.
- Scent Blends: Experiment with different essential oil combinations. Lavender and chamomile create a relaxing scent, while citrus oils add a refreshing twist.
Storage and Shelf Life
Store your finished beeswax candles in a cool, dry place away from direct sunlight. When properly stored, they can last for years without losing quality.
Safety Tips
- Melting Wax: Always melt wax on low to medium heat to avoid fire hazards.
- Wick Safety: Ensure that the wick is trimmed properly for safe candle burning. A wick that is too long can cause the candle to flare up or burn inefficiently.
Frequently Asked Questions
Q1: Can I use beeswax sheets instead of blocks?
Yes, beeswax sheets can also be melted down and poured into molds. They may require additional care when molding, as they are thinner.
Q2: How do I know if my candle is burning properly?
A properly made candle should burn evenly, with a steady flame and minimal smoke. If the flame flickers or produces soot, consider trimming the wick or adjusting its size.
Q3: What should I do if my candle cracks?
Cracking can occur if the wax cools too quickly. To fix it, you can use a heat gun or hairdryer gently on the surface to melt it slightly and fill in any gaps.
Q4: How much essential oil should I add to my beeswax candles?
A general rule is to add 1 ounce of essential oils per pound of wax for effective scent throw without overpowering the beeswax’s natural aroma.
Q5: Can I mix beeswax with other waxes?
Yes, you can blend beeswax with other types of wax, like soy or coconut, to alter the burning properties and scent throw. Just be aware that this will change the characteristics of your candle.
Q6: Are beeswax candles environmentally friendly?
Absolutely! Beeswax is a natural product that burns cleanly, and by making your own candles, you reduce waste and packaging materials associated with store-bought candles.
Conclusion
Making homemade beeswax candles is a gratifying DIY project that not only brightens your space but also allows for creativity and personalization. With the right ingredients and some handy tips, you can fill your home with the natural warmth and subtle fragrances of beeswax. So gather your materials, follow these steps, and enjoy the wonderful experience of candle making. Happy crafting!