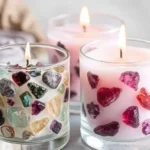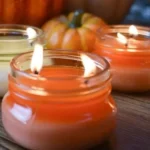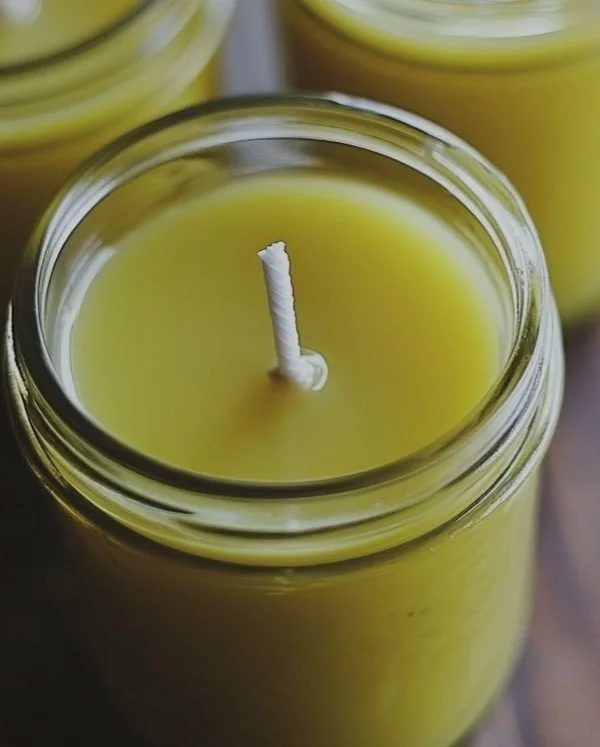

Create Your Own Handmade Candles: A Step-by-Step Guide to Crafting Beautiful, Scented Candles
Making your own candles at home is not only an enjoyable and rewarding craft but also a fabulous way to recycle old containers and brighten up your space. Whether you’re a natural living enthusiast or a creative mind looking to make handmade gifts, this step-by-step tutorial will guide you through crafting your own beautiful candles using granulated wax. Let’s dive into the art of candle-making!
Why You Will Love This Recipe
Crafting your own candles allows for creativity while providing a chance to use sustainable materials. You’ll learn how to melt wax, mix in scents, and utilize containers that might otherwise go unused. Plus, handmade candles make thoughtful gifts for friends and family or a way to add a personal touch to your home décor.
Ingredients
To get started, you’ll need the following ingredients:
- Granulated Wax: 1 pound (beeswax, soy wax, or paraffin wax can be used)
- Fragrance Oil: 1 to 2 ounces (optional, based on preference)
- Color Dye: (optional, if you desire colored candles)
Equipment
Gather the following tools for your candle-making adventure:
- Double boiler (for melting the wax)
- Candy or kitchen thermometer
- Stirring spoon (wooden or metal)
- Wicks (sized according to your container)
- Wick holder or adhesive (to secure the wick in place)
- Heatproof containers (old jars, teacups, or specially designed candle containers)
- Scale (for measuring wax and fragrance)
- Pouring pitcher (optional but helpful for precision)
- Safety gloves and eyewear
Step-by-Step Instructions
Step 1: Prepare Your Work Area
Clear a flat and stable workspace. Gather all your materials and tools as it will streamline the candle-making process.
Step 2: Measure Your Wax
Using your scale, measure out 1 pound of granulated wax. This typically yields about 2 to 3 candles, depending on the size of your containers.
Step 3: Melt the Wax
- Fill the bottom pot of your double boiler with water and bring it to a gentle simmer.
- Add the granulated wax to the top pot of the double boiler.
- Use your thermometer to monitor the temperature, aiming for 170-180°F (77-82°C).
Step 4: Add Fragrance and Color
Once the wax is melted:
- If you’d like to add fragrance, now is the time. Follow the manufacturer’s instructions for how much to add based on the weight of your wax (usually 1 ounce per pound).
- If using dye, add a small amount (follow package instructions) and stir gently until it is fully incorporated.
Step 5: Prepare Containers and Wick
- While your wax cools slightly to around 160°F (71°C), secure your wick to the bottom of each container using a wick holder or adhesive.
- Make sure the wick is centered. You can use a pencil or chopstick to hold the wick in place.
Step 6: Pour the Wax
Slowly and carefully pour the melted wax into your prepared containers. Ensure the wick stays centered as you pour. Leave about half an inch from the top of the container.
Step 7: Cool and Cure
- Allow the candles to cool undisturbed at room temperature for several hours or until fully hardened.
- If you want to create a smooth top surface, you can reheat and pour a small amount of wax on top once the initial pour has set.
Step 8: Trim the Wick
Once cooled, trim the wick to about 1/4 inch above the wax surface.
Step 9: Cure the Candles
If using fragrance, allow your candles to cure for a few days to two weeks for the best scent throw when burned.
Tips for Success
- Always use a thermometer to ensure your wax is at the right temperature for both melting and pouring.
- Experiment with different wick sizes to find the best match for your container and wax type.
- Test a small sample candle first if you’re trying out a new scent or color.
Common Mistakes to Avoid
- Not measuring your wax properly: Be precise to ensure the correct amount for your containers.
- Pouring wax too hot: This can cause the wax to crack as it cools.
- Over-colored candles: Too much dye can inhibit the wax’s ability to burn properly.
Variations and Customization Ideas
- Scent layering: Try using multiple scents in one candle by pouring layers of different wax at separate times.
- Natural dyes: Use natural ingredients like spices or herbs to add unique colors to your candles.
- Additives: Include dried flowers or herbs on top for a beautiful design.
Storage and Shelf Life
Store your candles in a cool, dry place away from direct sunlight. Properly stored, they can last for about a year, although some scents may fade over time.
Safety Tips
- Never leave melting wax unattended.
- Use heatproof containers to avoid breakage.
- Avoid pouring wax near open flames or sources of heat.
Frequently Asked Questions
Can I use any container for candle-making?
Yes, but make sure the container is heatproof. Glass jars, metal tins, and ceramic cups work great as long as they can handle high temperatures.
How do I know if my wick is the right size?
A test burn is often the best way to determine if your wick is suitable. If your candle is smoking, flickering, or has a small flame, you may need a thicker wick; if it’s burning too quickly or has a low flame, consider a thinner wick.
Can I reuse old candles?
Absolutely! You can melt down old candles and re-pour them into new containers. Just ensure they are made of the same type of wax for consistent burning.
Is it safe to burn my homemade candles?
Yes, as long as you follow safety guidelines. Always keep the candle within sight while burning, away from drafts, and on a stable surface.
Can I add essential oils instead of fragrance oils?
Yes, essential oils can be used, but they may not provide as strong a scent throw. Adjust the quantity according to the fragrance strength you desire.
How can I ensure an even burn for my candles?
Proper wick sizing is critical. If needed, conduct test burns to make adjustments. Additionally, ensure the wax is thoroughly melted before extinguishing the flame.
Conclusion
Creating your own handmade candles is a delightful and rewarding endeavor that results in beautiful, personalized gifts and home décor. With your newfound skills, you can explore creativity through different scents and styles while also recycling old containers. So gather your materials, follow the steps outlined, and let your candle-making journey begin! Enjoy brightening up your space with the warm, inviting glow of your handmade creations. Happy crafting!