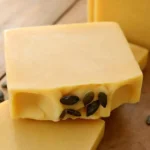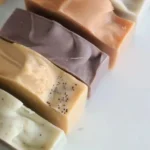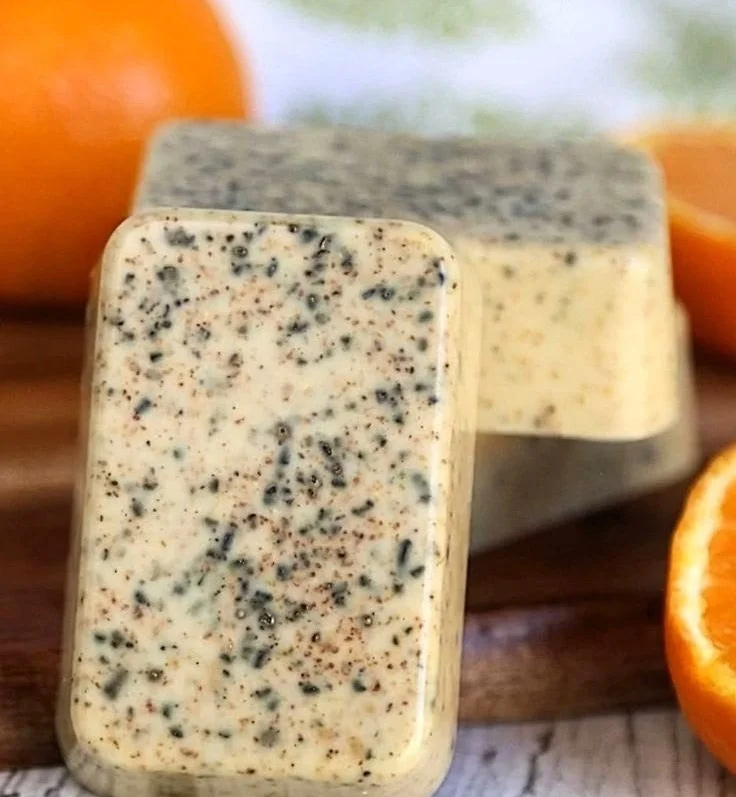

Homemade Goat Milk and Raw Honey Soap Recipe
Creating your own soap at home can be an incredibly rewarding experience. If you’re looking for a gentle, moisturizing option that’s perfect for all skin types, especially sensitive skin, this Goat Milk and Raw Honey soap recipe is an excellent choice. This unscented soap is made with natural ingredients known for their skin-friendly properties.
Why You Will Love This Recipe
This DIY soap blends the nourishing qualities of goat milk with the moisturizing effects of raw honey. Customers rave about this soap for its creamy, low-stripping cleanse that’s gentle enough for kids and your whole family. With no added fragrance, it is perfect for sensitive skin types, allowing the natural scents of the ingredients to shine through.
Ingredients
Here’s what you’ll need for your Goat Milk and Raw Honey soap:
- Goat Milk: 8 oz (liquid form, preferably fresh or frozen)
- Raw Honey: 4 oz
- Olive Oil: 6 oz
- Coconut Oil: 6 oz
- Shea Butter: 4 oz
- Sodium Hydroxide (Lye): 3.5 oz (Note: precise measurements for lye must be calculated using a soap calculator based on your specific recipe)
- Distilled Water: 3.5 oz (for mixing with lye)
- Brazilian Clay: 1 tsp (optional, helps with rinse-off)
Equipment
Before you begin, gather the following equipment:
- Safety goggles and gloves
- A digital scale
- A stainless steel or glass mixing bowl
- A heat-safe pitcher
- A stick blender
- A thermometer
- Soap molds
- Measuring spoons
- A spatula
- Two heat-proof containers for lye mixture and water
Step-by-Step Instructions
Prepare Your Workspace: Ensure your work area is clean, well-ventilated, and clear of distractions. Put on your safety goggles and gloves.
Prepare Lye Mixture:
- In a heat-safe container (usually glass), carefully measure 3.5 oz of distilled water.
- Add the sodium hydroxide (lye) to the water slowly (never the other way around) while stirring gently until fully dissolved. Caution: This mixture will get hot and emit fumes, so work in a ventilated area. Set aside to cool.
Melt Oils and Butters: In a stainless steel or glass mixing bowl, combine the olive oil, coconut oil, and shea butter. Heat them gently until fully melted and combined, using a double boiler or microwave.
Mix Goat Milk and Honey: In a separate container, blend the goat milk and raw honey until smooth.
Combine Lye and Oils: When the lye mixture, oils, and goat milk mixture are all around 100°F to 110°F, pour the lye solution into the bowl of melted oils. Use a stick blender to mix until you reach a light trace (it should look like a thin pudding).
Add Goat Milk and Honey: Gently incorporate the goat milk and honey blend into the soap mixture. Blend further until everything is well combined.
Incorporate Brazilian Clay: If using, add the Brazilian clay now and mix until the color is even.
Pour into Molds: Carefully pour the soap mixture into your molds. Tap the molds gently on the counter to eliminate any air bubbles.
Curing: Let the soap sit in the molds for 24-48 hours until it hardens. After that, remove from molds and cut into bars.
Cure the Soap: Allow the bars to cure in a dry, cool place for 4-6 weeks before use. This waiting period allows the soap to fully saponify and harden.
Tips for Success
- Use a soap calculator to ensure your lye measurements are accurate based on your ingredients.
- Maintain a consistent temperature between your lye and oils for best results.
- Be patient during the curing process; it’s essential for the safety and quality of your soap.
Common Mistakes to Avoid
- Not Weighing Accurately: Always use a scale for precise measurements, especially for lye.
- Skipping Safety Gear: Always wear gloves and goggles when handling lye.
- Rushing the Cure Time: Let your soap cure properly—using it too soon can lead to skin irritation.
Variations and Customization Ideas
Feel free to customize your soap with:
- Essential Oils: Add a few drops of your favorite essential oils for fragrance, remembering to calculate usage based on soap proportions.
- Herbs or Exfoliants: Dried herbs or gentle exfoliants can be added for texture and scent.
Storage and Shelf Life
Store your soap bars in a cool, dry place away from direct sunlight. Properly cured soap can last up to a year, though using it within six months ensures peak freshness.
Safety Tips
- Always wear protective gloves and goggles when handling lye.
- Work in a well-ventilated area to avoid fumes.
- Keep all ingredients out of reach of children and pets.
Frequently Asked Questions
Q1: Can I use a different type of oil instead of olive oil?
A1: Yes, you can substitute other oils like almond or grapeseed oil, but ensure to adjust lye calculations accordingly.
Q2: What can I do if my soap didn’t harden properly?
A2: It may need more time; if it remains soft, it could be due to incorrect lye measurements.
Q3: Is it safe to use raw honey in soap?
A3: Yes, raw honey is safe and beneficial for skin. Just ensure it’s mixed in well to prevent clumping.
Q4: Can I make this soap without lye?
A4: No, traditional soap making requires lye for the saponification process.
Q5: How can I determine when my soap is ready to use?
A5: After curing for at least four weeks, the soap should be firm and the pH neutral for safe use.
Conclusion
Making your own Goat Milk and Raw Honey soap is not just a fun DIY project; you’re also creating a wonderful product tailored to your skin’s needs. With straightforward materials and a little patience, you can craft beautiful, nourishing handmade soap that your skin will love. So gather your ingredients and enjoy the process of creating something uniquely yours! Happy soap making!