
Handmade Goat Milk Soap Recipe for Sensitive Skin
Making homemade goat milk soap is a delightful and fulfilling experience that lets you customize your skincare routine in a way that’s both natural and wholesome. This guide will take you through the process of creating a soothing goat milk soap that is perfect for sensitive skin, using fresh ingredients you can trust.
Why You Will Love This Recipe
This goat milk soap is handcrafted in small batches with love and care, making it a unique addition to your bath routine. The creamy texture and nourishing properties of goat milk provide gentle hydration, making it especially favorable for sensitive and dry skin types. Plus, with simple, natural ingredients, you can feel confident about what you’re putting on your skin.
Ingredients
- Alpine Goat Milk: 1 cup (fresh is best!)
- Olive Oil: 6 oz (moisturizing and gentle)
- Coconut Oil: 6 oz (adds creaminess and lather)
- Palm Oil: 6 oz (stabilizes the lather)
- Sodium Hydroxide (Lye): 4.5 oz (use with caution!)
- Distilled Water: 10 oz (for mixing with lye)
- Essential Oils (optional): 1-2 oz (e.g., Lavender or Chamomile for calming effects)
Equipment
- Safety Gear: Gloves, goggles, and a mask (to handle lye safely)
- Digital Scale: For accurate measurements
- Heat-Resistant Pitcher: To mix lye
- Stick Blender: For emulsifying
- Soap Mold: Silicone molds are easy to unmold
- Thermometer: To check the temperature of oils and lye mixture
- Spatula: For scraping down sides of containers
- Measuring Spoons and Cups: For accurate measurements
Step-by-Step Instructions
Preparation Time:
- Preparation Time: 15 minutes
- Making Time: 1 hour
- Curing Time: 4-6 weeks
- Approximate Yield: 10-12 bars of soap
Prepare Your Workspace: Ensure your area is well-ventilated and free of distractions. Wear your gloves, goggles, and mask for safety.
Weigh the Ingredients: Use the digital scale to accurately measure out your oils and lye. Take a moment to double-check your measurements.
Mixing Lye: Carefully add the sodium hydroxide (lye) to the distilled water in a heat-resistant pitcher (never the other way around!). Stir gently until fully dissolved. The solution will heat up quickly, so set it aside to cool.
Heat the Oils: In a separate saucepan, combine the olive oil, coconut oil, and palm oil. Heat them gently until melted and blended, then allow them to cool to around 100-110°F (38-43°C).
Combine Oils and Lye: When both the lye solution and the oils are at a similar temperature (between 90°F – 110°F), slowly pour the lye solution into the oils. Use your stick blender to blend until it reaches “trace” – this is when the mixture thickens and leaves a trail on the surface.
Add Goat Milk: Gently introduce the goat milk into the soap batter. Blend briefly just to combine.
Essential Oils: If you want a scent, add your chosen essential oils and mix thoroughly.
Pour into Molds: Carefully pour the soap mixture into your soap molds, tapping it lightly to remove air bubbles.
Insulate: Cover your molds with a towel and let them sit undisturbed for 24-48 hours for saponification to occur.
Unmold: After 24-48 hours, remove the soap from the molds and slice it into bars if using a block mold.
Cure: Let the soap bars cure in a dry area for 4-6 weeks to allow excess moisture to evaporate, ensuring a hard bar.
Tips for Success
- Temperature Check: Aim for both lye and oils to be in the 90°F to 110°F range for proper blending.
- Use Fresh Ingredients: Always opt for the freshest goat milk for the best quality soap.
- Stick Blender Use: Do not overblend; stop blending as soon as you reach trace to prevent the mixture from thickening too much.
Common Mistakes to Avoid
- Using Improper Measurements: Soap making is a science; be precise in your measurements.
- Not Wearing Safety Gear: Always prioritize safety when handling lye.
- Skipping the Curing Process: Allowing soap to cure properly ensures the best quality.
Variations and Customization Ideas
- Different Oils: You can replace some of the oils with almond or avocado oil for added softness.
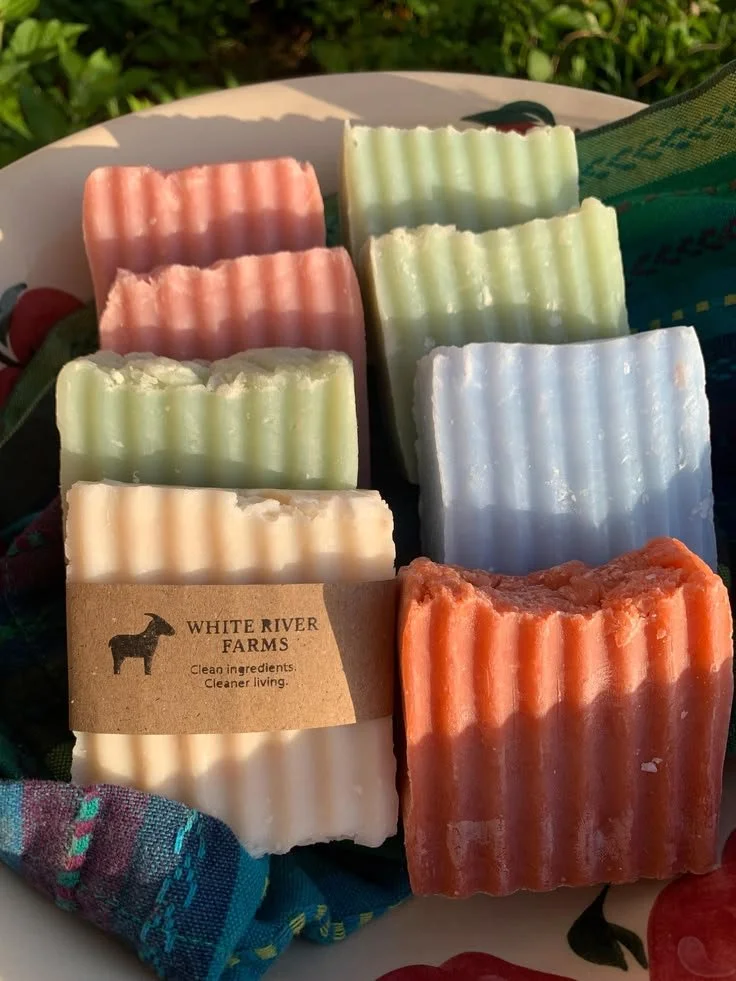
- Colorants: Add natural colorants like clays or herbs to enhance visual appeal.
- Scent Combinations: Mix different essential oils, keeping in mind tolerable limits for skin applications.
Storage and Shelf Life
Once fully cured, store your soap in a cool, dry place away from direct sunlight. Properly stored, your goat milk soap can last for up to a year.
Safety Tips
- Handling Lye: Always work in a well-ventilated area and wear your safety gear.
- Ingredient Safety: Ensure that all ingredients are skin-safe and free from contaminants.
- Testing for Irritation: Before using any new product, do a patch test to avoid allergic reactions.
Frequently Asked Questions
1. Can I use frozen goat milk?
Yes, you can use frozen goat milk, but gently thaw it in the refrigerator and make sure it doesn’t get too hot before adding it to the soap mixture.
2. Can I use other types of milk?
Absolutely! You can substitute with other milks, but note that it may alter the final properties of your soap.
3. What should I do if my soap is too soft?
If your soap is too soft after curing, it may need more time or you may have used too much liquid. Always follow the recipe measurements closely.
4. What if my soap has lye pockets?
If you notice lye pockets, it may be due to inadequate mixing. Ensure that the lye is thoroughly mixed with the oils for even distribution.
Conclusion
Making goat milk soap is not only a rewarding DIY journey but also a wonderful way to embrace natural skincare tailored for sensitive skin. With this guide, you’ll be well-equipped to create your own batch of luxurious soap that cares for your skin and serves as a delightful handmade gift for loved ones. So, gather your ingredients, embrace your inner soap maker, and enjoy the journey of creating something truly special!