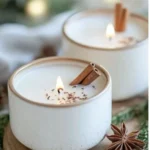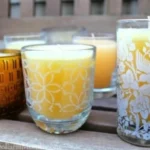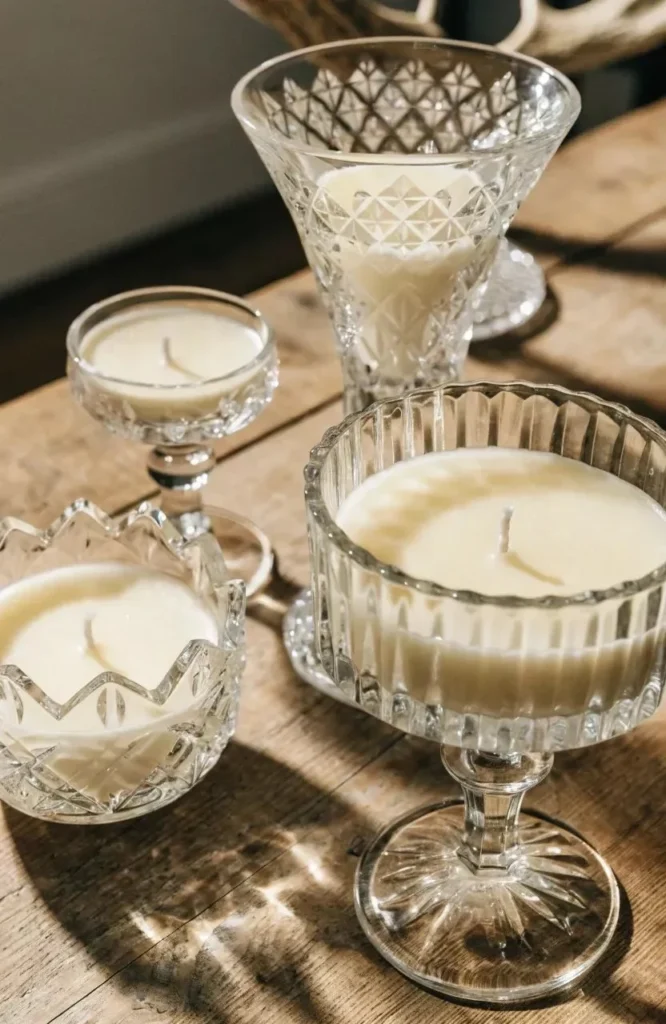

Repurpose Antique Tea Cups into Vintage Teacup Candles
Creating your own stunning candle decor at home can be an incredibly fulfilling DIY project. If you have a collection of antique tea cups gathering dust in a cupboard, why not transform them into beautiful vintage tea cup candles? This guide will walk you through making unusual candles using your favorite antique tea cup holders, adding a warm, inviting glow to any room while embracing the vintage aesthetic.
Why You Will Love This Recipe
Repurposing antique or vintage tea cups into candles not only breathes new life into cherished items but also allows you to create unique, personalized gifts or home decor. Tea cup candles bring a charming touch to any space, making them perfect for occasions like bridal showers, birthday parties, or cozy home gatherings. Plus, this DIY project is simple, budget-friendly, and allows you to experiment with scents and colors to match your decor.
Ingredients
For this project, you will need:
- Wax: 1 pound of soy wax (preferred for even burning and easy cleanup)
- Fragrance Oil: 1 ounce (choose a scent that you love; lavender, vanilla, or lemon verbena work beautifully)
- Dye Pellets (optional): A few, depending on your color preference (ensure it’s candle dye)
- Cotton Wicks: 2-3 wicks with sustainers (size according to the cup’s diameter)
- Tea Cups: 3-5 antique tea cups (they should be heatproof)
- Wick Holder or Skewers: To secure wicks while pouring
- Double Boiler: For melting wax
- Thermometer: To monitor wax temperature
- Pouring Pitcher: For easy pouring of melted wax
Equipment
- Heat-resistant gloves
- Newspaper or wax paper (for easy cleanup)
- Sharp scissors (for trimming wicks)
- A scale (to measure wax and fragrance)
- A thermometer (to ensure correct pouring temperature)
Step-by-Step Instructions
Prepare Your Workspace
- Lay down newspaper or wax paper to protect surfaces. Gather all materials and ensure your tea cups are clean and dry.
Measure and Melt the Wax
- Measure 1 pound of soy wax using a scale. Place it in a double boiler.
- Heat the wax until it’s completely melted (around 170°F).
Add Fragrance and Dye (Optional)
- After fully melting the wax, add 1 ounce of your chosen fragrance oil, stirring gently to combine.
- If using dye, add a few dye pellets until you reach the desired color, stirring well.
Prepare the Wicks
- While the wax is cooling (aim for about 150°F), secure the wicks inside each tea cup using a wick holder or a skewer to keep them centered. Ensure the wick is facing straight up.
Pour the Wax
- Carefully pour the melted wax into each tea cup, leaving about 1/2 inch of space from the top.
Cool and Set
- Allow the candles to cool completely at room temperature. This could take a few hours. As the wax cools, it may form a top that you can smooth down using a heat gun or a blow dryer on low.
Trim the Wicks
- Once the candles are fully set, trim the wicks to about 1/4 inch above the wax surface.
Let Them Cure
- For the best scent throw, let your candles cure for at least 48 hours before burning.
Tips for Success
- Wick Size: Ensure you’re using the correct size of wicks. Too small a wick will lead to poor burning, while too large might cause excessive soot.
- Fragrance Load: A general rule of thumb is to use 1 ounce of fragrance oil for every pound of wax. Adjust based on personal preferences.
- Check for Clarity: If the wax hardens with cracks, it may indicate that it cooled too quickly. To remedy this, gently reheat the surface and smooth it.
Common Mistakes to Avoid
- Pouring Too Hot: If the wax is poured when too hot, it can cause cracking when cooling. Wait until it’s the ideal pouring temperature.
- Improper Wick Placement: Ensure wicks are straight and centered before the wax sets to avoid uneven burning.
- Skipping the Cure Time: Wanting a candle for instant use is tempting, but curing maximizes aromatic power and quality.
Variations and Customization Ideas
- Use Different Scents: Create a variety of candles by experimenting with different fragrance oils.
- Layered Candles: For a unique look, pour wax in layers, allowing each layer to cool slightly before adding the next.
- Add Natural Elements: Incorporate dried flowers or herbs into the wax for a decorative touch.
Storage and Shelf Life
Store your finished candles in a cool, dry place away from direct sunlight. Properly stored, they can last for up to a year. Avoid placing them in a hot environment, as it can affect both scent and wax consistency.
Safety Tips
- Always work in a well-ventilated area when melting wax.
- Use heat-resistant gloves to avoid burns when handling hot wax.
- Never leave burning candles unattended, and always keep them away from flammable objects.
Frequently Asked Questions
1. Why soy wax?
Soy wax is biodegradable and burns cleaner than paraffin wax, making it an excellent choice for homemade candles.
2. Can I use essential oils instead of fragrance oils?
Yes, but note that essential oils typically have a weaker scent throw than fragrance oils.
3. How do I know if my wick is the right size?
Conduct a burn test with the wick you choose. A proper-size wick will create a melting pool that reaches the edge of the container without excessive flickering or soot.
4. What should I do if my candle tunnel is forming?
This can happen if the wick is too small. You can correct this by burning the candle long enough to melt the wax evenly across the top.
5. Can I reuse wax from old candles?
Yes! You can melt down wax from old candles and combine it with new wax for a fresh scent.
6. How can I get rid of soot during burning?
Ensure that your wick is trimmed to the correct length and that the candle is situated in an area with good air circulation.
Conclusion
Creating vintage teacup candles transforms old treasures into beautiful decor and thoughtful gifts. With simple materials and techniques, you can add a unique touch to your home or create stunning handmade gifts for friends and family. I hope this guide inspires you to dive into candle making and unleash your creativity! Enjoy the process and the warm glow of your unique creations. Happy crafting!