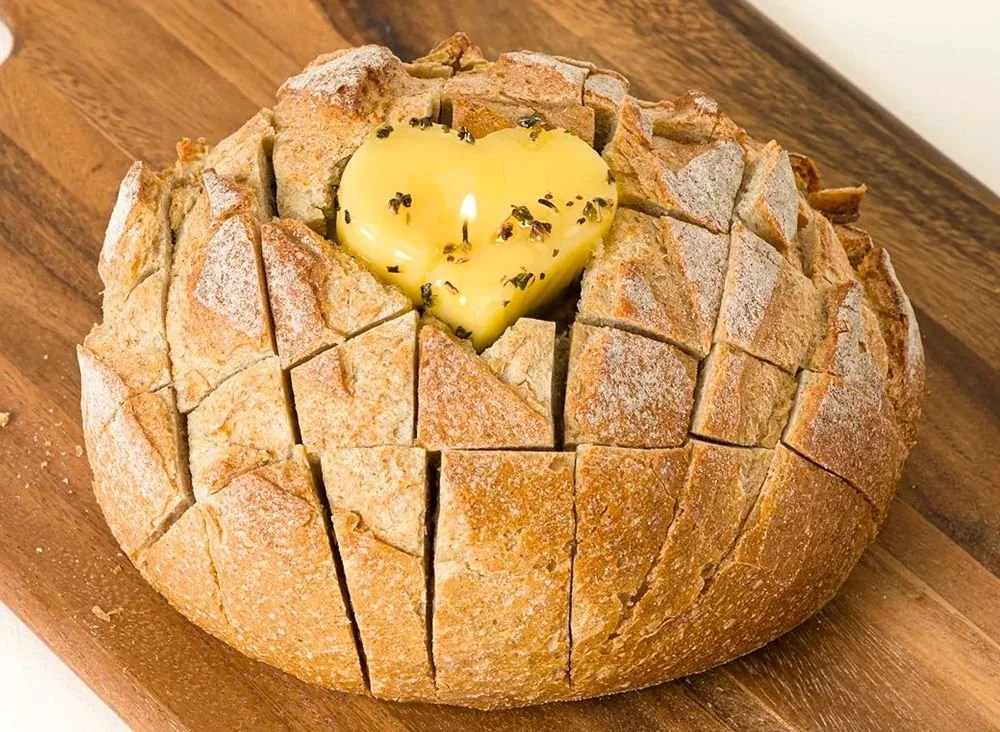

Are you ready to embark on a fun DIY adventure? With our unique candle-making kit, you can create deliciously scented candles that look like butter! This candle-making project not only brings joy but also infuses your space with delightful aromas. In this guide, I’ll walk you through the step-by-step process of making your own homemade candles from the candle kit. You don’t need to be an expert; just follow these easy instructions and tips!
Why You Will Love This Recipe
Creating your own candles can be an incredibly rewarding experience. DIY candle-making is not only a creative outlet, but it also allows you to customize scents, colors, and shapes that fit your taste. Plus, homemade candles make fantastic gifts for friends and family. With our kit, making candles is more accessible than ever, minus the butter!
Ingredients
While the candle kit comes with all the essential supplies, here’s what you’ll typically find included and might need to source separately:
- Wax (Soy Wax or Paraffin Wax): Approximately 1 lb (16 oz)
- Fragrance Oil: Up to 1 oz, depending on desired scent strength
- Dye (optional): A few drops or pieces for color
- Wick: Choose the appropriate size for your container (typically 1 wick per candle)
Equipment
Gather the following tools before you begin your candle-making journey:
- Double Boiler or a heat-safe container for melting wax
- Thermometer: To check wax temperature
- Stirring Spoon: A wooden stick or silicone spatula works great
- Pouring Pitcher: Makes transferring wax easier
- Containers or Molds: For setting your candles (can be jars, tin cans, or fancy molds)
- Scale: To measure wax and fragrance accurately
- Protective Gear: Gloves and eyewear, for safety
Step-by-Step Instructions
Now, let’s dive into the process of making your butter candle!
Step 1: Prepare Your Workspace
- Find a clean, flat surface: Ensure your workspace is clear of any clutter.
- Gather your materials: Lay out your wax, wicks, fragrance oils, and tools.
Step 2: Measure Your Wax
- Use the scale to weigh out about 1 lb (16 oz) of wax for multiple candles or adjust based on the size of your containers.
Step 3: Melt the Wax
- Fill the bottom pot of your double boiler with water and bring it to a gentle simmer.
- Place the wax in the top pot or heat-safe container and melt it, stirring occasionally.
- Monitor the temperature: Ideal melting temperature is between 170°F and 180°F.
Step 4: Add Fragrance and Dye
- Once fully melted, remove the wax from the heat.
- Allow it to cool slightly to 160°F.
- Add the fragrance oil: Use about 1 oz or according to your scent strength preference.
- If desired, add a few drops of dye and stir gently until color is well distributed.
Step 5: Attach the Wick
- Secure the wick: Dip the wick base into the hot wax and place it in the center of your container or mold. Hold it in place for a few seconds until it sets.
Step 6: Pour the Wax
- Carefully pour the melted wax into your containers, leaving a small amount of wax in the pitcher for topping off later.
- Avoid pouring directly onto the wick to prevent it from moving.
Step 7: Let the Wax Set
- Allow the candles to cool for at least 4-6 hours at room temperature.
- Once completely set, you can top off with any leftover wax to create a smooth surface.
Step 8: Trim the Wick
- After your candles are fully cooled, trim the wick to about ¼ inch above the surface.
Tips for Success
- Temperature Matters: Always keep an eye on the temperature when melting wax; too hot can affect the scent throw and color.
- Proper Stirring: Stir the wax gently to avoid incorporating air bubbles, which can create imperfections.
- Wick Testing: Test different wick sizes for larger containers to ensure even burning.
Common Mistakes to Avoid
- Not Prepping Containers: Make sure containers are clean and dry before pouring wax.
- Overheating Wax: Always follow heating guidelines to avoid burning the wax or causing it to achieve a chemical reaction.
- Using Too Much Fragrance: Stick to the recommended amount; too much can cause candle issues when burning.
Variations and Customization Ideas
- Scent Combinations: Mix different fragrance oils for unique aromas.
- Color Layers: Pour one color at a time for layered effects. Just let each layer cool slightly before the next pour.
- Additives: Consider incorporating dried flowers or herbs for added texture and aroma.
Storage and Shelf Life
Store your finished candles in a cool, dry place away from direct sunlight. Properly stored candles can last for up to a year or longer, retaining their scent and appearance.
Safety Tips
- Always work in a well-ventilated space and handle hot materials with care.
- Keep wax away from heat sources and children.
- Never leave candles unattended while burning.
Frequently Asked Questions
1. Can I use any type of wax for making candles?
While you can use various wax types (soy, paraffin, beeswax), our kit includes a wax type that works best for beginners, ensuring better results.
2. How do I know if my wick is the right size?
As a rule of thumb, use a wick that is 1/2 inch taller than your container. Conduct a burn test to ensure it burns evenly without excessive smoke.
3. What should I do if my candle cracks?
Cracking can happen when the wax cools too quickly or unevenly. You can fix minor cracks by melting the top layer slightly and allowing it to re-set.
4. Can I use essential oils as fragrances?
Yes, you can use essential oils; however, their scent throw may be less potent than fragrance oils specifically made for candle making.
Conclusion
Congratulations! You’ve just completed your first butter candle-making project using our unique kit! This process not only enriches your home environment but also provides an excellent opportunity to explore your creativity. Remember, practice makes perfect, and with each attempt, you’ll continue to refine your skills.
So gather your materials and get started on this delightful DIY project. Have fun, and happy candle-making!