
How to Make Your Own Wooden Wick Candles with Soy Wax
Making your own wooden wick candles with soy wax is not only a rewarding DIY project but also a wonderful way to create heartfelt gifts for bridesmaids, friends, family, or even yourself. These candles fill any space with warmth and a lovely ambiance, perfect for weddings, holidays, or cozy nights in.
Why You Will Love This Recipe
Creating your own candles allows for a personal touch that store-bought candles simply can’t match. You can customize the scent, color, and size to suit the preferences of your recipients. Plus, wooden wicks provide a unique crackling sound, giving the candle an extra layer of comfort. The use of soy wax means you’re opting for a cleaner-burning, eco-friendly alternative as well.
Ingredients
To create your own wooden wick candles, you will need:
- Soy Wax Flakes: 1 lb (approximately 3.5 cups)
- Wooden Wicks: 1-2 per candle (depend on size)
- Fragrance Oil (optional): 1 oz for every pound of wax (use candle-safe scents)
- Color Dye (optional): a few drops as desired
- Wick Sticker Tabs: 3-4 for securing wicks to containers
Equipment
Before you get started, gather the following equipment:
- Double Boiler: For melting the wax
- Thermometer: To monitor wax temperature
- Pouring Pitcher: A heat-resistant pitcher for pouring wax into containers
- Candle Containers: Glass jars, tins, or any heat-safe container
- Stirring Stick: For mixing fragrance and dye into the wax
- Scale: To measure wax and fragrance accurately
- Heat-proof gloves: For protection while handling hot wax
Step-by-Step Instructions
Prepare Your Workspace: Lay out all your materials and tools. It’s best to work in a well-ventilated area to ensure safety with fragrances and solvents.
Melt the Wax:
- Fill the bottom part of your double boiler with water and bring it to a simmer.
- Add the soy wax flakes to the top part of the boiler and stir occasionally until completely melted. This usually takes around 10-15 minutes.
- Monitor the temperature; you’ll want it to reach about 170-180°F (77-82°C).
Add Fragrance and Color (optional):
- Once melted, remove from heat and allow the wax to cool slightly (to about 160°F/71°C).
- Stir in your fragrance oil (1 oz per lb) and add dye if desired. Mix thoroughly.
Prepare Your Wick:
- While the wax cools, secure your wooden wick to the bottom of your container using a wick sticker tab. Ensure it’s centered.
Pour the Wax:
- Slowly pour the melted wax into your prepared container, leaving about half an inch of space at the top.
- If using multiple wicks in larger containers, space them evenly.
Secure the Wicks:
- To keep your wicks centered while the wax cools, use a wick holder or simply lay a chopstick across the top of the container, resting the wicks against it.
Cool and Set:
- Allow the candles to cool completely at room temperature. This can take several hours. Avoid moving or disturbing the candles during this time.
Trim the Wicks:
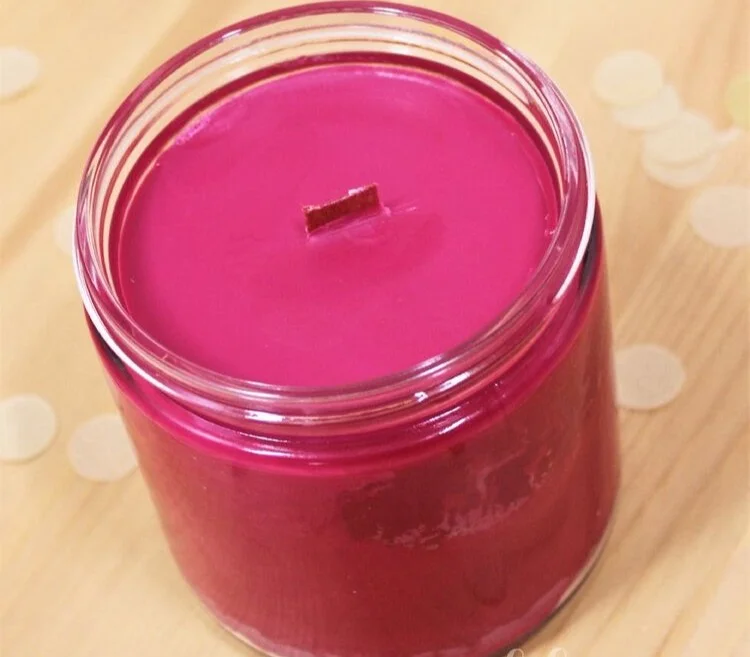
- Once cool, trim the wooden wicks to about 1/4 inch above the wax surface.
Cure the Candles:
- For the best scent throw, allow your candles to cure for at least 48 hours before using.
Tips for Success
- Temperature is Key: Maintaining the correct wax temperature is crucial for a smooth finish and proper fragrance throw.
- Test Your Wicks: Different wick sizes will yield different burn times and intensities.
- Curing Time: Wait at least 48 hours after pouring for the best scent throw.
Common Mistakes to Avoid
- Rushing the Cooling Process: Avoid putting candles in the fridge or freezer to speed up cooling. This causes cracks.
- Overcrowding Containers: Too much wax in one container can cause uneven burning.
- Incorrect Wick Sizing: Always select the right size for the diameter of your container to avoid poor burning.
Variations and Customization Ideas
- Different Scents: Experiment with essential oils for a more natural candle or blend multiple fragrance oils for a unique scent.
- Colored Candles: Use different dyes to match wedding themes or holidays.
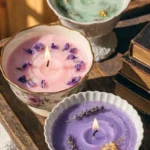
- Decorative Elements: Consider adding dried flowers or herbs in the wax for a decorative touch.
Storage and Shelf Life
Store your candles in a cool, dark place. If properly made and stored, your wooden wick candles can last up to two years.
Safety Tips
- Always use a heat-proof container and never leave burning candles unattended.
- Keep flammable items away from the candle.
- Use caution when pouring hot wax and when handling tools.
Frequently Asked Questions
1. What type of wax is best for candle making?
Soy wax is ideal for beginners as it is easy to work with and cleans up easily with soap and water.
2. Can I use wooden wicks in any type of container?
Wooden wicks work best in wide containers. Narrow containers may require a different type of wick for optimal burning.
3. How do I know how much fragrance to add?
A good rule of thumb is 1 oz of fragrance oil per pound of wax, but you can adjust to your preference.
4. What happens if my candle does not burn properly?
If your candle has a weak flame or tunnels down the center, it may be due to an incorrect wick size or insufficient curing time.
5. Can I reuse old candle jars for my new candles?
Yes! Just ensure they are clean and remove any leftover wax.
Conclusion
Making your own wooden wick candles with soy wax is a fulfilling DIY project that can result in beautiful, customizable gifts for any occasion. With some time and care, you can create something truly special for your bridesmaids, friends, or yourself. So gather your materials, follow these instructions, and enjoy the process of making something unique and personal. Happy candle making!