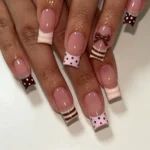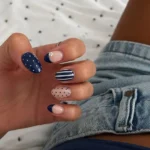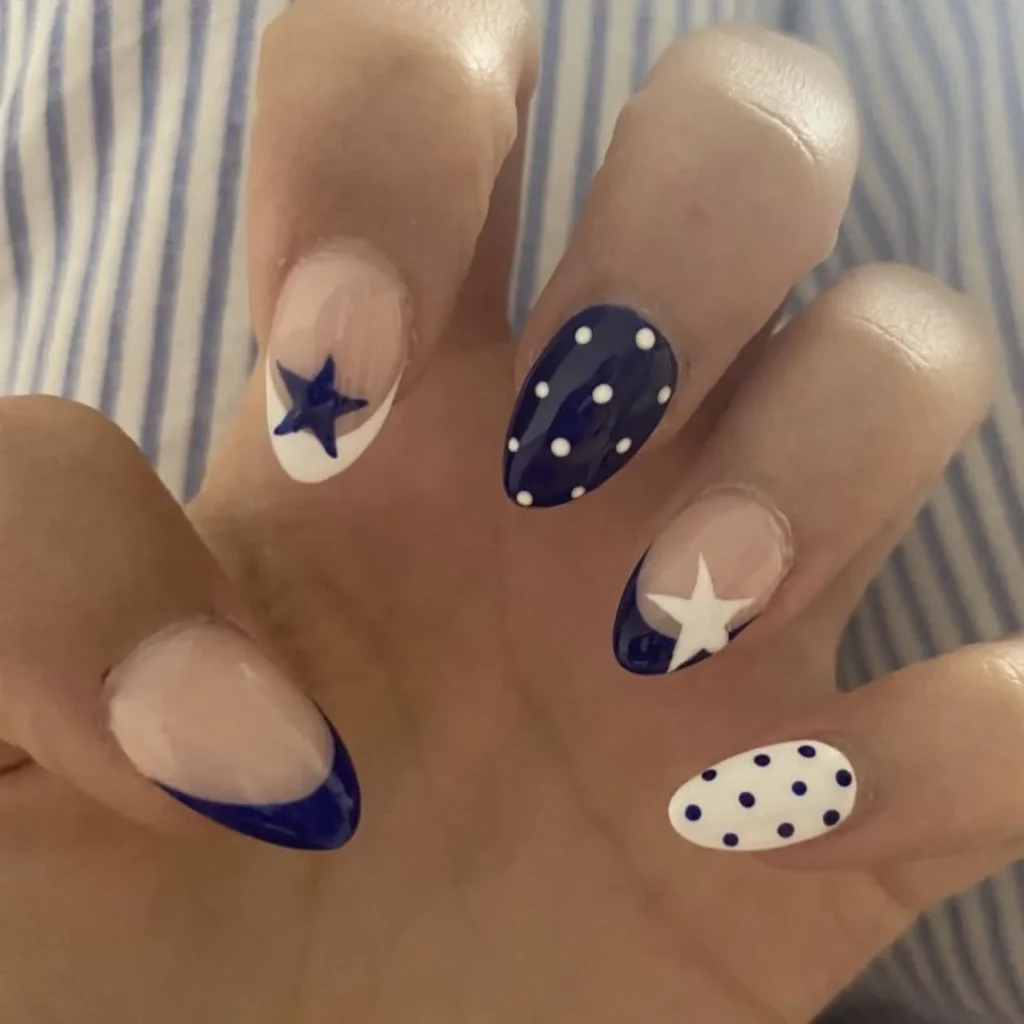

Press On Nails: A Guide to Your DIY Nail Design Adventure
Are you ready to elevate your nail game with stunning press-on nails? This comprehensive guide will take you through everything you need to know about creating and customizing your own beautiful press-on nails, no professional nail tech required! Whether you’re inspired by designs from Pinterest or have your own creative flair, let’s dive into the world of press-on nails.
Why You Will Love This Guide
Press-on nails are incredibly versatile, easy to apply, and an excellent way to express your creativity. You can take inspiration from various designs or even request a custom order tailored just for you! Along with the nails, your order will include handy tools such as a mini file, nail glue, a buffer, a cuticle stick, an alcohol prep pad, and a thank you card. You’ll also receive instructions on how to apply and remove the nails safely, plus tips on dos and don’ts for maintaining your fabulous look.
Ingredients & Equipment Needed
To create your own stunning set of press-on nails, you’ll need the following materials:
Ingredients:
- Acrylic or Gel Polish: These are essential for your nail design.
- Nail Glue: To securely attach the press-ons.
- Custom Decals or Nail Art: Options can include glitter, stickers, or hand-painted designs.
Equipment:
- Nail Files: For shaping your nails to perfection.
- Buffers: To smooth the surface of your nails.
- Cuticle Sticks: For cleaning around your nails.
- Alcohol Prep Pads: To clean the nails before application.
- A Mixing Palette: If you’re using acrylic paints.
- Small Brushes: For intricate designs.
Step-by-Step Instructions to Create Your Press-On Nails
Preparation:
- Begin by cleaning your natural nails with an alcohol prep pad to remove any oils.
- Push back your cuticles gently using a cuticle stick.
Shape Your Nails:
- Use a nail file to shape your press-on nails to the desired outline. This will ensure they fit your tips perfectly.
Decorate:
- If you’re applying a custom design, now is the time. Mix and apply your acrylic or gel polish using small brushes. Allow layers to dry completely before adding more details or colors.
- For extra glam, consider adding embedded decals or glitter after the base coat but before the topcoat.
Seal:
- Once your design is dry, apply a top coat to seal in the look. This will protect your art and give it a beautiful finish.
Apply the Press-Ons:
- When you’re ready to wear them, apply nail glue to your natural nail and press down firmly for around 10 seconds. Make adjustments as needed for a perfect fit.
Tips for Success
- Preference for Length and Shape: Decide early on whether you want long or short nails and whether you prefer a square, almond, or stiletto shape.
- Curing Time: Ensure adequate curing time between layers, especially if you’re using gel polish.
- Practice Patience: Don’t rush your decorating process; take your time to enjoy the creative aspect!
Common Mistakes to Avoid
- Inadequate Surface Prep: Not cleaning your nails sufficiently before application can lead to less effective adhesion.
- Skipping Top Coat: This step is essential for sealing your design and prolonging wear.
- Using Too Much Glue: Overapplication can create bubbling and messiness, so use sparingly.
Variations and Customization Ideas
- Color Palette: Choose colors that match your mood or season. Bright neon shades for summer or warm tones for autumn can make a statement!
- Nail Art Techniques: Consider using ombre effects, marbling, or stamping techniques to add flair.
- Themes: Create themed sets for holidays or special events. Think sparkles for New Year’s or pastels for spring!
Storage and Shelf Life
Store your press-on nails in a cool, dry place away from direct sunlight. If properly stored, they can last for several months without losing their quality. It’s best to keep them in a sealed container or in their original packaging.
Safety Tips
- When using nail glue, avoid contact with skin and wash your hands after application.
- Ensure your workspace is clean to prevent any contamination of your materials.
Frequently Asked Questions
How can I get custom designs?
- Simply DM me with your ideas, and I can create a design tailored to your preferences!
Can I reuse press-on nails?
- Yes! With proper care, you can clean and reapply them multiple times.
What if the nails don’t fit?
- Contact me for adjustments; I’m happy to help ensure your nails fit perfectly!
How do I remove press-on nails?
- Gently soak your nails in warm, soapy water for a few minutes, then use a cuticle stick to pry them off carefully.
Are press-on nails safe for my natural nails?
- Absolutely! When applied and removed correctly, they won’t harm your natural nails.
Conclusion
Press-on nails offer a perfect blend of convenience, creativity, and self-expression. With the right tools and techniques, you can design stunning nails that suit any occasion. Embrace your inner artist, and don’t hesitate to explore different designs and customization options! Remember, if you need assistance or have specific requests, DM me, and I’ll help you achieve your perfect manicure. Happy crafting!