
Discover the Joy of Candle Making
Imagine stepping into your home at the end of a long day, greeted by the soft glow of flickering candlelight and the soothing aroma of your favorite fragrance. Here’s the truth: creating that cozy vibe doesn’t have to rely solely on store-bought candles. Making your own candles can be a delightful and fulfilling self-care project that allows you to express your creativity while filling your space with comforting scents. So, ready to dive in? Let’s get started!
Gathering Your Candle Making Supplies
Before we roll up our sleeves, let’s talk about what you’ll need for this project. I promise, it’s easier than you might think! Here’s a checklist of essential supplies:
- Wax: Paraffin, soy, or beeswax are great options—each offers different benefits.
- Wicks: The right wick size is crucial; it affects burn quality and scent throw.
- Containers: Glass jars, metal tins, or even molds for fun shapes.
- Double Boiler: For melting your wax safely.
- Thermometer: To make sure your wax is at the right temperature.
- Fragrance Oils: Choose scents that evoke feelings of comfort or joy.
- Color Dyes: Optional, but who doesn’t love a pop of color?
- Stirring Spoon and Pouring Pitcher: For mixing and pouring your wax.
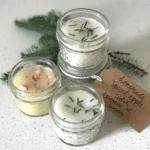
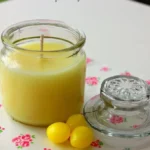
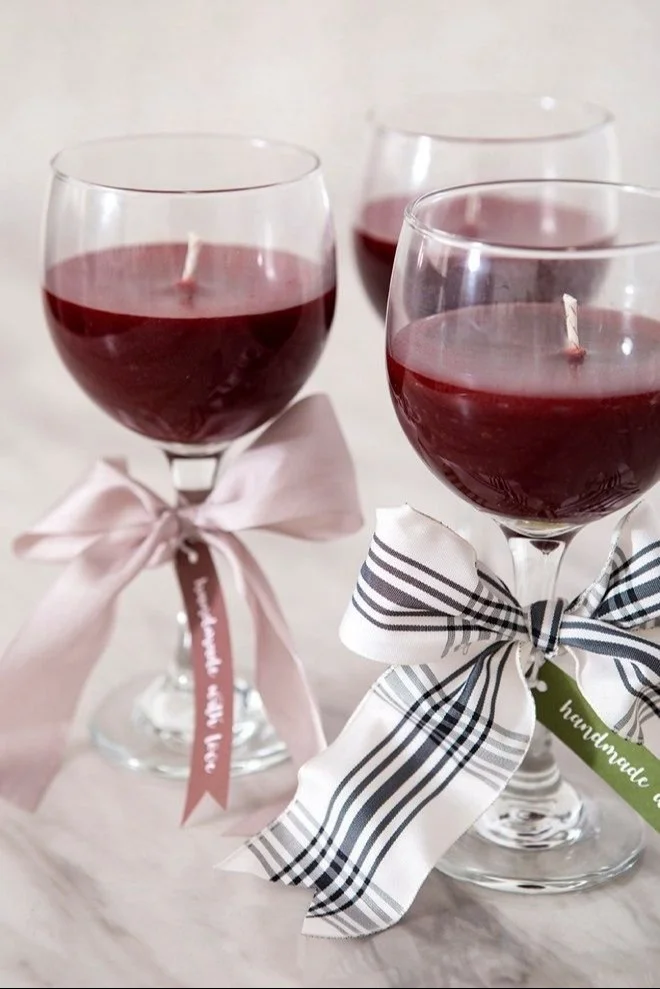
What’s great is you can also get creative with the containers—think recycled jars or even decorative teacups. Let your imagination run wild!
Setting the Stage for Candle Making
When you’re ready to make your candles, find a clean, flat surface to work on. Picture this: a cozy corner in your kitchen where you can blend scents and mold wax, all while sipping on your favorite herbal tea. Sounds nice, right?
Now, clean your space thoroughly. You don’t want any dust or remnants sneaking into your candles. Trust me—nothing ruins the mood like discovering a stray hair in a beautiful batch of homemade candles.
Measuring Your Wax
The next step is to measure the wax. This part can be surprisingly fun. You’ll want to use a scale to get the exact amount based on the size of your container. Remember, you can always melt more wax but it’s hard to take it out once it’s been poured!
A good rule of thumb is to fill your container with water, then pour the water into a measuring cup. This is your baseline. For every ounce of wax, you’ll typically need about 1-1.5 ounces of fragrance oil for a strong scent.
Melting the Wax
Once you’ve got your measurements sorted, it’s time to melt the wax. This is where your double boiler comes into play. If you don’t have one, don’t worry! You can use a heat-proof bowl over a pot of simmering water. This method ensures even melting without any danger of burning.
Here’s a tip to keep in mind: patience is key. You don’t want to rush this process. Stir the wax gently as it melts, keeping an eye on the temperature. Most waxes should be heated to around 170°F to 180°F before adding fragrance oils.
Adding Fragrance and Color
This is the fun part—adding your chosen fragrance oils and, if you’d like, a bit of color! You’re going to want to ensure your fragrances are mixed well into the wax. Stir thoroughly for at least two minutes. The fragrance will bloom as the wax cools, leaving your candles deliciously scented.
If you’re also adding color, make sure to do so before you pour. A drop or two can dramatically change the appearance of your candle, making it not just a treat for the senses but a visual delight as well.
Pouring Your Wax
Now, let’s pour! Carefully pour the wax into your containers, leaving some space at the top. This is a great time to secure the wick (use a wick holder or some adhesive to keep it centered).
One of the common mistakes at this stage is pouring too fast, which can create air bubbles. Just take your time; you’re creating something beautiful.
Cooling and Curing Time
Once you’ve poured, allow your candles to cool for at least a couple of hours. If you can, let them cure for an additional 24 hours. This ensures the candles are fully set and gives the fragrance time to develop.
Trim the Wicks
After they’ve fully cooled, it’s time to trim the wicks to about 1/4 inch. This might seem small, but trust me, it’s essential for a nice even burn. It’ll help you avoid that mushrooming effect sometimes seen in homemade candles.
Common Mistakes to Avoid
Candle making can seem intimidating at first, but a few easy-to-overlook mistakes can trip you up. Here are some that I frequently see:
- Not Measuring Wax Correctly: Remember that more isn’t always better; precise measurements matter.
- Rushing the Cooling Process: It’s tempting to speed things up, but you may ruin your candles if they cool too quickly.
- Using the Wrong Wick Size: Make sure to match your wick to your container size; this simple mistake can lead to poor burns.
FAQs
You might have some questions about candle making, and I’m here to help clear things up!
- Can I reuse old candle containers? Absolutely! Just make sure they’re thoroughly cleaned out.
- What’s the best type of wax to start with? Soy wax is great for beginners. It’s easy to work with and burns cleanly.
- How do I figure out how much fragrance to use? A great starting point is 1 ounce of fragrance per pound of wax.
Bonus Self-Care Ideas
Now that you’re on your crafting journey, why not pair candle making with some other self-care rituals? Here are a few to consider:
- Meditation: Light your newly made candle, sit quietly, and focus on your breath.
- Bath Time: Enjoy a soothing bath by candlelight—what better way to unwind?
- Journaling: Set the mood with your candles and reflect on your day or jot down affirmations.
Conclusion
As you complete your first batch of candles, know that you’re not just making home decor—you’re creating a space where comfort and relaxation flourish. There’s something incredibly satisfying about lighting a candle made with your own hands, crafted from your unique scent preferences.
Remember, it’s okay if your first few attempts aren’t perfect. We’ve all been there, and it’s part of the process. Each candle holds a story, just like your journey into the world of DIY. So, go ahead, make those candles and watch as they illuminate not just your home but your heart. You’ve got this!