
A Simple and Fun Way to Create Homemade Natural Candles
Imagine this: it’s a cozy Sunday afternoon, the scent of freshly brewed coffee fills the air, and you have a few hours to spare. What do you do? Curl up with a good book? Watch your favorite series? Or how about taking a creative plunge into the world of DIY by making homemade natural candles? Trust me, it’s one of the most rewarding activities you can dive into, and it makes for a thoughtful gift idea too!
You might be wondering why you should even consider making candles at home when you can buy them at any store. The truth is, making your own candles allows you to personalize scents, choose eco-friendly materials, and even save a few bucks (and who doesn’t love that?). Plus, think of the pride you’ll feel when you light a candle crafted with your own hands.
Let’s take a journey together into how we can create our very own candles, which not only brighten our spaces but also add a little loving magic to our day-to-day lives.
Why Choose Homemade Natural Candles?
What if I told you that commercial candles often contain synthetic fragrances and harmful chemicals? Choosing homemade natural candles means you’re embracing a safer, more eco-friendly lifestyle. Plus, you can control the ingredients, ensuring every whiff is as delightful and pure as you want it to be.
We’ve all been there, buying candles that smell fab in the store but disappoint when burned. Making homemade candles means you’ll never experience that letdown again!
What You Need to Get Started
Before we dive into the process, let me share the essentials you’ll need. Gather these items to create your perfect homemade natural candles:
Supplies
- Wax: The most common options are soy wax (a plant-based choice), beeswax (natural and organic), or palm wax. If you want a cleaner burn, opt for soy or beeswax.
- Wicks: Look for cotton or wooden wicks, as they burn cleaner than those made from other materials.
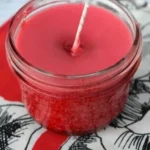
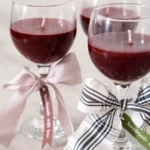
- Containers: Recycled glass jars, metal tins, or ceramic bowls make great homes for your candles. You can even get creative with shapes!
- Essential Oils: These natural fragrances are a must for scenting your candles. Some popular choices include lavender, eucalyptus, citrus oils, and vanilla.
- Double Boiler: If you don’t have one, a heat-safe bowl over a pot of simmering water works just as well.
- Thermometer: This is important to ensure the wax reaches the correct pouring temperature.
- Stirring Utensil: A wooden spoon or a silicone spatula works wonders for mixing.
- Colorant (optional): If you want to add a pop of color, look for natural candle dyes.
Now, let’s be honest. You might see all these items and think it sounds complicated, but I promise you, it’s a straightforward and fun process.
Step-by-Step Guide to Making Your Candles
Step 1: Prepare Your Workspace
Creating candles can be messy (but in a fun, creative way), so lay down some newspaper or an old tablecloth to catch any drips or spills. Make sure you have everything within reach to keep the process smooth.
Step 2: Melt the Wax
In your double boiler, add the wax and slowly heat it until it’s completely melted. Keep an eye on it, stirring occasionally. You’ll want the wax to reach about 180°F (feel free to use your thermometer here!).
Here’s a fun tip: if you want to add color, this is the time to mix in your natural dye!
Step 3: Add Fragrance
Once your wax is melted, turn off the heat (but leave it over the hot water), and allow it to cool slightly. When the temperature hits around 160°F, add your essential oils. I usually add about 1 ounce of essential oil per pound of wax for a lovely scent throw. Stir it in gently and watch as your concoction transforms!
Step 4: Prepare the Wick
While your wax cools, it’s time to prepare your wick. For most jars, you’ll want a wick that’s about 2 inches taller than the container. Use a dab of melted wax or a wick sticker to secure the base of your wick to the bottom of the container.
Pro tip: You can use a pencil or skewer to keep the wick centered while you pour the wax!
Step 5: Pour the Wax
Once your wax is at about 140°F (a little cooler), it’s time to pour. Carefully pour the wax into your container, leaving a small amount of space at the top. Don’t worry if a little wax spills; that’s just part of the fun!
Step 6: Allow to Set
Now, let your candle cool and set. This can take a few hours, depending on the size of your candle. Once it’s fully set, trim the wick to about ¼ inch above the surface, and voila! Your homemade candle is ready!
Step 7: Enjoy or Gift Your Creation
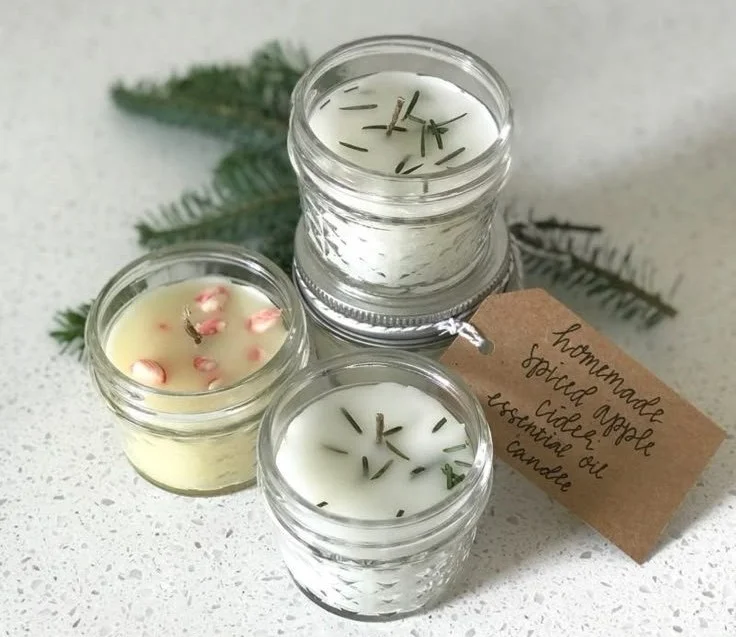
You did it! Light your candle and enjoy the aromas wafting through your space, or package it nicely to gift. Personal touch alert: You can even create custom labels or attach a sweet note explaining why this candle is special.
Common Mistakes to Avoid
Let’s have a little chat about some pitfalls you might encounter. I want your candle-making adventure to go as smoothly as possible. Here are a few common mistakes to watch out for:
- Using the Wrong Wax Temperature: Pouring your wax at too high a temperature can cause unsightly cracks. Always let it cool down to about 140°F before pouring.
- Not Securing the Wick: If your wick isn’t anchored properly, it can shift as the wax sets, which will affect your candle’s burn.
- Overdoing the Fragrance: It’s tempting to add as much essential oil as you like for a super-scented candle, but too much can cause the wax not to set properly.
- Skipping the Testing: Before creating a whole batch of candles, try making one first. It’s the best way to ensure you’re satisfied with the results.
Bonus Tips for Candle-Making Success
While we’re at it, let’s sprinkle in some bonus tips to enhance your candle-making experience:
- Create Unique Blends: Don’t be afraid to blend different essential oils to create a signature scent that reflects your personality.
- Try Different Containers: Get crafty with your containers! Mason jars, teacups, and even seashells can add a charming touch.
- Label Your Candles: Personalize your candles with cute labels that indicate the scent or even a sweet phrase.
- Experiment with Sizes: Make mini candles for party favors or large ones for cozy evenings at home.
FAQs About Candle Making
Can I use regular essential oils?
Yes! Just make sure they are suitable for candle making. Some fragrance oils are specifically designed for candles.How long do homemade candles last?
Depending on the wax and size, homemade candles can last anywhere from 20 to 80 hours.What’s the best method for storing candles?
Keep them in a cool, dry place away from direct sunlight to avoid melting and discoloration.Can I reuse old candles?
Absolutely! Simply melt down the old wax, remove any old wick, and pour it into a new container after you add fresh fragrance.
Wrapping It Up
By now, I hope you’re feeling excited and ready to take on the world of homemade natural candles. Whether you keep them for yourself or gift them to friends, these candles will bring warmth and light to any space, not to mention a lovely handmade touch that everyone will appreciate.
So, next time you’re looking for a fun project, gather your supplies and let the creativity flow. You’re not just making candles; you’re creating joy and helping others feel special too.
Remember, every flicker of the flame tells a story—your story. Embrace it, and happy crafting!