
Creating Your Own Candles: A Rewarding DIY Experience
Making your own candles is not just a fun and creative activity; it also opens up a world of personalized gifting and home ambiance improvement. Engaging in DIY candle-making allows you to explore a variety of fragrances, essential oils, and herbs, resulting in truly unique creations. Whether you’re looking to fill your space with delightful scents or craft thoughtful gifts for loved ones, this guide will walk you through the steps of making beautiful homemade candles.
Why You Will Love This Recipe
DIY candle-making provides an enjoyable and rewarding experience. Below are some great reasons to dive in:
- Personalization: Tailor your candles with your favorite scents and colors.
- Cost-effective: Create high-quality candles for less than store-bought options.
- Creative Outlet: Experiment with various forms and designs.
- Thoughtful Gifts: Handmade candles make perfect gifts for any occasion.
Ingredients
Before diving into the candle-making process, let’s gather the necessary materials.
Wax
- Type: Soy wax (recommended for beginners)
- Amount: 2 pounds (around 907 grams)
Fragrance
- Essential oil or fragrance oil: 1.5 ounces (approximately 42 grams, depending on scent strength)
Wicks
- Type: Cotton or wood wicks (choose based on candle type)
- Size: Wick sizes are usually labeled for container diameter; generally, you’ll want a wick that can handle your jar size.
Optional Additives
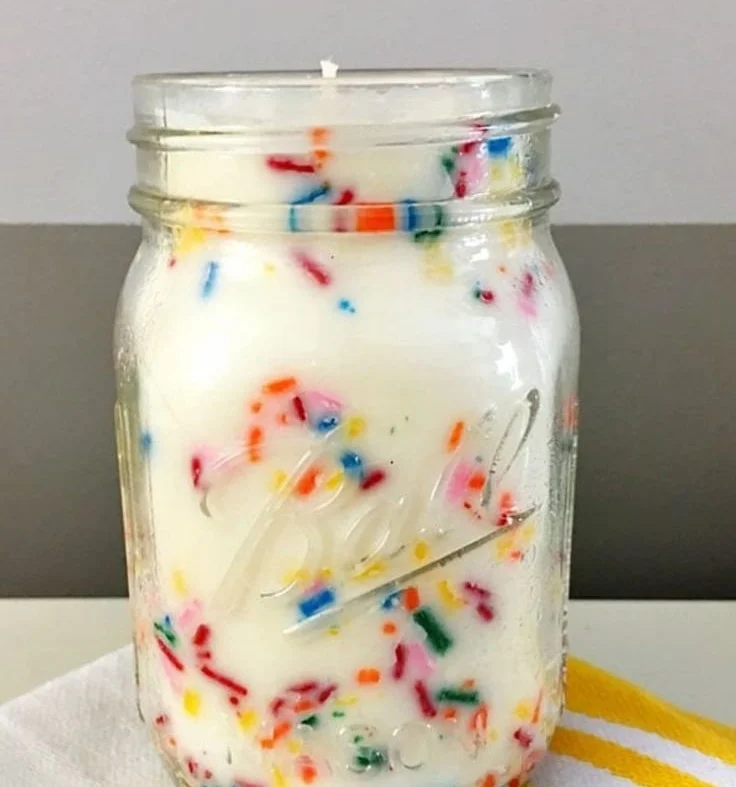
- Dye: Candle dye or crayon shavings can be added if you like colored candles.
Equipment
Gather the following equipment needed for your candle-making project:
- Double boiler or microwave-safe container
- Thermometer
- Stirring utensil (metal or wooden spoon)
- Wick holder or adhesive (to hold wicks in place)
- Pouring pitcher (if using a double boiler)
- Candle containers (jars or molds)
- Scale (for accurate measurements)
Step-by-Step Instructions
Now let’s get started with the actual candle-making process.
Step 1: Prepare Your Workspace
Ensure your workspace is clean and lined with newspapers or paper towels to absorb any spills. Gather all ingredients and equipment.
Step 2: Measure the Wax
Weigh out 2 pounds (907 grams) of soy wax, which should fill your containers when melted.
Step 3: Melt the Wax
- Double Boiler Method: Fill the bottom pot with water and place it on medium heat. Pour the wax into the top pot and allow it to melt slowly.
- Microwave Method: Place the wax in a microwave-safe container and heat in 30-second intervals, stirring in between until completely melted.
Step 4: Add Fragrance and Dye
Once the wax reaches 185°F (85°C), add the fragrance oil (1.5 ounces) and any dye. Stir gently for a few minutes to ensure even distribution.
Step 5: Attach the Wick
While the wax cools to around 135-145°F (57-63°C), use a sticker or adhesive to secure the wick to the bottom center of your container.
Step 6: Pour the Wax
Carefully pour the melted wax into the prepared containers, leaving about half an inch from the top. If you’re using multiple containers, pour slowly to maintain wick placement.
Step 7: Secure the Wicks
Use a wick holder or a pencil to keep the wick centered as the wax cools.
Step 8: Let Cool
Allow your candles to cool completely at room temperature. Avoid moving them during this time to prevent cracking.
Step 9: Trim the Wick
Once fully cooled (around 4-6 hours), trim the wick to about ¼ inch above the wax surface.
Tips for Success
- Make sure to use the recommended quantity of wax for your containers; too little will result in uneven burning.
- Let fragrances cure in the wax for a few days for a stronger scent throw.
- If using multiple wicks for larger containers, space them evenly for optimal burning.
Common Mistakes to Avoid
- Too High Heat: Never exceed 185°F when adding fragrance—this can lead to scent loss or even fire hazards.
- Not Allowing to Cure: Allow your candles to set for at least 24 hours before burning to achieve better scent distribution.
- Wrong Wick Size: Using too large a wick can cause tunneling, while too small will result in a weak flame.
Variations and Customization Ideas
- Experiment with different scents by blending essential oil mixes. Try lavender and vanilla for a calming aroma.
- Use natural colors from herbal extracts or beeswax for an eco-friendlier option.
- Add dried herbs or flowers to your candles for a rustic look and natural fragrance.
Storage and Shelf Life
Store your finished candles in a cool, dry place away from direct sunlight to prevent discoloration and preserve quality. Well-made candles can last for up to 1-2 years when stored properly.
Safety Tips
- Always conduct candle-making in a well-ventilated area.
- Avoid leaving melting wax unattended.
- Place candles on stable surfaces and away from flammable materials.
Frequently Asked Questions
How can I enhance the scent throw of my candles?
To enhance scent throw, consider increasing the amount of fragrance oil slightly. Ensure it’s compatible with the wax you’re using and remains within the recommended limits.
Can I use any type of wax for candle-making?
Soy wax is recommended for beginners due to its ease of use and clean burn. Other options include paraffin, beeswax, or palm wax, but each has its unique properties.
How do I fix a candle that has a large crater around the wick?
To fix this, melt the top layer of the candle with a heat source (like a heat gun or microwave) and pour a small amount of freshly melted wax to fill the crater.
What is the ideal wick length for my candles?
The ideal wick length varies based on the diameter of your candle. Consult wick sizing charts that usually accompany the wick packaging to determine appropriate lengths.
Can I reuse candle containers?
Yes! Always clean out any leftover wax and wick remnants thoroughly before using them for new candles to avoid contamination.
Conclusion
Making your own candles is a delightful and fulfilling journey, allowing you to blend creativity with functionality. With this comprehensive guide, you can embark on your DIY candle-making adventure with confidence. Don’t hesitate to experiment, personalize, and create stunning candles that light up your home or make for thoughtful gifts. Happy crafting!