
Welcome to the World of Candlemaking
If you’ve ever been enchanted by the warm glow and delightful scents of candles, you might have considered making your own. Candlemaking is not only a fun and creative hobby but also an excellent way to craft unique gifts for loved ones. In this article, we’ll explore everything you need to know to get started with homemade candles, from ingredients and equipment to step-by-step instructions.
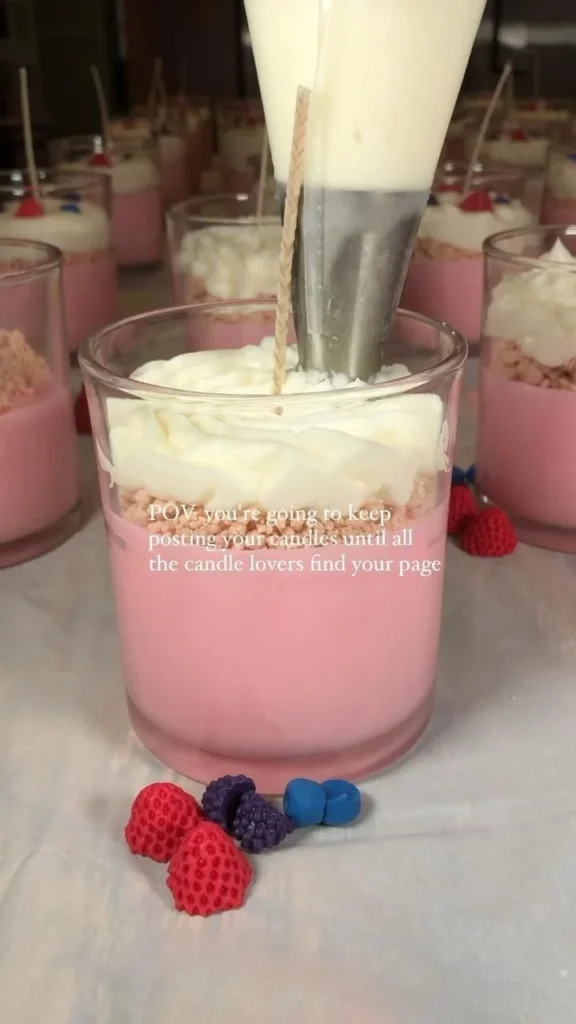
Follow us on TikTok to see more behind-the-scenes candlemaking! #candles #candlemaking #candlemakingbusiness #candlelover #candletok #target #valentines #aesthetic #tiktok #shorts
Why You Will Love This Recipe
Making candles at home allows you to customize scents, colors, and styles to fit your personal taste. You’ll enjoy the therapeutic benefits of crafting, and there’s something incredibly fulfilling about creating something beautiful and practical. Whether you’re decorating your own home or crafting handmade gifts for special occasions, homemade candles can easily brighten up any space.
Ingredients
To make your own candles, you’ll need the following:
- Wax: 1 pound of soy wax (can also use paraffin or beeswax)
- Fragrance oil: 1 ounce (or as specified on fragrance label; you can use essential oils for a natural scent)
- Dyes (optional): Candle dye chips or liquid dye (as per preference)
- Wicks: Suitable size for your container (cotton or wood wicks are popular)
- Containers: Glass jars, metal tins, or silicone molds (6-8 ounces each)
Equipment
Having the right equipment is crucial for successful candle-making. Here’s what you’ll need:
- Double boiler or melting pot
- Thermometer (candy thermometer works well)
- Stirring utensil (silicone spatula or wooden stick)
- Pouring pitcher (preferably metal)
- Scale (for precise measurements)
- Wick holder (can be a pencil or specially designed wick holder)
- Safety gloves and goggles (for handling hot wax)
Step-by-Step Instructions
Preparation Time: 30 minutes
Making Time: 1 to 2 hours
Yield: Approximately 6-8 candles (depending on container size)
Prepare Your Workspace:
Make sure your candle-making area is clean and well-ventilated. Lay down newspaper or a drop cloth to protect surfaces.Measure the Wax:
Using your scale, weigh out 1 pound of wax. This amount can fill about 6-8 standard candle containers (6-8 ounces each).Melt the Wax:
Fill the bottom pot of your double boiler with water and bring it to a gentle boil. Place the wax in the upper pot or pouring pitcher, and allow it to melt slowly, stirring occasionally.Check the Temperature:
Keep an eye on the melting wax. Use the thermometer to monitor the temperature, aiming for around 180-185°F (82-85°C).Add Fragrance and Dye (optional):
Once the wax is fully melted, remove it from heat. Add the fragrance oil and dye (if using) according to the recommended ratios on your fragrance label. Stir gently but thoroughly for even distribution.Wick Preparation:
While your wax cools slightly, prepare your wicks. Use a wick holder to secure the wick at the center of your container, ensuring it stands straight.Pour the Wax:
When the temperature drops to around 160°F (71°C), you are ready to pour. Carefully pour the wax into your prepared containers, filling just below the rim.Cool and Set:
Allow your candles to cool undisturbed for several hours. Avoid moving them while setting to ensure an even surface.Trim Wicks:
After the candles have fully set (about 24 hours), trim the wicks to about 1/4 inch above the wax surface.
Tips for Success
- Temperature Matters: Precise temperatures are key for a successful candle. Too hot can burn off fragrance, while too cool can lead to poor adhesion of the wick.
- Fragrance Loading: Experiment with different fragrance ratios to find the perfect scent strength for your candles. Keep in mind that not all fragrances behave the same.
Common Mistakes to Avoid
- Pouring Too Hot: If the wax is too hot when poured, it may cause surface imperfections or a "frosted" effect when cooled.
- Ignoring Wick Sizing: Using a wick that’s too small for your container will lead to poor burn quality. Research wick sizing to ensure a perfect match.
- Not Allowing Proper Curing Time: Candles gain their full scent potential after they cure, so waiting at least 24 hours before burning is essential.
Variations and Customization Ideas
- Scent Combinations: Mix your favorite scents to create unique fragrances. For example, blend lavender with vanilla for a calming aroma.
- Colorful Layers: To create a layered candle, allow each layer to cool slightly before adding the next layer of a different color.
- Additives: Consider incorporating dried herbs or flowers for an aesthetic appeal. Just ensure they are safe to burn.
Storage and Shelf Life
Store your finished candles in a cool, dry place away from direct sunlight. Properly stored, homemade candles can last for up to a year.
Safety Tips
- Handling Hot Wax: Always wear gloves and goggles. Hot wax can cause burns.
- Fire Safety: Never leave burning candles unattended. Keep flammable objects away from candles, and ensure a working smoke detector is nearby.
- Ventilation: Work in a well-ventilated area to avoid inhaling fumes from melting wax or fragrances.
Frequently Asked Questions
1. Can I use different types of wax?
Yes, you can use different waxes such as paraffin, beeswax, or palm wax. Each type has unique properties impacting the candle-making process and final product.
2. How do I choose the right wick?
Wick choice depends on the diameter of your container and the type of wax used. It’s best to refer to wick sizing guides from manufacturers.
3. Why did my candle sink in the middle?
This typically happens due to rapid cooling or inadequate pouring temperature. Let the wax cool properly before pouring, and maintain consistent temperatures.
4. How can I fix a cracked candle?
You can reheat the top layer gently and then smooth it out, or pour a new layer on top to cover up cracks for a seamless appearance.
5. What if my candle doesn’t burn properly?
If your candle has a tunneling effect, it may be due to a wick that’s too small or not enough fragrance. Try larger wicks or different wax blends for better burning.
6. Can I use essential oils instead of fragrance oils?
Absolutely! Just note that essential oils may not have the same strength, and you’ll use more to achieve the desired scent throw.
Conclusion
Candlemaking is a delightful process that you can easily master with practice and patience. By following these straightforward steps, you can create beautifully scented candles that reflect your personality and creativity. Remember, the beauty of crafting lies in exploration and personalization. So prepare your workspace, gather your materials, and let your imagination guide you. It’s time to light your path with your very own homemade candles! Happy crafting!