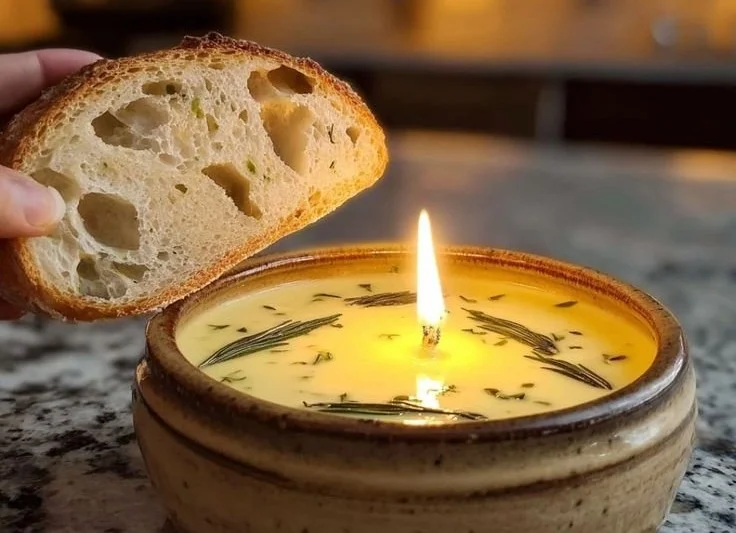

Warm Up with Candlelit Bowls of Herb-Scented Soup
As the crisp autumn air signals the arrival of fall, there’s nothing quite like cozying up with a candlelit bowl of herb-scented soup. The combination of flickering flames, delightful aromas, and comforting flavors sets the stage for memorable dinners and mindful moments. In this article, we’ll delve into the world of handmade candles and explore how to create a soothing ambiance while enjoying your homemade soup. So, brew a cup of herbal tea, light your newly crafted candles, and let’s get started!
Why You Will Love This Recipe
Creating your own candles not only allows you to customize scents that reflect the season but also enhances the atmosphere for any meal. A cozy, warm light pairs perfectly with a comforting soup on a chilly evening. Plus, making candles can be a fun and rewarding DIY project to share with loved ones or to keep as thoughtful handmade gifts.
Ingredients for Scented Candles
- Wax Type: 2 pounds of soy wax (great for scent throw and easy to work with)
- Fragrance Oil: 6 ounces of essential oils or fragrance oils for a delightful aroma (e.g., rosemary, thyme, or a blend suitable for autumn)
- Wicks: 6 cotton or wood wicks (choose the size based on your container dimensions)
- Dye (optional): Candle dye in earthy tones like green or brown (optional for coloring)
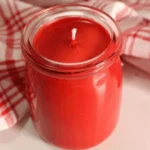
- Container: 6 heat-resistant glass jars or metal tins
Equipment Needed
- Double boiler or microwave-safe container for melting wax
- Thermometer (recommended)
- Stirring utensil (heat-safe)
- Wick holder or adhesive (to keep wicks in place)
- Scale (for precise measurements)
- Safety gloves and eyewear (for wax handling)
Step-by-Step Instructions
Preparation Time: 15 minutes
Making Time: 45 minutes
Yield: Approximately 6 candles
Prepare Your Workspace:
- Cover your workspace with newspaper or a disposable tablecloth to catch any wax spills.
- Gather all your ingredients and equipment.
Measure the Wax:
- Weigh out 2 pounds of soy wax using your scale. This amount allows for crafting approximately six 8-ounce candles.
Melt the Wax:
- Use a double boiler to melt the wax slowly. If you don’t have one, you can place a microwave-safe container in the microwave in 30-second intervals, stirring in between.
- Heat the wax to around 170-185°F for optimal fragrance mixing.
Add Fragrance and Coloring:
- Once the wax is melted, remove it from heat. If using, add candle dye and stir until fully blended.
- Measure and add 6 ounces of your chosen fragrance oil. Stir slowly for about 2 minutes to ensure the fragrance is evenly incorporated.
Prepare the Wicks:
- Use wicks of an appropriate size for your containers. If your jars are wider, ensure the wicks are designed for that diameter.
- Secure the wick in the center of your container using a wick holder or a small dot of melted wax.
Pour the Wax:
- Carefully pour the melted wax into your prepared containers, leaving a small space at the top for any additional finishing touches.
- Allow the candles to cool for about 30-45 minutes at room temperature.
Trim the Wicks:
- Once the candles are completely solid, trim the wick to about 1/4 inch above the wax surface.
Cure Your Candles:
- For optimal scent throw, let your candles cure for at least a week before burning them.
Tips for Success
- Use high-quality fragrance oils for a more pleasant aroma. Experiment with different scent combinations to find your favorite autumn blend.
- Keep the wax temperature consistent to prevent cracking or shrinkage.
- Test burn a few candles to determine wick size and fragrance throw.
Common Mistakes to Avoid
- Not measuring accurately: Using too much or too little wax, fragrance, or dye can affect the quality of your candle.
- Pouring wax too hot: This can negatively impact the scent and make the candle surface uneven.
- Skipping the curing step: This allows the fragrance to fully bind with the wax for a better scent throw.
Variations and Customization Ideas
Fragrance Combinations
- Spiced Chai: Blend cinnamon, nutmeg, and clove essential oils.
- Forest Fresh: Combine pine and cedarwood scents for a woodsy aroma.
- Sweet Citrus: Mix orange, lemon, and grapefruit for a bright autumnal feel.
Using Different Wax Types
- Consider experimenting with beeswax or palm wax for unique textures and burn qualities. Each type of wax has different melting points and scent throw capabilities.
Storage and Shelf Life
Store your finished candles in a cool, dark place, away from direct sunlight. When stored properly, homemade candles can last for up to a year, although the scent may fade over time.
Safety Tips
- Always work in a well-ventilated area to avoid inhaling wax fumes.
- Wear gloves and eyewear when handling hot wax and tools.
- Keep your workspace clear of flammable items during the candle-making process.
Frequently Asked Questions
1. Can I use essential oils instead of fragrance oils?
Yes, you can use essential oils, but they may have a weaker scent throw compared to fragrance oils specifically designed for candles.
2. What if my candle won’t light?
Make sure your wick is trimmed to the right height (around 1/4 inch) and that there is enough wax for a proper burn. Check the wick size—if too small, it may not catch the flame well.
3. How do I properly extinguish a candle?
For safety, extinguish the candle by blowing it out gently. Avoid extinguishing it with water as this can create hot wax splatter.
4. Can I reuse old candle wax?
Yes, you can melt down old candles to repurpose the wax, just be sure to strain out any impurities.
5. How do I prevent my candles from tunneling?
Using the correct wick size and ensuring the candle burns long enough the first time (allowing the melt pool to reach the jar’s edges) can help prevent tunneling.
Conclusion
With your homemade candles creating a delightful ambiance, it’s time to prepare that cozy bowl of herb-scented soup. Imagine the warm glow of your candlelight flickering against the backdrop of falling leaves and chilly evenings. This DIY project not only provides comfort through candles but also enriches your dining experience with delightful homemade soup. Dive into your candle-making journey, infuse the scent of autumn into your home, and create moments that you’ll cherish. Happy crafting!