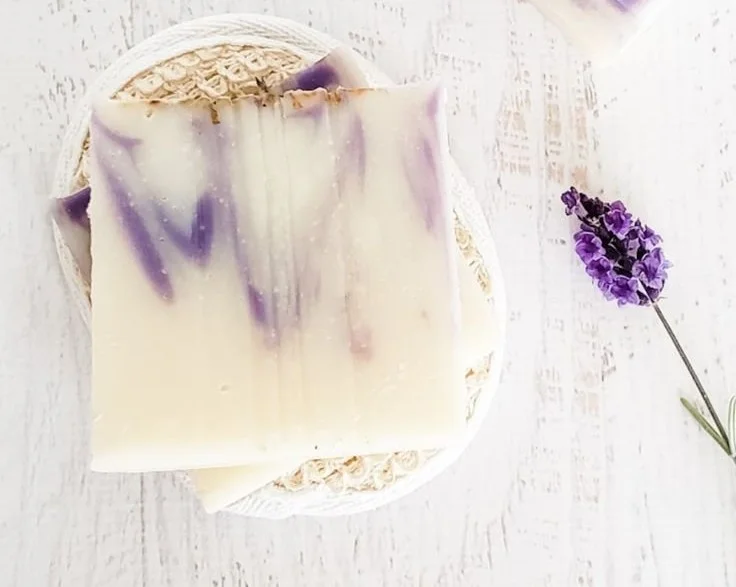

Do You Want to Learn How to Make Soap for Beginners?
Making soap from scratch can seem intimidating, especially if you’re a beginner. But don’t worry! This ultimate guide will walk you through the cold process method, allowing you to create your own beautiful, homemade soap with confidence. By the end, you’ll be ready to dive into the wonderful world of DIY soap-making!
Why You Will Love This Recipe
Creating your own soap at home has numerous benefits. Not only is it a rewarding and creative process, but you also have complete control over the ingredients. You can customize your soap to suit your skin type, create unique scents, and even design bars that make perfect gifts. Plus, homemade soap is a fantastic way to reduce chemicals in your daily life!
Ingredients
For this cold process soap recipe, you will need:
- Oils:
- 10 oz (284 g) Olive oil
- 10 oz (284 g) Coconut oil
- 10 oz (284 g) Palm oil
- Lye:
- 4.5 oz (128 g) Sodium hydroxide (lye)
- Water:
- 12 oz (340 g) Distilled water
- Optional:
- Essential oils for fragrance (e.g., lavender, tea tree, etc.)
- Natural colorants (e.g., mica, clays)
Equipment
To begin your soap-making journey, gather the following equipment:
- Digital scale
- Glass or plastic measuring containers
- Safety goggles and gloves
- Stainless steel mixing spoon
- Stick blender (immersion blender)
- Soap mold (silicone or wooden)
- Thermometer
- Mixing bowls (preferably heat-resistant)
- Apron (to protect your clothing)
Step-by-Step Instructions
Preparation Time: 20 minutes
Making Time: 1-2 hours
Yield: Approximately 10-12 bars of soap
Prepare Your Workspace:
- Ensure your workspace is clean and well-ventilated.
- Wear gloves and goggles for protection against lye.
Measure Ingredients:
- Using a digital scale, measure out the oils into a mixing bowl.
- In another container, measure the water and lye separately. Always add the lye to the water, never the other way around, to prevent a dangerous reaction.
Mix Lye Solution:
- Slowly add the lye to the water while stirring gently until dissolved. This solution will heat up quickly—let it cool to around 100°F (37°C).
Heat Oils:
- In a separate pot, gently heat the oils until they are all melted and combine into a uniform liquid. Let this cool to around 100°F (37°C), similar to the lye solution.
Combine Lye and Oils:
- Once both the lye solution and oils are within the target temperature, slowly pour the lye solution into the oils.
Blend Until Trace:
- Using a stick blender, mix the oils and lye until you reach "trace." This means the mixture should thicken and leave a trail on the surface for a few seconds. This step usually takes about 2-5 minutes.
Add Fragrance and Color:
- If desired, add essential oils and colorants to your soap at this stage, mixing thoroughly.
Pour into Molds:
- Carefully pour the soap batter into your molds, smoothing them out as needed.
Insulate and Cure:
- Cover the molds with a towel to retain heat. Let the soap sit for 24-48 hours until it hardens.
Unmold and Cut:
- Once hardened, remove the soap from the molds and cut into bars. Allow them to cure for 4-6 weeks before using for the best results.
Tips for Success
- Temperature Matters: Both the lye and the oils should ideally be around the same temperature (100°F/37°C) for a smoother emulsion.
- Stick Blender: Use short bursts with your stick blender to avoid overheating the mixture.
- Clean Up: Lye can be caustic, be sure to clean up any spills immediately and dispose of lye responsibly.
Common Mistakes to Avoid
- Incorrect Measurements: Always weigh your ingredients accurately.
- Skipping the Safety Gear: Always prioritize your safety by wearing gloves and goggles.
- Not Allowing for Cure Time: Rushing your bars may lead to an unsatisfactory product.
Variations and Customization Ideas
- Different Oils: You can experiment with different oils like almond, avocado, or castor oil to change texture and benefits.
- Scent Blends: Try mixing different essential oils to create unique fragrances.
- Additives: Include exfoliants like oatmeal or coffee grounds for texture.
Storage and Shelf Life
Store your finished soap bars in a cool, dry place, away from direct sunlight. When properly cured and stored, they can last up to 1-2 years.
Safety Tips
- Handling Lye: Always add lye to water, not the other way around, and work in a well-ventilated area.
- Protective Gear: Use gloves, goggles, and long sleeves to protect your skin and eyes from lye splashes.
Frequently Asked Questions
1. Can I use different types of oil?
Yes, you can substitute oils as long as you recalculate the lye amount using a reliable soap calculator.
2. What is trace in soap making?
Trace is the stage in which the soap mixture thickens enough to leave a trail on the surface when you drizzle some back into the bowl.
3. Why is my soap sweating?
Sweating is usually caused by too much moisture or the presence of glycerin. It is normal and can be wiped away gently.
4. How do I know when my soap is ready to use?
Let soap cure for at least four weeks. This allows the lye to fully saponify and the soap to harden.
5. Can I color my soap?
Absolutely! You can use natural colorants like mica powders or clays specifically designed for soap making.
6. What do I do if my soap doesn’t harden?
If your soap doesn’t harden, it could be due to inaccurate measurements of lye or oils. It may need additional curing time; however, if it remains soft, it can be rebatched or turned into liquid soap.
Conclusion
Congratulations! You are now well-equipped to embark on your own soap-making adventure. With practice and creativity, you’ll develop your skills and create unique handmade soaps that not only feel great but also look beautiful. So gather your materials, put on your protective gear, and start crafting your own DIY soap today!