
Homemade Goat Milk Soap Bars: A Gentle Treat for Your Skin
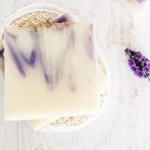
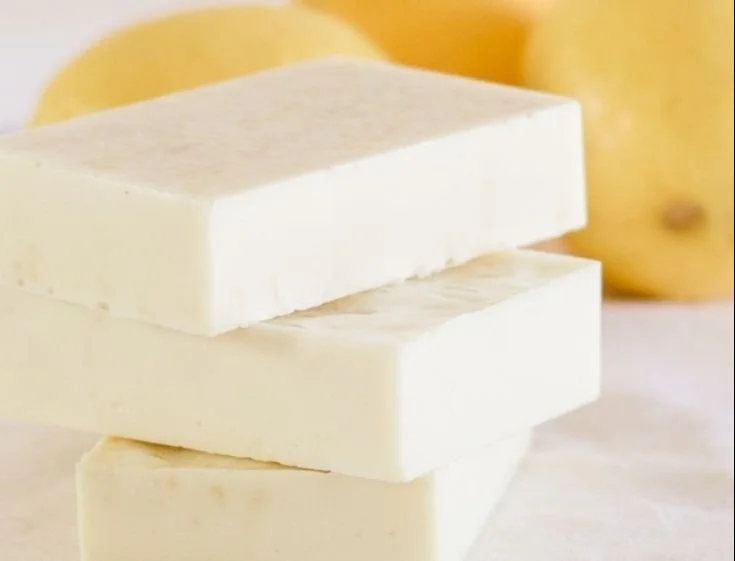
If you have sensitive or dry skin and are looking for a soothing, nourishing solution, homemade goat milk soap bars could be your answer. These delightful soap bars not only cleanse but also hydrate your skin, leaving it feeling soft and pampered. Best of all, making goat milk soap at home is surprisingly simple and allows you to customize the bars to meet your unique skincare needs.
Why You Will Love This Recipe
- Gentle on Sensitive Skin: Goat milk has natural moisturizing properties and is rich in vitamins and minerals that benefit sensitive skin.
- Customization: You can customize your soap with a variety of fragrances, colors, or add-ins, making it truly your own.
- Simple Process: Using the melt and pour method makes this project beginner-friendly.
- Wonderful Gift Idea: Handmade soap bars make fantastic gifts for friends and family.
Ingredients
- Goat Milk Soap Base: 1 pound (available at craft stores or online)
- Additives (optional):
- Essential Oils (e.g., lavender, tea tree) – 1 teaspoon for fragrance
- Natural Colorants (e.g., turmeric for yellow, spirulina for green)
- Exfoliants (e.g., coffee grounds, oatmeal) – 1 tablespoon
- Optional Decorative Add-ins: Herbs or flowers for texture
Equipment
- Double boiler or microwave-safe bowl
- Soap mold (silicone molds are recommended for easy removal)
- Stirring spatula
- Measuring spoons
- Cutting board and knife (to cut the soap base if needed)
- Heat-resistant gloves (for safety precautions)
Step-by-Step Instructions
Preparation Time: 10 minutes
Making Time: 30 minutes
Yield: About 4-6 soap bars, depending on the size of your mold
Cut the Soap Base: If using a solid goat milk soap base, chop it into smaller chunks for quicker melting.
Melt the Soap Base:
- Double Boiler Method: Fill a pot with water and place it on the stove. Put a heat-proof bowl on top and add the soap chunks. Stir occasionally until melted.
- Microwave Method: Place the chopped soap base in a microwave-safe bowl. Heat in 30-second intervals, stirring in between, until fully melted.
Add Your Ingredients: Once melted, remove the soap base from heat. Stir in your chosen essential oils and any colorants or exfoliants. Mix thoroughly to incorporate.
Pour into Molds: Carefully pour the melted soap mixture into your molds, using a spatula to help guide the liquid. Leave room at the top if adding decorative elements.
Allow to Set: Let the soap bars sit at room temperature or in the refrigerator for about 20-30 minutes until completely solid.
Remove from Molds: Once solid, gently press on the bottom of the mold to release your soap bars.
Cure the Soap: Although these soap bars are ready to use, allow them to cure for an additional 1-2 days in a cool, dry place. This will help improve their longevity.
Tips for Success
- Mixing Essential Oils: For a more complex scent, try blending different essential oils.
- Testing Fragrance: Add a few drops of any essential oil first, and increase gradually, as some scents can be overpowering.
Common Mistakes to Avoid
- Avoid Overheating: Be careful not to overheat the soap base, as this can lead to discoloration and a burned smell.
- Skipping Measurement: Measure your additives accurately to prevent overwhelming fragrances or textures.
Variations and Customization Ideas
- Add Colors: Use natural colorants such as beetroot powder or spirulina to give your soap a unique hue.
- Exfoliating Ingredients: Enhance the texture by adding coffee grounds (for scrubbing) or oatmeal (for soothing).
- Seasonal Scents: Choose different essential oils based on the season: peppermint for winter, citrus for summer.
Storage and Shelf Life
Store your finished goat milk soap bars in a cool, dry place, away from direct sunlight. Ensure they’re placed in an airtight container to prevent moisture absorption. Homemade soap can last up to 6 months when stored correctly.
Safety Tips
- Heat Cautions: Use care when melting soap to avoid burns. If you’re using heat-resistant gloves, ensure they’re designed for high temperatures.
- Ventilation: Incorporate your fragrance oils in a well-ventilated area to avoid respiratory discomfort from strong scents.
Frequently Asked Questions
1. Can I use any type of milk soap base?
Yes, while goat milk soap is wonderful for skin, you can use other milk bases like cow or coconut milk, though the properties will vary.
2. How do I know how much essential oil to use?
As a rule of thumb, use about 1 teaspoon of essential oil for every pound of soap base. Adjust based on personal preference but remain cautious as some oils are stronger than others.
3. Is it safe for children?
Generally, goat milk soap is safe for children. However, consult with a pediatrician if your child has sensitive skin, especially regarding certain essential oils.
4. How can I make my soap smell stronger after curing?
If you find the scent fades, try using a more concentrated essential oil or experiment with blending different oils.
5. Can I remelt the soap if I made a mistake?
Absolutely! If your soap doesn’t turn out as expected, just remelt it and add your desired adjustments.
6. What about allergenic ingredients?
Always consider allergies, especially with additives like essential oils or grains. Do a patch test before full use.
Conclusion
Creating your own goat milk soap bars is a rewarding and practical DIY project that provides numerous benefits for your skin. The melt and pour method makes it accessible, and the ability to customize allows you to create luxurious, personalized gifts for loved ones. Whether you’re taking your first steps into soap making or you’re an experienced crafter looking for fresh ideas, this recipe is sure to bring joy and satisfaction. So gather your ingredients, let your creativity flow, and enjoy the soothing benefits of homemade goat milk soap!