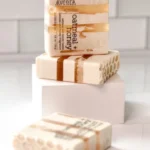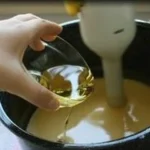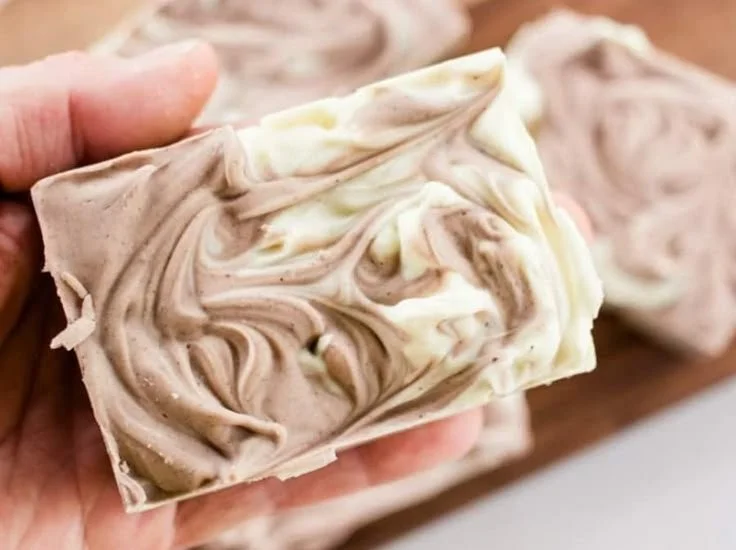

Homemade Soap Bars for Men: Smelling Good Made Easy
When it comes to personal care, men often look for ways to streamline their routines while ensuring they smell great. Homemade soap bars for men are not only a practical solution but also add a personal touch to daily grooming. Whether you’re preparing for a big meeting or heading out for a casual day, grabbing a soap bar that smells amazing and keeps you fresh is a win-win. In this guide, I’ll walk you through the enjoyable process of making your own inviting soap bars, assuring you’ll have something special to use or gift to friends.
Why You Will Love This Recipe
Making homemade soap has a host of benefits! Here are just a few reasons to try this out:
- Customization: You can select scents and ingredients that you love or that suit your skin type.
- Natural Ingredients: Control what goes into your soap, avoiding harsh chemicals often found in commercial products.
- Gift-Worthy: Homemade soap makes a fantastic, personal gift for any occasion.
- Cost-Effective: Making soap is generally more economical than purchasing high-quality bar soaps.
Ready to dive in? Let’s get started!
Ingredients
For this DIY soap project, you’ll want to use the melt-and-pour method, which is beginner-friendly and requires fewer safety precautions than other methods. Here are the basic ingredients:
- 1 pound of glycerin melt-and-pour soap base (available in most craft stores)
- A few drops of essential oils (such as cedarwood, sandalwood, or citrus for a fresh scent)
- Natural colorants (optional, like clay powders or herbs)
- Mold or silicone soap trays (for shaping your bars)
- Optional add-ins:
- Oatmeal for exfoliation
- Coffee grounds for a caffeine kick
Equipment
You’ll need a few simple tools to craft your soap:
- Microwave-safe container or double boiler
- Mixing spoon or spatula
- Knife (for cutting the soap base)
- Molds (silicone molds work best for easy removal)
- Measuring spoons (for your essential oils and other additives)
Step-by-Step Instructions
Follow these simple steps to create your homemade soap bars:
- Chop the Soap Base: Cut the glycerin soap base into small, uniform cubes for even melting.
- Melt the Soap Base:
- If using a microwave: Place the cubes in a microwave-safe container, and heat in 30-second intervals until fully melted.
- If using a double boiler: Fill the bottom pot with water and bring it to a gentle simmer. Place the soap cubes in the top pot, stirring until melted.
- Add Scent and Color: Once melted, remove the soap base from heat and stir in your chosen essential oils (approximately 10-20 drops depending on your preference) and any natural colorants.
- Incorporate Add-Ins: If you’re using oatmeal or coffee grounds, stir them in now for texture and exfoliating benefits.
- Pour into Molds: Carefully pour the mixture into your molds, filling them to the top.
- Set and Cool: Allow the soap to cool completely at room temperature (approximately 1-2 hours). You can also place them in the refrigerator for faster cooling.
- Unmold: Once cool, gently remove the bars from the molds. If they stick, place them in the freezer for a few minutes.
- Cure (Optional): Let the soap bars cure for 24 hours to harden further, although they are usable right after molding.
Tips for Success
- Keep it Simple: As a beginner, start without add-ins like exfoliants and colors before trying more complex recipes.
- Use Quality Ingredients: Investing in high-quality essential oils makes all the difference both in scent and skin feel.
Common Mistakes to Avoid
- Overheating the Soap Base: Be patient, as overheating can cause bubbles and a change in texture.
- Not Mixing Thoroughly: Ensure all ingredients are combined well for a consistent final product.
- Skipping the Cooling Phase: Rushing this can lead to a funky texture or residual melting.
Variations and Customization Ideas
Here are some creative options to inspire your soap-making journey:
- Herbal Infusion: Try adding dried herbs like lavender or rosemary for added visual and aromatic appeal.
- Layered Soap: Pour different colored soap bases in layers, letting each layer cool slightly before adding the next.
- Personalized Shapes: Use fun molds that represent hobbies or personal interests to make your bars unique.
Storage and Shelf Life
Store your finished soap bars in a cool, dry place, away from direct sunlight and moisture. Wrapping them in parchment paper or placing them in a soap dish can help maintain their freshness. Homemade soap typically lasts about 6 months when stored correctly.
Safety Tips
While making melt-and-pour soap is safer than other methods, here are a few additional safety reminders:
- Always work in a well-ventilated area.
- Use gloves if you have sensitive skin or allergies.
- Be cautious with hot oils and melted soap base to avoid burns.
Frequently Asked Questions
1. Can I use any essential oils in my soap?
- Yes, but some oils can cause skin sensitivities or are not suitable for soap-making. Stick to skin-safe essential oils.
2. How long does it take for the soap to cool?
- Generally, it takes about 1-2 hours at room temperature to completely harden and cool.
3. Can I add food coloring to my soap?
- Yes, you can use food coloring, but be cautious as it can cause staining. Natural colorants are often safer.
4. How do I know if my soap is too hot to handle?
- If it feels uncomfortable to touch, it’s too hot! Allow some cooling time before working with the soap base.
5. What should I do if my soap has bubbles?
- If bubbles form, you can use a handheld torch or heat gun to carefully pop them, or you can lightly spray the top with rubbing alcohol before it sets.
6. Can I use leftover soap scraps?
- Absolutely! Melt unused or leftover soap scraps together in a microwave to create new bars.
Conclusion
Making homemade soap bars for men is a rewarding and practical project that can elevate your grooming routine or become a fantastic gift. The melt-and-pour method makes it easy and accessible for beginners while allowing for lots of creativity and personalization. So grab your ingredients and tools, and let your DIY journey begin today! You’ll soon be enjoying the fresh, invigorating scents and smooth feel of your very own handmade soap. Happy soaping!