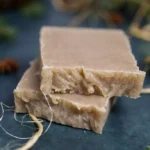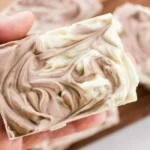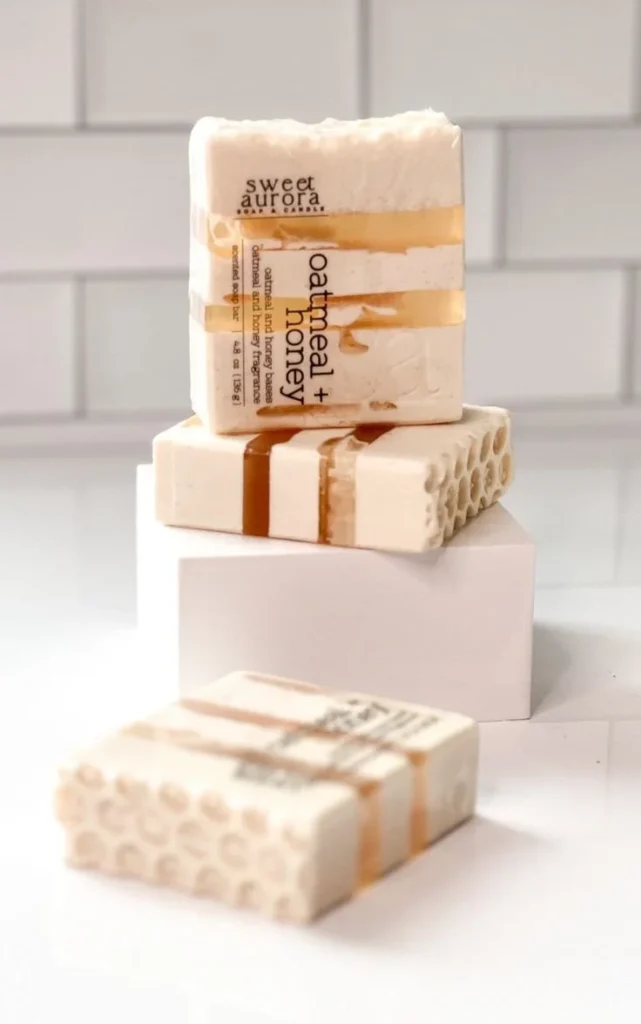

Making your own homemade soap can be a delightful and fulfilling experience, allowing you to customize scents, colors, and ingredients to your liking. In this article, we’ll explore how to create Artisanal Oatmeal and Honey Glycerin Soap Bars. This melt-and-pour method is beginner-friendly, making it perfect for anyone looking to make their first batch of homemade soap. You’ll not only end up with beautiful, unique bars but also a lovely addition to your self-care routine or a thoughtful handmade gift.
Why You Will Love This Recipe
Creating your own soap not only allows you to control the ingredients but also provides an opportunity to express your creativity. The natural combination of oatmeal and honey in this recipe results in a soothing bar, perfect for gentle cleansing. These soap bars are incredibly moisturizing, thanks to the glycerin and colloidal oatmeal, making them suitable for all skin types. Plus, you’ll love the calming aroma they produce.
Ingredients
Before you begin, gather the following ingredients:
- Glycerin Soap Base: 16 oz (approximately 3 cups)
- Oatmeal Soap Base: 16 oz (approximately 3 cups)
- Colloidal Oatmeal: 2 tablespoons
- Honey: 2 tablespoons
- Natural Colorants: To your preference (optional)
- Essential Oil (optional): 1-2 teaspoons (try lavender or chamomile for a relaxing scent)
Equipment
You’ll need some specific equipment to make your soap-making process smoother:
- Soap Molds: Silicone molds work best for easy removal
- Double Boiler or Microwave-Safe Bowl: For melting your soap bases
- Mixing Spoon or Whisk: To blend ingredients
- Measuring Cups and Spoons: For accurate measurements
- Thermometer: Optional, but useful to monitor soap melting temperature
- Scale: For measuring ingredients accurately, especially if making larger batches
Step-by-Step Instructions
Preparation Time: 20 minutes
Making Time: 30 minutes
Yield: Approximately 6 medium-sized bars
Prepare Your Workspace: Clear your work area and gather all ingredients and equipment. Cover your workspace with newspaper or an old cloth for easy cleanup.
Melt the Soap Bases:
- Double Boiler Method: Heat water in the bottom pot and place the soap bases in the top pot. Stir gently until fully melted.
- Microwave Method: Place the soap bases in a microwave-safe bowl. Microwave in 30-second intervals, stirring in between until melted.
Add Colloidal Oatmeal and Honey: Once the soap base is melted, add the colloidal oatmeal and honey. Stir well to ensure even distribution.
Color and Scent (if using): If you desire, add natural colorants and essential oils. Stir until fully combined.
Pour into Molds: Carefully pour the mixture into the silicone molds. Fill them to the desired level.
Cooling: Allow the soap to cool at room temperature for a few hours until fully set, or place them in the refrigerator to speed up the process.
Remove from Molds: Once cooled and firm, turn the molds upside down and gently press to release the soap bars.
Tips for Success
- Maintain Heat: When melting soap, make sure not to overheat it, as this can lead to bubbling and ruining the final product.
- Mold Prep: Using silicone molds can help ensure a smooth removal process without damaging your soap.
- Labeling: If you make variations, label your soap for easy identification.
Common Mistakes to Avoid
- Overheating Your Soap: Always keep an eye on your soap while melting to prevent it from scorching.
- Not Mixing Well: Ensure all ingredients, especially colorants and essential oils, are well incorporated for an even finish.
- Skipping the Cooling Process: Allow your soap enough time to cool and harden completely; rushing may lead to soft spots.
Variations and Customization Ideas
- Scents: Experiment with different essential oils such as eucalyptus, peppermint, or citrus for an invigorating experience.
- Add-Ins: Consider incorporating dried flowers, oats, or exfoliants for texture.
- Coloring: Natural colorants like turmeric or beet powder can add a beautiful hue to your bars without synthetic dyes.
Storage and Shelf Life
Store your finished soap bars in a cool, dry place away from direct sunlight. Properly stored, they can last for up to a year. Always keep them in a container or wrapped in wax paper to prevent dust accumulation.
Safety Tips
- Ventilation: If you’re melting soap bases that emit strong odors, make sure to work in a well-ventilated area.
- Protective Gear: While using soap bases avoids lye, if you ever venture into cold-process soap making, wear gloves and goggles for safety.
Frequently Asked Questions
1. Can I use any type of soap base?
While there are various soap bases available, glycerin, oatmeal, and honey bases work well for moisturizing and gentle cleansing.
2. How do I know when my soap is fully set?
Your soap should be firm to the touch and come out of the mold easily when removed.
3. What if my soap shows bubbles after melting?
To avoid bubbles, ensure you’re melting the soap gently. If bubbles occur, spritz them with rubbing alcohol right after pouring.
4. Can I use milk instead of honey?
Yes, you can substitute honey with other moisturizing agents like goat milk for additional softness.
5. How do I incorporate colorants without messing up the texture?
Add colorants gradually, stirring well to avoid introducing air bubbles into the base.
Conclusion
Making Artisanal Oatmeal and Honey Glycerin Soap Bars is a rewarding project that not only nurtures your skin but also provides a sense of accomplishment. This easy recipe allows you to personalize your soaps with fragrances, colors, and additional ingredients, making it perfect for gift-giving or personal use. So gather your supplies, roll up your sleeves, and enjoy the delightful world of homemade soap making. You’re sure to create something beautiful and beneficial!