
Crafting Your Own Homemade Soap: A Beginner’s Guide
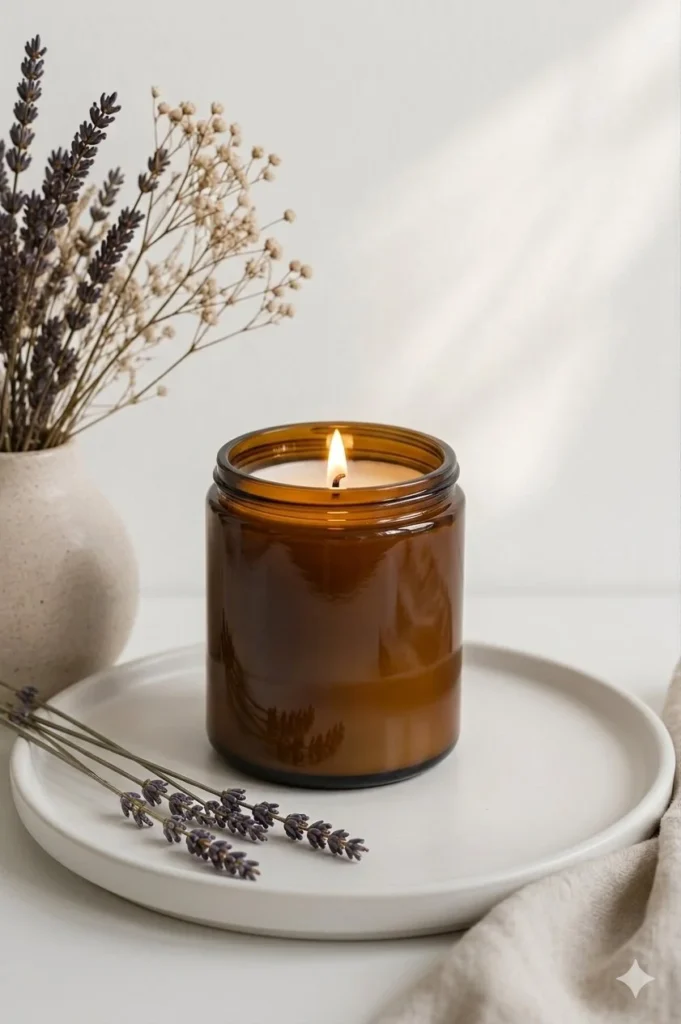
Creating your own soap can be a delightful and satisfying experience. Whether you’re drawn to the thought of a soothing lavender bar after a long day or want to make unique, personalized gifts, making homemade soap opens a world of customization and creativity. This guide will walk you through everything you need to know to get started.
Why You Will Love This Recipe
Homemade soap offers numerous benefits: you control the ingredients, avoid unwanted chemicals, and can create beautiful, fragrant bars tailored to your preferences. Moreover, it’s a great stress-reliever, allowing you to indulge in creativity while enjoying a hands-on project. Plus, handmade soap makes a thoughtful gift!
Ingredients
Basic Ingredients for Cold Process Soap
- Olive oil: 500 grams (for moisturizing properties)
- Coconut oil: 250 grams (for hardness and lather)
- Sodium hydroxide (lye): 170 grams (this is a caustic substance, so handle carefully)
- Distilled water: 380 grams (to dissolve the lye)
- Essential oils (optional): 30-50 grams (for scent, like lavender or eucalyptus)
- Colorants (optional): natural clays or mica pigments
Note on Lye:
Lye (sodium hydroxide) is crucial in the saponification process, converting oils into soap. Handle lye with care, always wearing gloves and goggles, and work in a well-ventilated area.
Equipment
- Digital scale: for accurate measurements
- Heat-resistant mixing bowl: to handle the lye solution
- Stick blender: for mixing (you can also use a whisk, but it takes longer)
- Soap mold: silicone molds are user-friendly
- Thermometer: to check the temperatures
- Gloves and goggles: essential safety gear
- Spoon or spatula: for mixing
- Old newspaper or baking paper: to cover your work surface
Step-by-Step Instructions
Preparation Time: 30 minutes
Making Time: 4-6 weeks (includes curing)
Prepare Your Workspace: Make sure your area is clean and free of distractions. Gather all equipment and ingredients beforehand.
Measure Ingredients: Use a digital scale to accurately measure the lye, oils, and water.
Mix the Lye Solution: Carefully add the sodium hydroxide to distilled water (never the other way around) while wearing gloves and goggles. Stir until dissolved. The solution will heat up; allow it to cool to around 100-110°F (37-43°C).
Heat the Oils: In a separate heat-resistant bowl, gently heat the olive oil and coconut oil until they are around 100-110°F (37-43°C), then remove from heat.
Combine Lye and Oils: Once both mixtures are at a similar temperature, slowly pour the lye solution into the oils. Use the stick blender to mix until you reach “trace” (the mixture thickens and leaves a trail on the surface).
Add Fragrance and Color: If you want, add your essential oils and any colorants. Blend again gently to combine.
Pour into Mold: Transfer the soap batter into a prepared mold and smooth the top. Cover with a towel to insulate while it saponifies.
Cure Your Soap: Leave the soap in the mold for 24-48 hours. After that, unmold and cut into bars. Allow them to cure in a well-ventilated area for 4-6 weeks.
Store Properly: Once cured, store soap in a cool, dry place.
Yield: Approximately 12 bars of soap
Tips for Success
- Check Temperature: Both oils and lye should be at similar temperatures to avoid seizing.
- Use a Reliable Recipe: For beginners, sticking to tested recipes until you gain confidence helps.
Common Mistakes to Avoid
- Not wearing protective gear: Always wear gloves and goggles when handling lye.
- Incorrect measurements: Use a scale for accuracy as small changes can affect the outcome.
- Skipping the curing time: Allowing time for saponification is essential!
Variations and Customization Ideas
- Different Oils: Substitute oils like almond or sunflower oil for specific benefits.
- Color Additives: Experiment with different natural colorants like beetroot powder or spirulina.
- Layered Soap: Pour two different soap mixtures for a marbled effect.
Storage and Shelf Life
Store your finished soaps in a dry, cool place. They last around 6-12 months, depending on their moisture content.
Safety Tips
- Always work in a well-ventilated area.
- Use protective gear when handling lye.
- Keep all equipment and ingredients out of reach of children and pets.
Frequently Asked Questions
Can I use any essential oil in soap making?
Not all essential oils are suitable for soap. Check their saponification rates and recommended usage amounts.
What if I don’t have a soap mold?
You can use any container, such as cardboard boxes lined with freezer paper or silicone baking dishes.
How do I know when my soap is ready to cut?
Soap is ready to cut when it is firm but still slightly pliable, typically after 24-48 hours.
How can I add texture to my soap?
You can use items like oatmeal, dried herbs, or coffee grounds for added texture and exfoliation.
What should I do if my soap turns out too soft?
If the soap is too soft, it may need additional curing time, or you might have used too much liquid. Always follow the recipe accuracy!
Conclusion
Making homemade soap is a fulfilling hobby that allows you to create personalized products, perfect for yourself or as meaningful gifts. With this guide, you’re now equipped to embark on your soap-making journey. Embrace the creativity, experiment with different scents and colors, and most importantly, enjoy the process. Happy crafting!