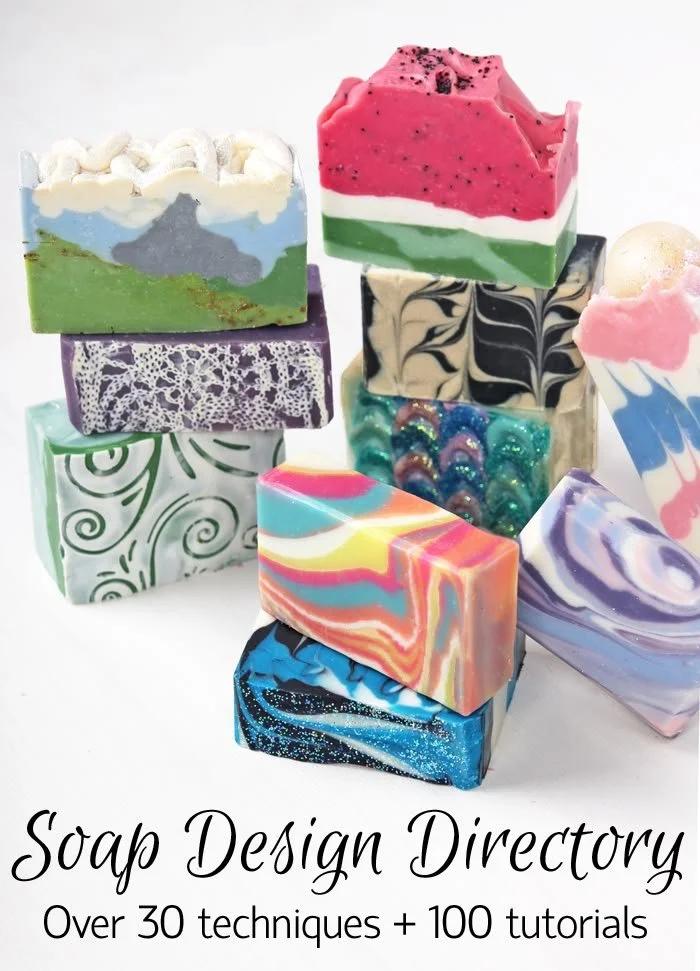

Cold Process Soap Design Directory – Soap Queen
Welcome to your ultimate guide to cold process soap making! If you’ve ever wanted to create beautiful, artisanal soap at home, you’re in the right place. Cold process soap not only allows for customization of colors and scents but also results in a luxurious bar that’s gentle on the skin. Let’s dive into the art of making cold process soap and explore how you can start your journey into the world of DIY soap crafting.
Why You Will Love This Recipe
Cold process soap making is an incredibly satisfying hobby. You’ll love the creativity involved in choosing different colors, fragrances, and designs. Additionally, making your own soap means controlling the ingredients, helping you create natural, skin-friendly products without unnecessary additives. Whether you’re looking to pamper yourself or create thoughtful handmade gifts for family and friends, this project is both fun and rewarding!
Ingredients
For this cold process soap recipe, you will need the following ingredients:
Basic Soap Recipe (for approximately 5 lbs of soap)
Oils:
- 16 oz Olive Oil
- 16 oz Coconut Oil
- 16 oz Palm Oil
- 8 oz Sweet Almond Oil
Lye Solution:
- 7.5 oz Sodium Hydroxide (Lye)
- 16 oz Distilled Water (for mixing with lye)
Optional Additives:
- Fragrance oil (1-2 oz based on strength desired)
- Colorants (natural or synthetic depending on preference)
Equipment
To ensure your soap-making process goes smoothly, gather the following equipment:
- Digital scale (for accurate measurements)
- Heat-resistant mixing containers (glass or stainless steel)
- Stick blender (for mixing the lye and oils)
- Soap mold (silicone or wooden)
- Safety goggles and gloves (for protection while handling lye)
- Measuring spoons
- Thermometer
Step-by-Step Instructions
Follow these easy steps to create your own cold process soap:
Preparation
Safety First: Put on your safety goggles and gloves to protect yourself while handling lye. Make sure you’re working in a well-ventilated area.
Measure Ingredients: Weigh your lye and distilled water separately using a digital scale. Always add lye to water and never the other way around—it can cause a dangerous reaction.
Create Lye Solution:
- Gradually sprinkle the lye into the water while stirring gently. Allow it to dissolve completely. This solution will heat up quickly, so set it aside to cool.
Mix Oils
Measure Oils: Weigh the oils (olive, coconut, palm, and sweet almond) and combine them in a heat-safe container.
Heat Oils: Gently heat the oils in a double boiler or microwave until they reach approximately 100°F (37°C).
Blend and Pour
Combine Lye and Oils: Once both the lye solution and the oils are around 100°F, slowly pour the lye solution into the oils. Blend using your stick blender until you reach "trace," which is when the mixture thickens and leaves a trail on the surface.
Add Fragrance and Color: If you’re using fragrance oils or colorants, now is the time to mix them in. Blend until evenly distributed.
Pour into Mold: Carefully pour the soap batter into your mold. Tap the mold lightly to remove any air bubbles.
Curing
Cure the Soap: Cover the mold with a towel and let it sit undisturbed for 24-48 hours until it hardens.
Unmold and Cut: Once hardened, remove the soap from the mold and slice it into bars using a sharp knife.
Cure the Bars: Place the bars of soap on a rack in a cool, dry place for 4-6 weeks to cure. This allows the soap to harden and the lye to fully saponify.
Tips for Success
- Accurate Measurements: Use a digital scale for the most accurate measurements to ensure your soap is balanced and safe.
- Temperature Control: Both the lye solution and oils should be within the same temperature range for optimal mixing.
- Trace Consistency: Aim for a light to medium trace. If it’s too thick, it may be difficult to pour into the mold.
Common Mistakes to Avoid
- Incorrect Measurements: Always double-check your lye and oil measurements. A simple mistake can result in an unusable or harsh soap.
- Skipping Safety Gear: Always wear protective gear while handling lye to avoid chemical burns.
- Rushing the Curing Process: Be patient and allow your soap to cure properly for the best results.
Variations and Customization Ideas
- Colorants: Experiment with natural colorants like turmeric for yellow, spirulina for green, or activated charcoal for black.
- Fragrance: Blend different essential oils for unique scents. For example, a combination of lavender and eucalyptus can create a refreshing aroma.
- Additives: Consider adding herbs, oatmeal, or clay to enhance texture and skincare benefits.
Storage and Shelf Life
Store your finished bars in a cool, dry place, away from direct sunlight. Properly cured soap can last for up to a year, but for best quality, use within 6-12 months.
Safety Tips
- Lye Handling: Always wear gloves and goggles while working with lye. Store it in a safe location, out of reach of children and pets.
- Ventilation: Work in a well-ventilated area, as the fumes from the lye solution can be irritating.
Frequently Asked Questions
1. Can I use regular kitchen oils for soap-making?
Yes, but using oils specifically known for their saponification properties (like olive, coconut, and palm) is recommended for better quality soap.
2. What if my soap is crumbly?
Crumbly soap may result from an overly high lye content or insufficient curing time. Ensure measurements are accurate and allow ample curing time.
3. How do I know when my soap is ready to use?
After the curing period of 4-6 weeks, perform a pH test or simply assess if it’s hardened and has a pleasant scent.
4. Can I leave out the fragrance oil?
Yes, but the soap may have a more neutral scent. You can always use essential oils as a natural alternative.
5. Is it important to measure the temperature of the mixtures?
Yes, for successful saponification, it’s vital that both the oils and lye solution are at similar temperatures when combined.
6. How do I customize my soap’s texture?
You can adjust the oils used in your recipe; adding hard oils like cocoa butter can create a firmer bar, while soft oils can produce a creamier texture.
Conclusion
Making cold process soap at home is an exhilarating and fulfilling project that brings the joy of creativity into your daily routine. With a bit of practice and patience, you’ll soon be creating beautifully customized bars that not only cleanse but also nourish your skin. Embrace the process, experiment boldly, and most importantly, have fun while creating! Happy soap making!