
Transform Your Home with a Homemade Apple Spice Candle
Imagine this: a cool fall evening with the golden leaves crunching underfoot, while inside your home, the warm and spicy aroma of baked apples envelops you like a cozy blanket. If you’re anything like me, you absolutely adore that comforting scent that signals the arrival of fall. But here’s the truth: we often rely on store-bought candles that might not capture that homemade warmth we crave. So, why not create your own? Today, I’m excited to share a delightful DIY tutorial for a homemade apple spice candle that will fill your space with the heavenly scent of the season.
You might be wondering if making candles is complicated. Well, I assure you, it’s simpler than you think! And the best part? You can customize the scent to perfectly match your mood or the vibe of your living space. So, grab your apron, and let’s dive into the step-by-step guide for crafting your own apple spice candle!
Gather Your Supplies
Before we jump into the fun part, let’s make sure you have everything you need. Here’s a quick checklist to help you gather your supplies:
- Soy Wax Flakes: This is your base. Soy wax is eco-friendly and burns cleanly, making it perfect for home use.
- Candle Wicks: Choose cotton or wooden wicks based on your personal preference.
- Fragrance Oils: For this candle, you’ll need apple and cinnamon essential oils or fragrance oils to create that irresistible apple spice scent.
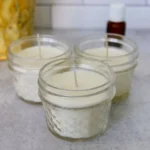
- Candle Containers: You can use glass jars, tin containers, or even silicone molds for unique shapes.
- Double Boiler: If you don’t have a double boiler, a heat-safe bowl over a pot of simmering water works just fine.
- Thermometer: A candy or kitchen thermometer will help ensure your wax is the right temperature.
- Stirring Utensil: A wooden stick or spoon works great.
- Optional Add-ins: Dried apple slices or cinnamon sticks can serve as lovely decorative accents.
Having all your supplies in place makes the process smooth and enjoyable. Plus, it feels so satisfying to set up for a fun DIY moment!
Making the Candle – A Step-by-Step Guide
Step 1: Measure Your Ingredients
Start by determining how much wax you’ll need. A good rule of thumb is to fill your candle container with wax flakes, then double that amount to account for melting. For example, if you have a 16 oz container, measure out 16 oz of soy wax flakes.
Step 2: Melt the Wax
Place the wax flakes into your double boiler and heat over medium-low heat. Stir occasionally until the wax is completely melted. This can take about 10-15 minutes, so don’t rush it! You want it to be smooth and fully liquefied.
Step 3: Add Fragrance Oils
Once your wax is melted, it’s time to bring the scent of fall to life. Remove the wax from heat and let it cool slightly to about 185°F (85°C). Add your apple and cinnamon fragrance oils — about 1 oz of fragrance per pound of wax is a good guideline. Stir gently for about a minute to ensure the oils are well combined.
Step 4: Attach the Wick
While your wax cools, it’s the perfect moment to prepare your candle container. Use a wick holder or adhesive to secure the wick to the bottom of the container. This will help keep it centered when you pour the wax.
Step 5: Pour the Wax
This step is where the magic happens! Slowly pour the wax into your container, leaving a little space at the top. If you’re using any decorative elements like cinnamon sticks or dried apple slices, you can add them to the wax now for a beautiful touch. Let the candle sit undisturbed for about 30 minutes.
Step 6: Trim the Wick
After your candle has cooled and solidified (typically a couple of hours), trim the wick down to about ¼ inch above the wax surface. This will ensure a cleaner burn.
Step 7: Cure Your Candle
For the best results, let your candles cure for at least 48 hours before burning. This allows the wax and fragrance to meld beautifully for a more robust scent experience.
Additional Tips for Candle Lovers
Creating candles can be fun and rewarding, but there are a few things to keep in mind to elevate your experience:
- Experiment with Scents: If you enjoy blending aromas, try adding a hint of vanilla or clove to your apple spice blend. What if you made a seasonal collection with pumpkin spice, too?
- Repurpose Old Containers: Don’t throw away those old jars! Repurpose them as candle containers for a charming touch.
- Mind the Temperature: Keep an eye on your wax temperature—it shouldn’t exceed 190°F (88°C). Too hot can cause the fragrance to evaporate.
Decorating Your Candles
Now that you’ve successfully created your apple spice candle, let’s talk about how to make it even more visually appealing!
- Labeling: Create adorable labels for your candles. Not only does it keep them organized, but it also makes for great gifts.
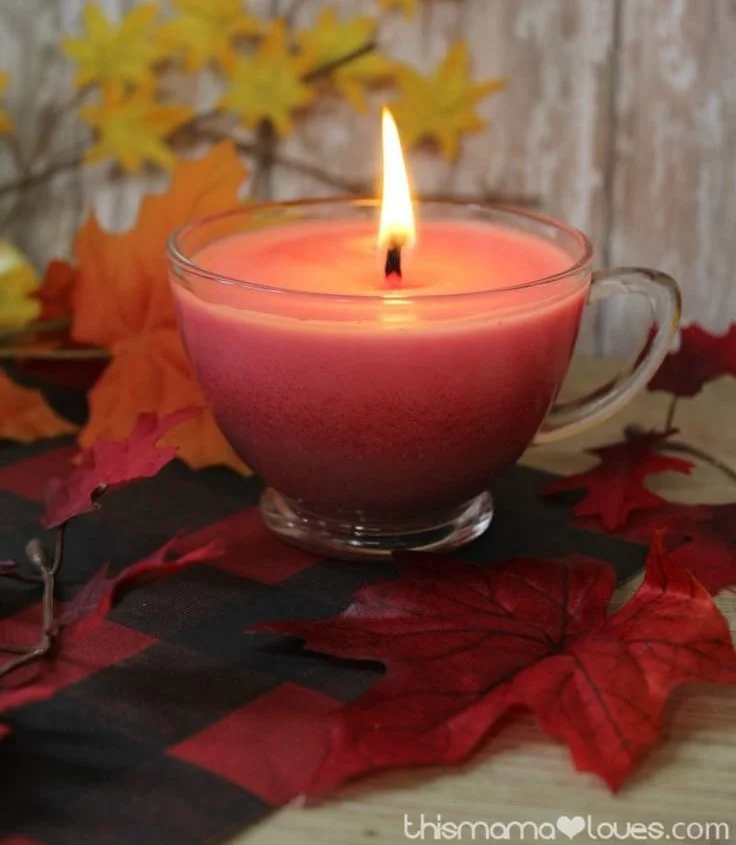
- Unique Containers: Try using vintage teacups or mason jars for a whimsical touch. You could even tailor each candle to fit your home’s decor style.
- Gift Ideas: Speaking of gifts, a homemade candle in a lovely container, perhaps paired with a cute matchbox or a few cozy socks, can be a heartfelt present.
Common Mistakes to Avoid
Even seasoned candle makers have their hiccups. Here are a few common slip-ups to watch out for:
- Overheating Wax: This can make it burn poorly. Always keep the temperature in check.
- Not Mixing Enough: Make sure your fragrance is well mixed to avoid pockets of scent or unscented areas in your candle.
- Incorrect Wick Size: Choosing the wrong wick can lead to poor burning performance. Too small, and the candle won’t burn well; too large, and it can create soot.
Frequently Asked Questions
How long will my homemade candle last?
Typically, a soy candle has a burn time of about 30-50 hours. However, this can vary based on the size and wick used.
Can I use regular kitchen supplies?
Absolutely! Most home kitchens have available tools that you can use for making candles, like pots and stirring spoons.
What if I don’t have the right container?
No worries! Get creative with what you have. Just ensure whatever you use is heat-resistant.
Can I reuse old candles?
Definitely! Melt down any leftover wax from old candles and mix with fresh wax to create new scents.
Bonus Self-Care Ideas
Aside from the joy of candle-making, here are a few additional self-care ideas for this fall season:
- Take a Nature Walk: Embrace the crisp fall weather by taking a stroll and collecting leaves, acorns, or pinecones.
- Enjoy a Cozy Night In: Create a spa-like atmosphere at home with your apple spice candle, a warm bath, and your favorite book.
- Host a Candle-Making Party: Invite friends over for a fun night of crafting, chatting, and sharing home fragrance tips.
Conclusion
Creating your own homemade apple spice candle is not just a craft; it’s a meaningful way to infuse your home with the warmth and comfort of fall. Alongside the heavenly scent wafting through your space, you’ll enjoy the satisfaction of making something special with your own hands. I hope this step-by-step guide encourages you to embrace your creative side.
Let’s be honest — self-care can come in many forms, and there’s nothing quite like the sense of pride you feel when you light a candle you made yourself. So, gather those supplies and let the scent of fall blanket your home with cozy nostalgia. Happy candle-making!