
Lavender Beeswax Candle – The Lobo Life
Making candles at home is a delightful and therapeutic hobby, allowing you to customize scents, colors, and even the ingredients used. One of the most beloved choices in candle-making is the lavender beeswax candle. Not only do these candles emit a soothing lavender fragrance, but they also burn more cleanly than conventional paraffin candles. In this guide, I’ll share everything you need to know—from ingredients and equipment to step-by-step instructions—so you can craft your very own lavender beeswax candles with confidence!
Why You Will Love This Recipe
Creating your own lavender beeswax candles is perfect for several reasons:
- Natural Ingredients: Beeswax is a natural product and is generally considered more eco-friendly than paraffin.
- Scent Benefits: Lavender not only smells divine but also has calming properties that enhance relaxation and reduce stress.
- Customizable: You can adjust the fragrance strength and even mix in other essential oils for a unique scent profile.
- Unique Gifts: Handmade candles make thoughtful gifts for loved ones, adding a personal touch to any occasion.
Ingredients
Here’s what you’ll need to create your lavender beeswax candle:
- Beeswax: 1 pound (approximately 450 grams)
- Lavender essential oil: 1 to 2 ounces (30 to 60 ml), depending on your scent preference
- Candle wick: Pre-waxed wicks suited for the diameter of your container
- Container: Glass jars or metal tins (8 to 12 ounces in size)
Equipment
Having the right tools makes candle-making easier and more enjoyable. Here’s a list of what you’ll need:
- Double boiler (or a makeshift one using a pot and a heat-safe bowl)
- Thermometer (optional, but useful for temperature control)
- Pouring pitcher (for easy candle pouring)
- Stirring spoon (wooden or silicone works best)
- Scale (to measure wax and oils)
- Wick holder (to keep wicks centered while the wax sets)
- Safety gloves (for working with hot wax)
Step-by-Step Instructions
Follow these easy steps to make your lavender beeswax candle:
Prepare Your Workspace: Cover surfaces to protect against spills, and gather all your equipment and ingredients.
Measure Beeswax: Weigh out 1 pound of beeswax using your scale.
Melt the Beeswax:
- Fill your double boiler with water and bring it to a simmer.
- Place the beeswax in the top part of the double boiler.
- Stir gently as the beeswax melts completely (around 145°F or 63°C is optimal).
Add Lavender Oil: Once the beeswax is melted, remove it from the heat.
- Allow it to cool slightly (around 130°F or 54°C) before adding 1 to 2 ounces of lavender essential oil, depending on your fragrance strength preference.
- Stir well to combine.
Prepare the Wick:
- Attach the wick to the bottom of your container using a bit of melted wax or a wick sticker.
- Use a wick holder to keep the wick centered.
Pour the Wax: Carefully pour the melted wax into your prepared container, leaving some space at the top.
Let it Set: Allow the candle to cool and harden completely, which may take several hours.
Trim the Wick: Once the candle is set, trim the wick to about 1/4 inch above the wax surface.
Tips for Success
- Temperature Control: Keeping an eye on the temperature of the melted beeswax is crucial to ensure the best results.
- Fragrance Strength: If you prefer a stronger scent, experiment with increasing the lavender oil in small increments.
Common Mistakes to Avoid
- Overheating the Wax: Beeswax can become too hot, leading to discoloration. Monitor it closely.
- Pouring Too Quickly: This can cause the wax to crack as it cools. Pour slowly and steadily.
- Insufficient Wick Size: Using a wick that is too small can result in a candle that doesn’t burn properly. Always select a wick suitable for the size of your container.
Variations and Customization Ideas
Feel free to experiment with different scents and add-ins:
- Mixing Scents: Combine lavender with other essential oils like bergamot or eucalyptus for a blended fragrance.
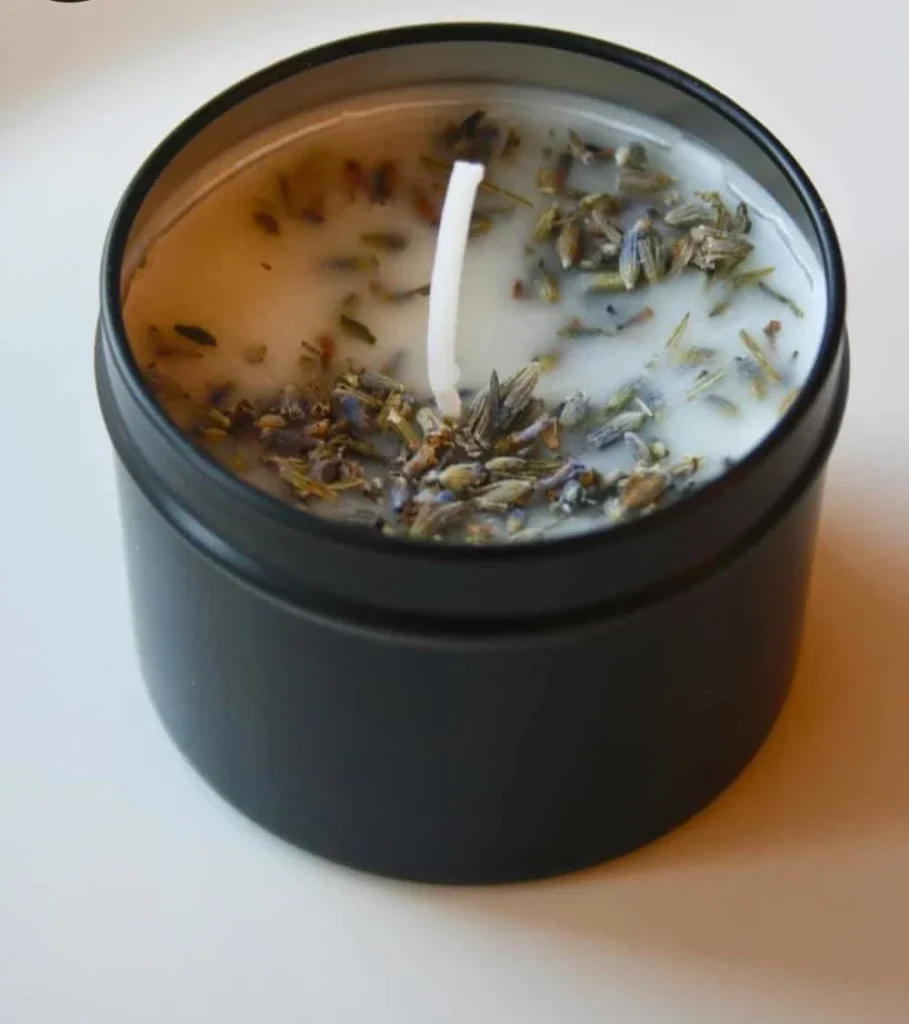
- Colored Candles: Add natural colorants, such as dried lavender petals, to give your candles a beautiful touch.
Storage and Shelf Life
Store your candles in a cool, dry place, away from direct sunlight. When stored properly, beeswax candles can last for several months, and even years!
Safety Tips
- Always work in a well-ventilated area when melting wax and adding essential oils.
- Avoid leaving melting wax unattended to prevent any fire hazards.
- Use caution with hot wax to prevent burns; wear gloves if necessary.
Frequently Asked Questions
How long does it take for lavender beeswax candles to cool and set?
It typically takes several hours for beeswax candles to set completely, depending on their size.
Can I use other types of wax for this recipe?
While this recipe is specifically for beeswax, you can substitute with soy wax or paraffin; however, the melting point and scent throw might differ.
How do I know which wick size to use?
Wick size depends on the diameter of your container. It’s best to consult a wick size guide or manufacturer recommendations.
Can I add color to my beeswax candles?
Yes! You can use natural additives such as colored wax or even dried herbs for a more decorative touch.
Do I need to cure beeswax candles?
Unlike some other candle types, beeswax candles do not require a curing time but allowing them to sit for a couple of days can improve scent throw.
Conclusion
Making your own lavender beeswax candles is a splendid way to dive into the world of DIY projects. With just a few ingredients and a bit of patience, you’ll create candles that not only smell amazing but also add a warm, inviting ambiance to any space. So gather your materials and get started on this fun project! You’ll find the process rewarding and the results delightful. Happy candle-making!