
Getting Started with Milky Nails at Home
Imagine it’s a quiet Sunday afternoon. You’ve got a warm cup of tea (or maybe a glass of wine) in hand, and you can feel the stress of the week melting away. You glance down at your nails and think, “Wow, I could really use a little self-care right now.” We all know that the right manicure can not only elevate your look but also boost your confidence. Here’s the truth: taking the time to pamper ourselves, even in small ways, can make a world of difference.
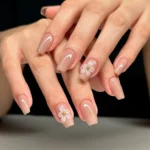
Today, we’re diving into the fabulous world of milky nails—a chic, trendy option that’s all about that milk bath finish. If you’ve been scrolling through Instagram and noticed how stunning this look can be, you’re not alone. This delicate, yet sophisticated style can feel just as uplifting as a fresh haircut or a new outfit. And the best part? You can create and maintain this gorgeous mani right from the comfort of your own home.
Let’s get to it, shall we?
Understanding the Milky Nails Trend
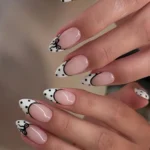
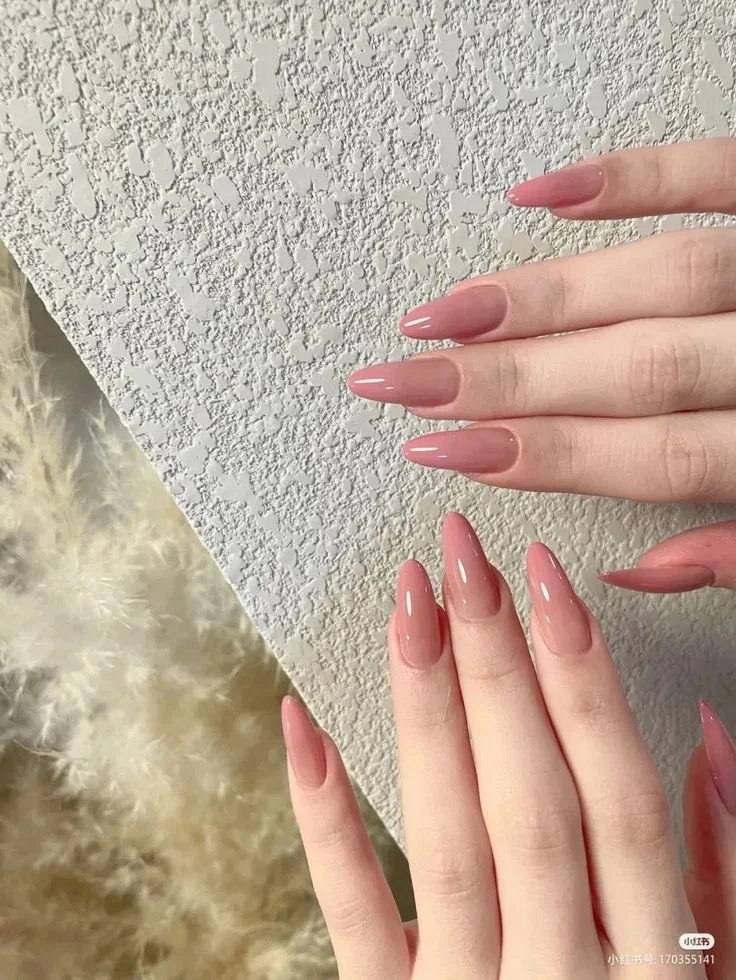
Milky nails are an artful blend of elegance and simplicity. Instead of stark white, milky nails present a softer, creamier hue that complements all skin tones wonderfully. The look can range from sheer to semi-opaque, giving you a versatile option that works for any occasion.
Why They’re so Popular: It’s all about that effortlessly cool vibe—milky nails are not just beautiful but also practical. They’re low-maintenance yet still make a statement, which is the perfect combo for busy women like us. Whether you have a big meeting or a casual brunch planned, milky nails fit the bill beautifully.
Tools You’ll Need for Milky Nails
Before we get into the nitty-gritty of achieving that perfect milky finish, let’s gather what you’ll need. Here’s a handy list of tools and products to have on hand:
- Base coat: A good quality base coat will help your polish adhere better and protect your nails.
- Milky white or pastel polish: Look for semi-opaque shades. Brands like OPI and Essie often have lovely selections.
- Top coat: This adds shine and longevity to your manicure.
- Nail file: A file to shape your nails to your preferred length and style.
- Buffer: A buffer will give your nails a smooth finish and help them shine.
- Cuticle oil: Keep those cuticles hydrated for a neat look.
- Cotton pads and nail polish remover: For cleanup along the way.
- Optional: Nail art brush for adding special designs.
Sound familiar? You probably have some of these items lying around the house!
Step-by-Step Guide to Achieve Milky Nails
Let’s dive straight into the process—here’s how to create and maintain your stunning milky nail manicure at home.
Step One: Prep Your Nails
Start with clean, dry nails. Remove any old polish and give your nails a little TLC.
- Soak your nails: If you have time, soak your nails in warm water for about 5 minutes. This softens the cuticles and makes them more manageable.
- Push back cuticles: Use a cuticle pusher (or the back of a small spoon if you’re in a pinch) to gently push back your cuticles.
- Shape your nails: Use your nail file to shape your nails. Almond, square, or rounded—it’s all about what makes you feel good!
Step Two: Buff and Shine
Once your nails are shaped, grab that buffer. Buffing helps create a smooth surface and enhances shine.
- Gently buff: Buff your nails lightly until they feel smooth. Remember, don’t overdo it; we want the natural nail to breathe.
- Wash your hands: Give your hands a rinse to remove any dust, and dry them thoroughly.
Step Three: Base Coat Application
Applying a base coat is a crucial step that many people skip. Don’t make that mistake!
- Apply a thin layer of base coat: This will protect your nails and give the polish something to stick to. Wait a few minutes for it to dry.
Step Four: Apply Milky Polish
Now comes the fun part—applying that milky polish to get the look just right!
- First layer: Apply a thin layer of the milky polish. This allows for a more natural, translucent look. Let it dry for a few minutes.
- Second layer: For a more opaque finish, add a second coat and allow it to dry completely. Inspect to see if you like the opacity; if not, add a third coat!
- Clean up any edges: Use a small brush dipped in nail polish remover to tidy up the nail beds. This makes a world of difference in achieving that salon-fresh look.
Step Five: Top Coat for Shine
You’re almost done! Let’s lock in that beauty:
- Apply a top coat: This will add a dazzling shine to your milky nails and help the color last longer.
- Don’t forget the edges: Make sure to seal the tips of your nails with the top coat to prevent chipping.
Step Six: Hydrate Your Cuticles
Once your nails are completely dry, don’t forget your cuticles!
- Apply cuticle oil: Massage a small amount of cuticle oil all around the nail beds. This adds moisture and promotes nail health—plus, it instantly elevates your overall manicure.
Tricks to Maintain Your Milky Nails
Now that you’ve created your stunning milky nails, we want them to last as long as possible. Here are a few maintenance tips to keep your mani looking fresh and fabulous:
- Avoid hot water: Hot showers can cause your polish to chip. When washing dishes or taking a bath, wear gloves to protect your manicure.
- Hydrate regularly: Keep applying cuticle oil every couple of days. Your nails will thank you for it!
- Limit exposure to harsh chemicals: Cleaning supplies can be tough on nails. Whenever possible, opt for non-toxic products or wear gloves.
- Use a top coat regularly: Apply a clear top coat every few days to maintain shine and strength. It’s an easy way to refresh your mani without starting from scratch!
Common Mistakes to Avoid
Even seasoned beauty lovers make mistakes from time to time. Here’s what to watch out for as you perfect your milky nails mani:
- Skipping the base coat: Don’t let impatience get the better of you. Base coats are like a protective barrier!
- Overloading on polish: It’s tempting to pile on the product, but thick layers can lead to unsightly chips. Thin layers are best.
- Neglecting cuticle care: Healthy cuticles mean healthier nails. Make it a habit to keep them hydrated!
- Not allowing enough drying time: Rushing through your manicure can lead to smudges; patience really does pay off!
Bonus Self-Care Ideas
While you’re sporting those fabulous milky nails, why not indulge in a little self-care? Here are a few ideas to complement your at-home manicure:
- Pamper yourself with a facial: Cleanse, exfoliate, and moisturize for that glowing skin complementing your chic nails.
- Try a DIY foot soak: Relax your feet in warm water with Epsom salts and essential oils. Your toes will thank you!
- Set aside quiet time: Grab a good book or your favorite podcast and take an hour to unwind—all while enjoying your pretty nails!
Conclusion: Enjoy Your Gorgeous Manicure
There you have it! Achieving and maintaining stunning milky nails from the comfort of your own home is not only possible—it can be one of the most rewarding self-care rituals you add to your weekly routine. As you take the time for yourself, remember that this small act can ripple out, making every day feel a little more special.
So, go ahead and treat yourself to this beautiful mani. You deserve it, and I promise, it’ll make you feel as fabulous as you truly are. Now, let’s show off those lovely milky nails!