
Imagine this: you stroll through the beauty aisle, enthusiastic about picking up a new soap to refresh your self-care routine. But then, you find that the scents don’t resonate with you or the ingredients leave a lot to be desired. Sound familiar? You’re not alone. Many of us can relate to the disappointment of store-bought soaps that just don’t vibe with our senses or values. You may also find Back To School Nails 12 Cute Designs For Busy Moms Kids useful.
But hold on! What if I told you that there’s a delightful solution just waiting for you at home? Making your own soap isn’t just a creative outlet; it’s a way to customize scents, textures, and even the benefits tailored just for you. So why not get started and embrace this aromatic adventure?
The Beauty of Homemade Soap
What’s better than knowing exactly what goes into the products you use? When you create your own soap, you can choose natural ingredients that are gentle on your skin and free from harmful chemicals. Plus, you can tailor your soap to your senses—whether you prefer a zesty citrus aroma or a warm, comforting vanilla scent.
Gather Your Ingredients
Before we dive into the fun part, let’s talk about ingredients. You don’t need to be a chemist to create delicious-smelling soap that works wonders for your skin. Here are some essential ingredients you might consider:
- Base Oils: Coconut oil, olive oil, or almond oil.
- Lye: This may sound intimidating, but it’s crucial for the saponification process.
- Essential Oils: Lavender, eucalyptus, and peppermint can elevate your soap’s fragrance.
- Colorants: Choose natural options like turmeric or beet powder to add a pop of color.
If you’re looking to explore the world of self-care beyond soap making, you can check out playful ways to boost confidence for inspiration.
Basic Soap-Making Method
Now, let’s get into the nitty-gritty of soap making. We’ll start with a simple method that even beginners can tackle.
- Prepare your workspace: Cover the surface with newspaper and ensure you have all your ingredients ready.
- Combine your oils: Heat your chosen base oils gently in a pot until they’re melted and combined.
- Lye mixture: Carefully mix lye with water, ensuring you’re using safety goggles and gloves. Remember, this step can be dangerous if safety measures aren’t followed.
- Mixing: Once your lye mixture has cooled to about room temperature, combine it with your oils, stirring until you reach “trace” (when the mixture leaves a mark on the surface).
- Customize: Now’s the time to add essential oils and colorants! Swirl them into the mixture for an even distribution.
- Mold and set: Pour your soap mixture into a mold and let it sit for 24-48 hours before cutting it into bars.
How’s that for a fantastic way to personalize your beauty regimen?
Tips for Success
When delving into homemade soap, don’t hesitate to experiment! Here are a few essentials to keep in mind:
- Start small: Try small batches until you feel confident in your skills.
- Learn from others: Several online communities can provide support, tips, and tricks.
- Try recipes: You might enjoy exploring ideas like fancy nails to get your creative juices flowing while you wait for your soap to cure!
Common Mistakes to Avoid
When you first get started, you might make a couple of missteps—don’t worry; it happens to the best of us! Here are common pitfalls to watch out for:
- Ignoring safety precautions is a big no-no when using lye. Always wear gloves and goggles.
- Pouring lye too quickly into water can cause it to erupt. Remember, lye should be mixed slowly and carefully.
- Not letting soap cure properly can result in less-than-perfect soap. Ensure it rests long enough to harden properly—usually 4-6 weeks.
Nourishing Additions
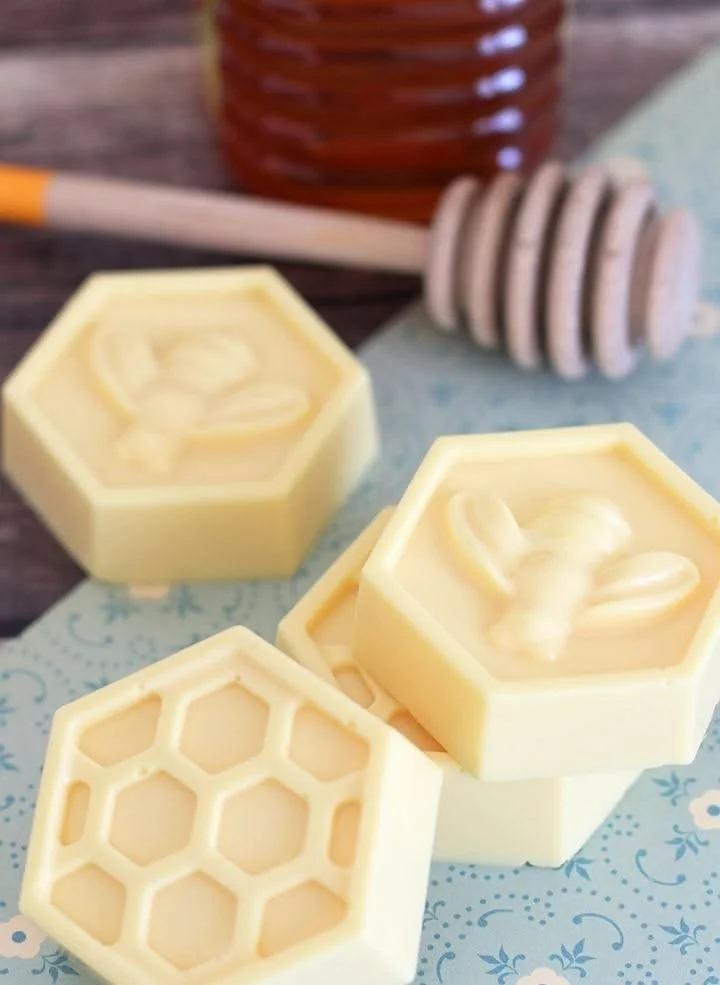
Why not amp up the benefits of your soap with nourishing ingredients? You can incorporate oatmeal for exfoliation or honey for its antibacterial properties—your skin will thank you.
Customizing Scents
You might be wondering how to create your ideal aroma. Play with different essential oils! Like a chef in the kitchen, experiment with blends—but be cautious about the quantities and combinations. A growth in popularity is also leading many to consider seasonal blends, like cinnamon and clove for fall or floral blends for spring.
The Joy of Personalization
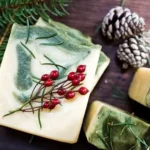
One of the most satisfying aspects of homemade soap is the personal touch it affords you. Let’s be honest—who wouldn’t feel empowered by crafting something uniquely theirs? You can make themed soaps for holidays, with vibrant colors and delightful fragrances.
Share Your Creativity
Once you’ve nailed your soap-making technique, why not share your creations? Hosting a small DIY soap-making party can turn out to be a fantastic way to bond with friends and family. You’ll not only make memories but perhaps inspire others to take on a new hobby that promotes self-care and creativity.
Conclusion
As you can see, making soap at home is a rewarding experience that goes beyond just creating a bath product. It’s about crafting something entirely your own, packed with love and care. If you want to deepen your soap-making knowledge, check out resources such as this guide on homemade soap and explore the journey of DIY integrating health and beauty.
For a different perspective on soap-making, you might also enjoy this article on melting and pouring soap bases and learn about the innovative techniques. And if you want to further expand your horizons with recipes, discover approaches like soap-making tips even for those who fear chemistry.
So roll up your sleeves and dive into the world of DIY soap. The possibilities are endless, and your skin will be all the better for it!