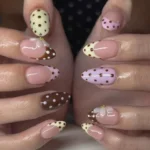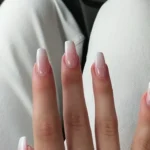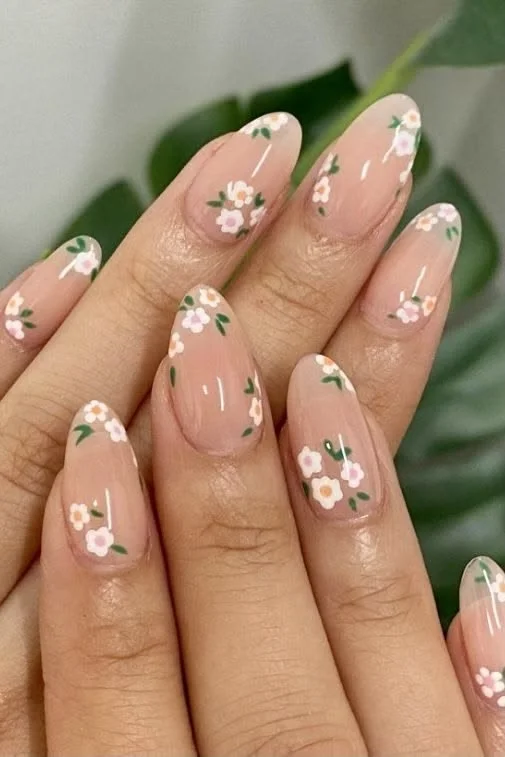

Unleash Your Creativity with Nail Art Water Decals
Imagine this: You’ve just come home from a long day, and all you want is a little self-care. You look at your tired nails, and while they could use a fresh coat, you’re not in the mood for a lengthy salon visit or complicated designs. Sound familiar? You start rummaging through your beauty supplies and come across a dazzling sheet of Nail Art Water Decals. Suddenly, your nails can transform into a canvas of self-expression with just a few easy steps!
Why Choose Nail Art Water Decals?
Let’s be honest, life as a busy woman can sometimes leave little room for elaborate beauty routines. We rush through our mornings, juggling work, family, and everything in between. So, why not make our beauty routines easier and a lot more fun? Nail art water decals are a fantastic way to jazz up your manicure in minutes! Here are some compelling reasons to use these little gems:
- Quick Application: You don’t need to be a nail art expert. With decals, you can achieve stunning effects in a matter of minutes.
- Variety of Designs: From floral patterns to geometric designs, you have a vast array of choices that cater to every mood and occasion.
- Cost-Effective: Instead of splurging on salon visits, these affordable decals let you enjoy beautiful nails at home.
Getting Started with Nail Art Water Decals
Intrigued? Let’s walk through how to use these decals effectively. All you need is your favorite nail polish, a pair of tweezers, and of course, your water decal sheet (which measures approximately 13cm x 5.5cm). Here’s a step-by-step guide to help you navigate the process with ease.
Step 1: Prepare Your Canvas
First, paint your nails with your chosen polish. Whether you prefer a classic red, a soft pink, or something sparkly, the base coat sets the stage for your decals to shine. Make sure to let the polish dry completely. Trust me; this step is crucial. A lovey-dovey base will hold your decals securely!
Step 2: Cut Out the Design
Take a look at your sheet of decals. You’ll see a variety of motifs waiting to be showcased. Decide which design you love the most, then cut it out neatly. What if you’re torn between a few? Go ahead and cut them all out – we won’t stop you from mixing and matching for a dreamy, whimsical look!
Step 3: Ready, Set, Soak!
Grab a small bowl and fill it with water. Now, carefully place the decal sheet into the water. This is where the magic happens! Allow it to soak for about 20-40 seconds. The decals will start loosening up, and soon enough, they’ll be ready for application.
Step 4: Position Your Decal
Once you see the decal begin to separate from the backing, pick it up with your tweezers. Here’s the truth: this part needs attention. Align the colorful side of the decal facing outwards, ensuring it sticks properly on your nail. You don’t want to end up with a backward white wash design – trust me, it’s not the look we’re going for!
Step 5: Let It Dry
Now that you’ve successfully positioned your decal, it’s time for the all-important drying phase. Give it 2-4 minutes to settle and bond with your nail polish. It’s tempting to wiggle your fingers in anticipation, but resist the urge!
Step 6: Seal the Deal
To extend the life of your beautiful nails, apply two coats of a quality clear top coat. This extra step not only protects your design but also gives your nails a stunning shine.
Bonus Tips for Nail Art Water Decals
- Practice Makes Perfect: For first-timers, it can take a bit of trial and error to get it right. Don’t stress; we’ve all been there. Just have fun with it and embrace the learning process!
- Combine Designs: Feel free to mix and match different decals for a one-of-a-kind look. It’s like having your own nail art boutique at your fingertips!
- Get Inspired: YouTube is a treasure trove of tutorials. Watching the application process can really boost your confidence and spark creativity.
Common Mistakes to Avoid
As you embark on your nail art journey, keep these pitfalls in mind:
- Skipping the Base Coat: This is crucial for the decal to adhere well.
- Over-soaking the Decal: While it’s important to let it soak, leaving it in the water for too long can make it too floppy to handle.
- Not Sealing Properly: Always seal your decals with a top coat to ensure longevity.
Conclusion: Nail Art, Your Way
Now that you’ve got the scoop on how to use Nail Art Water Decals, are you ready to give your nails the love they deserve? This little DIY technique is not just about pretty nails; it’s a moment of self-expression and creativity in your busy life. What if, within these simple steps, you find a new hobby or a daily self-care ritual?
Don’t forget, especially for our lovely readers in the UK and Northern Ireland, we offer free postage on additional items purchased. And if you’re ordering internationally, it’s just 10p for each additional item. So, why not stock up on a few sheets of these delightful decals?
You deserve to feel beautiful and confident, and with nail art water decals at your fingertips, creating stunning looks is easier than ever. Dive into the world of nail art, unleash your creativity, and let your nails do the talking!