
Creating Your Perfect Press-On Nails for Every Occasion
Imagine this: it’s Friday evening, and you’ve just wrapped up a long week. You’ve got plans to meet some friends, but there’s one nagging detail that’s bothering you — your nails are in desperate need of a makeover. You know you want to look fabulous, but let’s be honest, the thought of spending hours at the salon just doesn’t fit your schedule. Sound familiar?
Here’s the truth — you don’t have to sacrifice your time or your bank account for beautiful nails. With the right approach, you can transform your look in just a few minutes at home with custom press-on nails. Let’s dive into everything you need to know about how to create the perfect set tailored just for you.
The Magic of Press-On Nails
If you haven’t tried press-on nails yet, you could be missing out on a game-changer in the beauty world! They’re not just for kids or someone who forgot their regular manicure appointment (we’ve all been there). Custom press-on nails are a chic and hassle-free solution that lets your creativity shine.
Why Choose Press-On Nails?
- Convenience: You can easily pop them on before you head out.
- Affordability: They’re typically less expensive than salon manicures.
- Variety: With endless designs, colors, and shapes, there’s a style to fit every personality.
- No Damage: Unlike traditional acrylics or gels, they’re a gentler option for your natural nails.
- DIY Fun: You can unleash your creativity by customizing each set to match your mood or outfit!
How to Get Started with Custom Press-On Nails
So, you might be wondering how to go about creating your dream set of press-on nails. Worry not; I’m here to guide you through the process step-by-step.
Step 1: Decide on Your Nail Shape
Your first decision? Choose the nail shape that you love the most. Whether you prefer something bold or understated, here are some popular options:
- Square: Classic and chic — easy to maintain.
- Coffin: A trendy option that’s perfect for a glamorous look.
- Almond: Soft and feminine — great for elongating short fingers.
- Stiletto: Edgy and daring — guaranteed to make a statement.
- Simple Round: A timeless choice that’s perfect for an everyday look.
Step 2: Choose Your Sizes
Next up, sizing! Ensure you get the right fit for each nail. Most brands provide sizing guides, or you can measure your own nails with a ruler. Just remember — a comfortable fit is key. If you’re unsure, it’s often best to size up to avoid any discomfort.
Step 3: Picking Colors and Designs
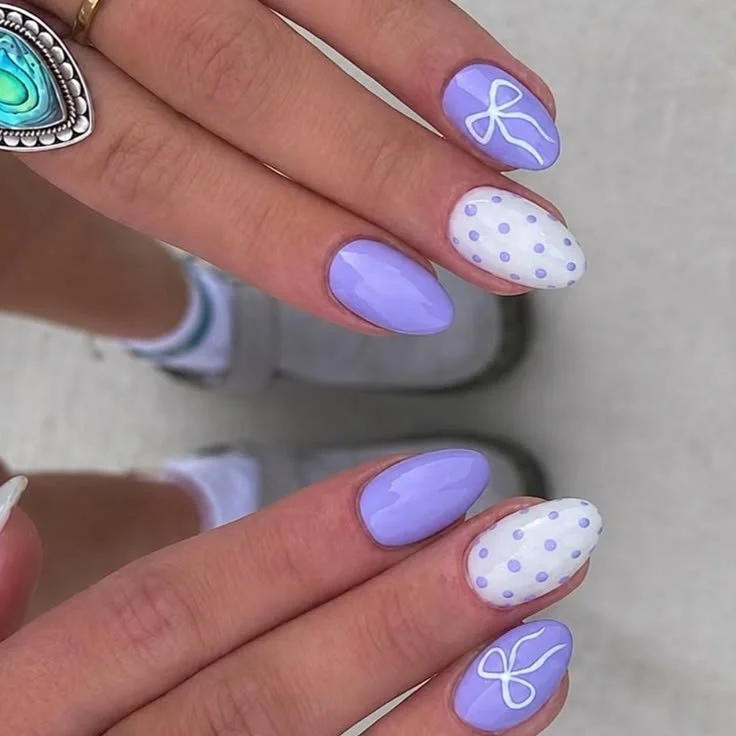
This is where the magic happens! You can go bold with striking colors or soft with pastels; maybe you want a classic French tip, or perhaps a colorful ombre. The best thing is, you can actually change the colors according to your preferences. How fun is that?! Here are a few tips for choosing the perfect design:
- Consider the occasion: Are you dressing up for a wedding, or keeping it casual?
- Match your outfits: Think of your wardrobe colors and styles.
- Seasonal trends: Embrace festive hues for holidays or seasons.
Step 4: The Application Process
Applying press-on nails is a breeze. Once you have your custom set ready, simply follow these steps:
- Prep Your Natural Nails: Clean, buff, and push back your cuticles. This will make the press-ons adhere better.
- Apply Nail Glue: Either use the glue that comes with your press-ons or your favorite nail glue.
- Press and Hold: Press each nail firmly on your natural nail and hold for about 10 seconds.
- Finishing Touch: If you’re feeling extra creative, you can add nail art or stickers to personalize them further!
Step 5: Caring for Your Press-Ons
To extend the life of your fabulous nails, here are a few care tips:
- Avoid Moisture: Try to limit exposure to water until they’re securely set.
- Be Gentle: As tempting as it is, avoid using your nails as tools — that’s a one-way ticket to breakage!
- Storage: When you’re not wearing them, store them away in a cool, dry place to keep them looking fresh.
Common Mistakes to Avoid
As with any beauty product, there are a few common missteps that can turn your nail journey from bliss to distress. Here’s what to watch out for:
- Ignoring Sizing: Ensure each nail fits well; a tight or loose fit can be uncomfortable.
- Rushing the Process: Take your time during the application. Proper prep is key to making them last.
- Skipping the Base Coat: If your press-ons don’t come with a protective layer, consider applying a base coat to protect your natural nails.
- Using Expired Glue: Old glue might not hold up, so make sure you’re using fresh materials.
Bonus Self-Care Ideas While You’re at It
While you’re on your beautification journey, why not indulge in a little self-care spree? Here are some ideas to complement your nail routine:
- Take a Soothing Bath: Treat yourself to some relaxation with bath salts or bubbles.
- Facial Masks: A brightening or hydrating mask can give you that fresh glow.
- Journaling Time: Write down your thoughts, goals, or even your nail design ideas — it’s a good way to reflect on your beauty journey.
FAQs About Press-On Nails
Are press-on nails safe for my natural nails?
Absolutely! When applied properly and removed correctly, press-on nails can actually be safer than traditional manicures.
How long do press-on nails last?
Typically, you can wear them for a week or two, depending on wear and tear, or how well you take care of them.
Can I reuse my press-on nails?
Of course! With proper cleaning and care, you can reuse press-on nails. Just be sure to reapply new adhesive when you’re ready.
What if I struggle with the application process?
Don’t worry; it’s normal to need a little practice! Watch some tutorials, and you’ll find your groove in no time.
Wrapping Up Your Nail Adventure
By now, I hope you’re feeling inspired to step it up with your press-on nail game. Remember, creating custom press-on nails can be both a fun and artistic journey. Plus, how awesome is it to say "I made these myself"?
You deserve to feel confident and beautiful every day, and nails are a perfect way to express yourself. So gather your supplies, unleash your creativity, and get ready to turn heads with your stunning press-on nails. You got this!