
Homemade Soap and Candle Making: A Beginner’s Guide
Making your own homemade soap and candles is a delightful, creative pursuit that not only saves you money but also allows you to customize scents, colors, and textures to suit your personal preferences. Whether you’re looking to create natural soap or charming scented candles, this step-by-step guide will help you embark on your new DIY adventure with confidence.
Why You Will Love This Recipe
Creating homemade soap and candles can be incredibly rewarding. The process is therapeutic, and the finished products can serve as wonderful gifts for loved ones or a treat for yourself. Plus, you’ll have complete control over the ingredients and materials, ensuring they align with your values and preferences.
Ingredients
For Homemade Soap (Melt and Pour Method)
- Melt and Pour Soap Base: 1 lb (e.g., glycerin, shea butter, or goat’s milk base)
- Colorants (optional): Soap-safe colorants or natural alternatives like turmeric or beet juice
- Fragrance Oil (optional): 1 oz for scent (ensure it’s safe for skin)
- Additives (optional): Dried herbs, essential oils, or exfoliants like oatmeal
- Mold: Silicone mold or a loaf pan lined with parchment paper
For Homemade Candles
- Wax Type: Soy wax, beeswax, or paraffin wax (about 1 lb)
- Fragrance Oil: 1 oz (or 6-10% of the wax weight)
- Wick: Cotton or wood wick (size depends on your container)
- Container: Glass jar, tin, or candle mold (consider 8 oz for a standard candle)
- Dye (optional): Candle dye if you wish to add color
Equipment
For Soap Making
- Double boiler or microwave-safe bowl
- Thermometer to monitor temperature
- Stirring utensil (like a spoon or spatula)
- Measuring scale (for precise ingredient measurement)
- Safety goggles and gloves (especially when handling lye in cold process soap)
For Candle Making
- Double boiler or a heat-safe pitcher to melt wax
- Thermometer (to check wax temperature)
- Stirring sticks (for mixing in fragrance and dye)
- Wick holder (to keep the wick centered)
- Optional: Scale for precise measuring
Step-by-Step Instructions
Melt and Pour Soap Making Instructions
- Prepare Your Workspace: Ensure your area is clean and organized.
- Measure the Soap Base: Cut the melt and pour soap base into small cubes (1-inch).
- Melt the Soap: Place the cubes in a double boiler or microwave-safe bowl. If using a microwave, heat in 30-second intervals until fully melted.
- Add Color and Fragrance: Once melted, allow the soap to cool slightly. Stir in your colorants and fragrance, ensuring they are well blended.
- Add Optional Ingredients: Introduce any additives, like herbs or exfoliants, if desired.
- Pour into Mold: Pour the mixture into your soap mold, gently tapping the mold to remove air bubbles.
- Let It Set: Allow the soap to cool completely at room temperature, which usually takes several hours.
- Unmold and Cut: Once fully hardened, remove the soap from the mold and, if necessary, cut it into bars.
Candle Making Instructions
- Measure Wax Amount: Measure out 1 lb of your chosen wax.
- Melt the Wax: In a double boiler, melt the wax until it reaches 170-180°F (77-82°C).
- Add Fragrance and Color: Stir in your fragrance oil and any dye you want once melted. Mix well for about 1-2 minutes.
- Prepare Wick: Attach your wick to the bottom of your container with a glue dot or by dipping it in the melted wax.
- Pour the Wax: Carefully pour the melted wax into the container, leaving a small amount at the top.
- Secure Wick: Use a wick holder to keep the wick centered as the wax cools.
- Cool Completely: Allow the candle to cool at room temperature, usually for 4-6 hours.
- Trim the Wick: Once set, trim the wick to about ¼ inch above the wax.
Tips for Success
- Temperature Control: For soap, avoiding overheating will keep your ingredients intact. For candles, ensure your wax isn’t too hot when adding fragrance to prevent burning off the scent.
- Clean Equipment: Make sure any equipment is clean and dry before starting. This will prevent any unwanted reactions with your ingredients.
- Test Fragrances: If you’re unsure about a scent, mix a small amount with the wax or soap first before mixing in the entire batch.
Common Mistakes to Avoid
- Not Measuring Ingredients Precisely: Always use a scale. This is crucial for both soap and candle making, ensuring proper consistency and performance.
- Ignoring Safety Protocols: When making soap using lye, always wear protective gear and work in a well-ventilated area.
- Pouring Too Hot: Pouring soap or wax too hot can lead to unattractive surfaces or bubbling.
Variations and Customization Ideas
For Soap
- Add Essential Oils: Experiment with combinations to create your signature scents, using lavender, eucalyptus, or citrus.
- Texture Add-ins: Consider adding ingredients like ground coffee or sea salt for a scrubbing effect.
For Candles
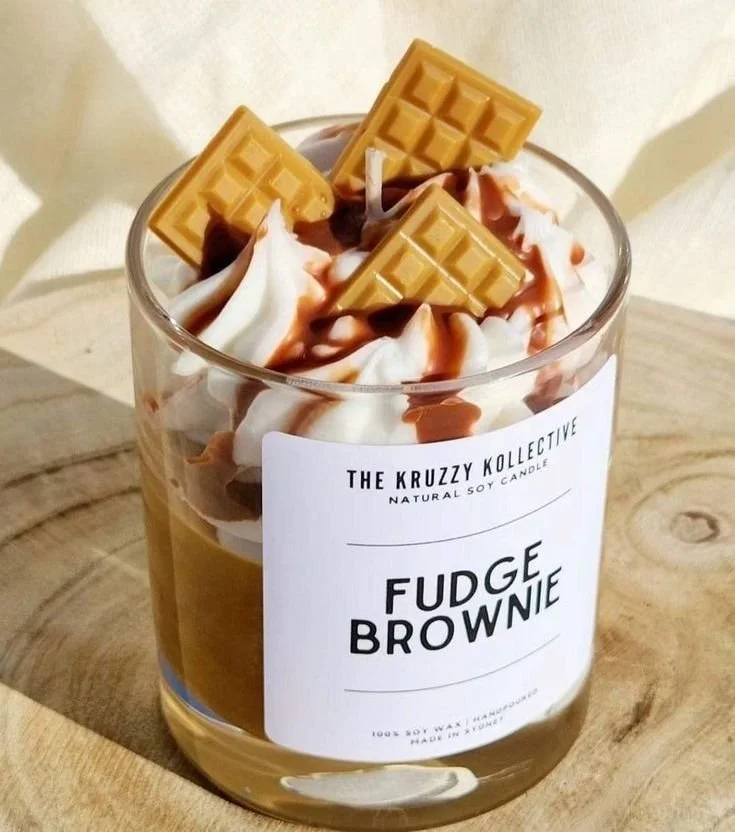
- Color Variations: Layer different colors of wax for a beautiful gradient effect. Simply pour one layer, let it cool, then pour the next.
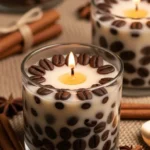
- Herbal Inserts: Add dried flowers or herbs like lavender or rosemary to your wax for visual appeal and aroma.
Storage and Shelf Life
- Soap Storage: Store your finished soap in a cool, dry place away from direct sunlight. If wrapped properly, homemade soap can last for up to a year.
- Candle Storage: Keep candles in a dark, cool environment to prevent fading or melting. Typically, homemade candles can last up to a year when stored correctly.
Safety Tips
- Working with Lye (for Cold Process Soap): Always wear gloves, goggles, and work in a well-ventilated area. Keep lye away from children and pets.
- Candle Safety: Always burn candles on a heat-resistant surface, away from flammable materials, and never leave burning candles unattended.
Frequently Asked Questions
What is the best type of wax for beginners?
Soy wax is great for beginners. It’s easy to work with, renewable, and provides a clean burn.How can I know which wick size to use?
Check a wick guide based on your wax type and container diameter to select the proper wick size.Can I use essential oils for soap and candles?
Yes, but essential oils have a lower flash point than fragrance oils. Check the flash points and use accordingly.Can I reuse leftover wax?
Yes, leftover wax can be melted and reused; simply make sure any old fragrances are compatible with your new batch.How do I troubleshoot cracks in my soap?
Cracks typically occur due to rapid cooling or too much water. Allow your soap to cool slowly at room temperature.How can I enhance the scent throw in my candles?
Use fragrance oils specifically designed for candles and ensure you’re using the right amount per your wax’s recommendations.
Conclusion
Making your own homemade soap and candles is not only fulfilling but opens up a world of creativity and customization. With the right ingredients and techniques, you can craft beautiful, personalized items that are perfect for gifting or enjoying in your own home. Remember to take your time, follow safety precautions, and have fun exploring the endless possibilities of this delightful DIY endeavor. So gather your ingredients, assemble your equipment, and dive into the world of soap and candle making today!