
Christmas Tree Scented Beeswax Candles
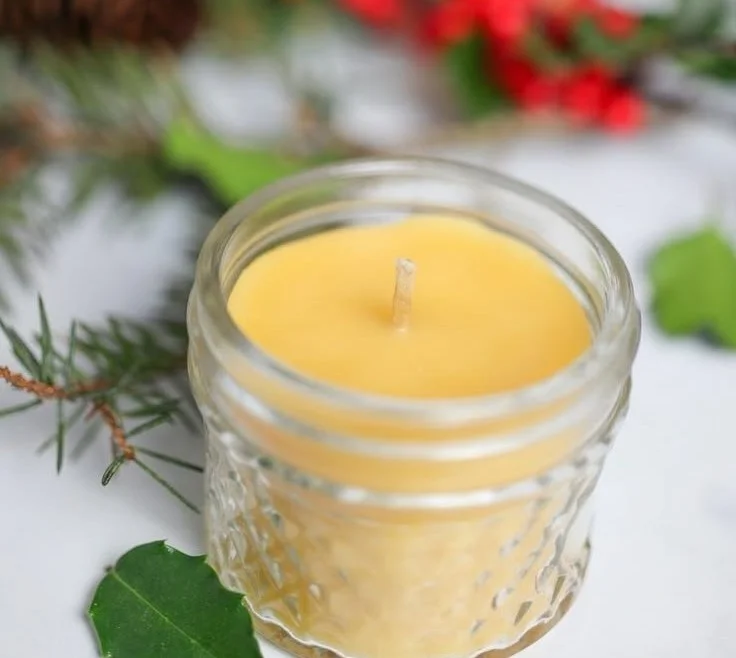
The enchanting aroma of a Christmas tree can instantly create warmth and nostalgia, sending you back to cherished holiday memories. Why not harness that delightful scent in the form of homemade, Christmas tree-scented beeswax candles? Not only do they make fabulous decorations, but they also make wonderful gifts for friends and family. In this guide, we’ll explore how to create these beautiful candles from scratch, ensuring a cozy holiday ambiance straight from your own home!
Why You Will Love This Recipe
- Natural Ingredients: Beeswax is a natural wax that burns longer and cleaner than paraffin. It helps purify the air while adding a charming glow to your space.
- Customizable Scent: You can mix and match essential oils or fragrance oils to create the perfect Christmas tree scent that resonates with your favorite holiday traditions.
- Eco-Friendly: Making beeswax candles means you’re opting for a sustainable choice, especially when you source your ingredients responsibly.
- Creative Outlet: Candle-making can be a therapeutic and satisfying DIY project, perfect for beginners and experienced makers alike.
Ingredients
To make approximately four 4-ounce candles, you will need:
- Beeswax: 12 ounces (approximately 340 grams)
- Coconut Oil: 2 ounces (about 57 grams) – helps with the consistency and burning quality
- Fragrance Oils or Essential Oils: 0.5 to 1 ounce (15 to 30 grams) – for the Christmas tree scent; consider pine, cedarwood, or fir needle oils.
- Wicks: 4 cotton or wood wicks (make sure they are appropriate for beeswax)
Equipment
- Double boiler or a heat-safe bowl over a pot of water
- Pouring pitcher or a large glass measuring cup
- Thermometer (candy thermometer works well)
- Candle molds or containers (glass jars, metal tins, or silicone molds)
- Wick holder or tape to secure wicks in place
- Stirring utensil (wooden spoon or silicone spatula)
- Scale (for accurate measurements)
- Safety gloves and goggles (optional, but recommended)
Step-by-Step Instructions
Preparation Time: 15 minutes
Making Time: 1 hour
Yield: Approximately four 4-ounce candles
Set Up Your Work Area: Before you start, ensure your workspace is clean and free of any clutter. Lay down newspaper or an old cloth to catch any spills, and gather all your ingredients and equipment.
Determine Wick Length: Cut your wicks to be about 1-2 inches taller than your containers. This extra height will allow for easier handling during pouring.
Secure Wicks: Use tape to secure the bottom of each wick to the center of the container or mold. You can use a wick holder or pop sticks to keep them centered while pouring.
Melt the Beeswax: Fill the bottom pot of your double boiler with water and bring it to a gentle simmer. Add the beeswax to the upper pot or heat-safe bowl. Stir occasionally until completely melted, reaching a temperature of around 160°F (71°C).
Incorporate Coconut Oil: Once the beeswax is melted, stir in the coconut oil until fully integrated, ensuring a smooth consistency.
Add Fragrance Oils: Remove the mixture from heat and let it cool slightly (to around 150°F/65°C). Add your chosen fragrance or essential oils and stir well to evenly distribute the scent.
Pour the Wax: Carefully pour the melted wax mixture into your prepared containers, leaving about 1/4 inch from the top. This gives space for any toppings or decorations if you choose to add them later.
Cool and Set: Allow the candles to cool at room temperature until solid. This may take several hours, depending on the temperature of your home.
Trim the Wicks: Once the candles are cool and fully set, trim the wicks down to about 1/4 inch above the surface.
Cure and Display: Let the candles cure for a minimum of 24 hours for the best scent throw, even though they will be usable right away!
Tips for Success
- Temperature Control: Beeswax has specific melting points. Keep an eye on the temperature to ensure it doesn’t overheat and lose its natural properties.
- Stir Well: Ensure the fragrance oils are well incorporated by stirring thoroughly to avoid any floating residue or uneven scent distribution.
Common Mistakes to Avoid
- Not using a thermometer: Without temperature control, you might burn the beeswax or have a poor scent throw.
- Overheating: Avoid heating beeswax above 185°F (85°C), as this may lead to discoloration and loss of beneficial properties.
Variations and Customization Ideas
- Layered Colors: You can create layered candles by pouring a different color or scent on top after the initial layer has set.
- Herb Infusion: Add dried herbs, such as rosemary or thyme, to the melted wax for a rustic look and added scent.
- Glitters and Decor: Embellish your candles with biodegradable glitter or seasonal decorations like cinnamon sticks.
Storage and Shelf Life
Store your finished candles in a cool, dark place away from direct sunlight. Properly stored, beeswax candles can last for several years.
Safety Tips
- Always supervise when working with heat and melted wax.
- Ensure proper ventilation when adding fragrance oils as some can irritate.
- Keep candles away from flammable materials, and never leave burning candles unattended.
Frequently Asked Questions
1. What if my candles have a rough texture?
Sometimes, beeswax can form a crystalline structure as it cools. If this happens, re-melt and pour again at a slightly lower temperature for a smoother finish.
2. Can I use any container for my candles?
Avoid using containers that aren’t heat-resistant, as they can break or warp. Glass, metal tins, or silicone molds work best for candlemaking.
3. How do I clean up spilled beeswax?
Let the wax harden and scrape it off with a plastic spatula. Clean any residue left by using a heat gun or hair dryer to gently warm the wax and wipe it away.
4. Can I use paraffin wax with this recipe?
While we recommend using beeswax for its natural qualities, you can mix in paraffin. Adjust the ratios carefully to maintain the right consistency.
5. How do I increase the scent throw?
To boost the fragrance, you can increase the percentage of fragrance oil up to the manufacturer’s recommended maximum or mix complementary scents.
Conclusion
Creating your own Christmas tree-scented beeswax candles is a delightful project that fills your home with warmth and festive cheer. By following this easy guide, you will not only produce beautiful candles but also share beautiful gifts that embody the spirit of the holidays. Embrace your DIY journey, and remember to have fun experimenting with scents and designs. Ready to sparkle up your holiday season? Grab your materials and start your candle-making journey today!