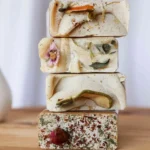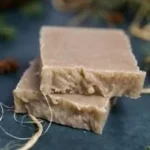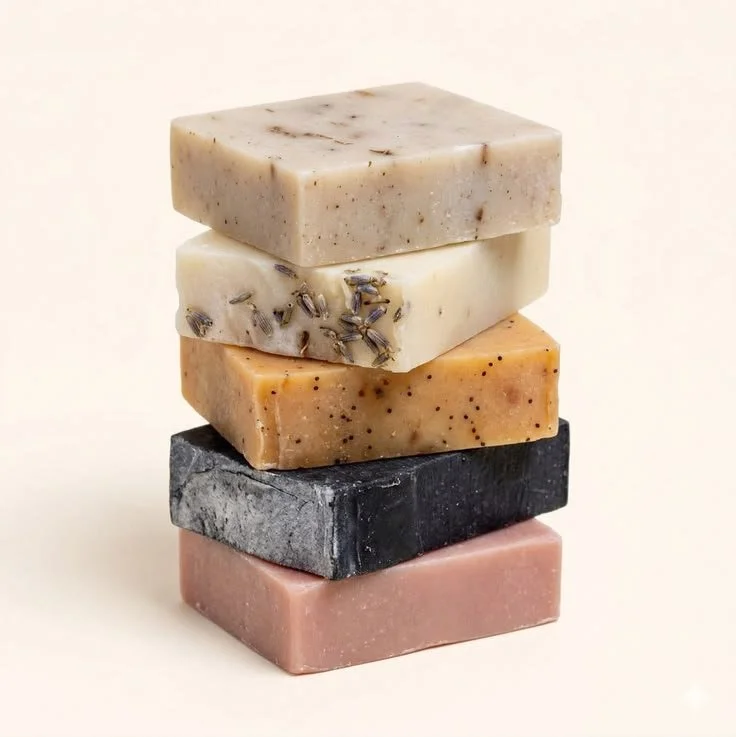

Get Ready to Lather Up with Our ForeverRitual Cleansing Bars: A DIY Soap-Making Guide
Homemade soap is not just a treat for your skin; it’s a fun and rewarding DIY project you can tackle in the comfort of your own home. If you’re inspired by our ForeverRitual Cleansing Bars and want to explore the delightful world of soap-making, you’re in the right place! This comprehensive guide will take you through the process of creating your own all-natural soaps, ensuring your skin gets the love and care it deserves.
Why You Will Love This Recipe
Making your own soap allows you to customize it to your personal preferences, creating unique blends that match your skin type and scent preferences. Our ForeverRitual Cleansing Bars are crafted with nourishing ingredients like coconut oil, palm oil, and shea butter, all of which you too can incorporate into your homemade soap. Plus, you can experiment with various essential oils and herbs, making each bar as distinct as you are.
Ingredients
For this DIY soap-making project, we’ll focus on the Melt and Pour method, which is beginner-friendly and perfect for those just starting. Here’s what you’ll need:
- Base Soap: 1 lb of glycerin melt-and-pour soap base (clear or opaque)
- Oils: 2 tablespoons coconut oil
- Butter: 2 tablespoons shea butter
- Essential Oils: 10-20 drops of your favorite therapeutic essential oils (e.g., lavender, eucalyptus, or orange)
- Colorants: Optional (natural colorants like beetroot powder or turmeric)
- Herbs: Optional (dried lavender, rose petals, or oatmeal)
Equipment
Gather the following equipment to make your soap:
- Double boiler or microwave-safe bowl
- Silicone soap molds
- Stirring spoon or stick blender
- Precision scale (for measuring)
- Thermometer (optional, but useful)
- Utensils for adding colorants and essential oils
- Protective gear (gloves and goggles, especially if working with lye)
Step-by-Step Instructions
Preparation Time: 10 minutes
Making Time: 30-45 minutes
Yield: Approximately 4-6 bars of soap
Melt the Soap Base: Cut the melt-and-pour soap base into small cubes for quick melting. Use a double boiler or microwave to gently heat the soap until fully melted. If using a microwave, heat in 30-second bursts, stirring in between to prevent overheating.
Add Nourishing Oils and Butters: Once the soap base is melted, mix in the coconut oil and shea butter. Stir until fully combined. If you have a thermometer, ensure the mixture cools slightly before adding essential oils to preserve their benefits.
Add Essential Oils and Colorants: At this stage, incorporate your choice of essential oils and, if desired, natural colorants. Stir thoroughly to ensure everything is evenly distributed.
Incorporate Herbs: If you wish to add dried herbs or oats, sprinkle them into the mixture and stir well.
Mold the Soap: Pour the mixture into silicone molds, filling them just below the top. Tap the molds gently on the counter to release any air bubbles.
Cool and Cure: Allow the soap to sit at room temperature for several hours until it hardens. Once solid, carefully remove the soaps from the molds.
Tips for Success
- Work Slowly: Take your time during the melting process to avoid overheating and compromising the soap’s quality.
- Experiment with Scent: Test a small amount of your essential oil blend before adding it all in, to ensure the fragrance is to your liking.
- Use a Scale: Accurate measurements are key for a consistent final product.
Common Mistakes to Avoid
- Overheating Soap Base: This can cause the soap to lose its color and scent. Always heat gently.
- Not Using a Thermometer: If added at too high a temperature, essential oils can evaporate quickly, leaving a weaker scent.
- Not Allowing Soap to Cure Properly: Don’t rush the cooling process. Patience is essential!
Variations and Customization Ideas
Feel free to get creative! Here are a few ideas to customize your soaps:
- Add Exfoliants: Mix in sugar or coffee grounds for a gentle exfoliating effect.
- Create Layered Soaps: Pour a layer of one color or scent, let it cool slightly, and then add another layer for visual effects.
- Scented Swirls: Use a stick blender to create swirls of different colors.
Storage and Shelf Life
Store your homemade soap in a cool, dry place, away from direct sunlight. Properly stored, each bar can last up to 6 months or longer. Avoid packaging while the soap is still soft, as this can attract moisture and create a gooey texture.
Safety Tips
When working with any soap-making process:
- Always wear gloves and goggles, especially when working with lye in other methods.
- Make sure to work in a well-ventilated area.
- Keep all materials out of reach of children and pets.
Frequently Asked Questions
1. Can I use any essential oil in my soap?
Yes, but ensure it is safe for skin contact and suitable for soap-making. Some essential oils may cause irritation or sensitivity.
2. How do I know if my soap is ready to mold?
Your soap should be fully melted with no hard chunks present. It should be clear and smoothly mixed.
3. Can I add other nourishing ingredients like almond oil or jojoba oil?
Yes, you can replace or combine oils based on your preferences. Just remember to adjust the measurements accordingly to make sure they blend well.
4. What can I do to thicken my soap mixture?
If you find your mixture too runny, you can try adding a small amount of cornstarch or mixing in a bit more solid oil or butter.
5. How can I incorporate fragrances without essential oils?
You can use fragrance oils designed for soap-making, but ensure they are skin-safe and specially formulated for this purpose.
6. Is it safe to use lye in homemade soap?
Yes, lye (sodium hydroxide) is necessary for the cold and hot process methods, but it must be handled with extreme care and safety precautions.
Conclusion
With our ForeverRitual Cleansing Bars as your inspiration, making your own soap at home can be an enjoyable and fulfilling experience. You’ll not only create beautiful, unique products that nourish your skin but also gain valuable skills that can be shared as thoughtful, handmade gifts. So gather your ingredients, follow these steps, and get ready to enjoy the magic of DIY soap-making! Happy crafting!