
Homemade Mason Jar Candles: A Step-by-Step Guide
Whether you’re making homemade mason jar candles as gifts, for events, or simply to enjoy at home, this DIY project is both fun and rewarding! These candles not only fill your space with delightful aromas, but they also add a charming touch to any decor. This practical guide will make candle-making accessible, enjoyable, and absolutely fulfilling.
Why You Will Love This Recipe
- Easy and Fun: Making candles can be an enjoyable and creative experience, perfect for beginners.
- Customizable: You can personalize scents, colors, and even the jars you use.
- Budget-Friendly: Creating your own candles can save you money compared to store-bought options.
- Unique Gifts: Handmade mason jar candles make thoughtful and heartfelt gifts for friends and family.
Ingredients
To make your homemade mason jar candles, you will need:
- Wax: 2 pounds of soy wax (this provides a clean burn and is easy to work with)
- Fragrance oil: 1 ounce (adjust based on your scent preference; typically, 1 ounce per pound of wax is sufficient)
- Wicks: 4-6 cotton or wood wicks (ensure the wicks are appropriate for the size of your jar)
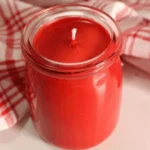
- Color dye (optional): Use candle safe dye pellets for any color you desire
- Mason jars: 4-6 8-ounce mason jars (ensure they are clean and dry)
Equipment
You will need the following equipment to create your candles:
- Double boiler: For melting the wax (you can use a heat-safe container inside a pot of simmering water)
- Thermometer: A candy or digital thermometer for measuring wax temperature
- Stirring utensil: A wooden stick or spoon for mixing in the fragrance and dye
- Wick holder: You can use chopsticks or specialized wick holders to keep wicks centered while the wax sets
- Scale: To measure your wax and fragrance oil accurately
- Pouring pitcher: A heat-safe pitcher for pouring melted wax
Step-by-Step Instructions
Preparation Time: 15 minutes
Making Time: 2 hours (includes setting time)
Yield: Approximately 4-6 8-ounce candles
Measure Your Wax: Weigh out 2 pounds of soy wax and place it in your double boiler.
Melt the Wax: Heat the wax over medium-low heat until it is completely melted, stirring occasionally to ensure even melting. Use the thermometer to monitor the temperature until it reaches around 185°F (85°C).
Add Fragrance: Once the wax is melted, remove it from heat. Add 1 ounce of your chosen fragrance oil and stir for a couple of minutes to ensure it’s well incorporated.
Color Your Wax (Optional): If you want to add color, now is the time! Add your candle dye and stir until the desired shade is achieved.
Prepare Your Jars and Wicks: While the wax cools slightly, attach the wicks to the bottom of your mason jars using a bit of melted wax or a wick sticker.
Pour the Wax: Allow the wax to cool to around 140°F (60°C) before pouring. Carefully pour the wax into the jars, leaving about half an inch of space at the top.
Center the Wicks: Use a wick holder to keep the wicks centered while the wax sets.
Set the Candles: Allow the candles to cool completely. This may take at least 1-2 hours. Avoid moving them while they harden to prevent uneven surfaces.
Trim the Wicks: Once hardened, trim the wicks to about 1/4 inch above the wax.
Tips for Success
- Check Your Wax Type: Always use wax specifically designed for candle-making; paraffin wax can vary in results.
- Test Your Fragrance: If you’re unsure about a fragrance, do a small test batch first.
- Pouring Temperature is Key: Ensure your pouring temperature is right to avoid sinkholes and other imperfections.
Common Mistakes to Avoid
- Using the Wrong Wick Size: Make sure to select the right wick for your jar size; too small will not burn properly, and too large may burn too quickly or produce soot.
- Skipping the Thermometer: Accurate temperatures are vital in achieving a clean burn.
- Overheating Wax: Don’t let wax exceed 200°F (93°C) to prevent odd textures or burns.
Variations and Customization Ideas
- Different Wax Types: Experiment with beeswax or paraffin wax for different finishes and burns.
- Layered Colors: Pour different colored layers of wax to create a beautiful ombre effect.
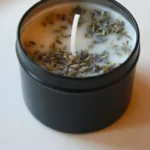
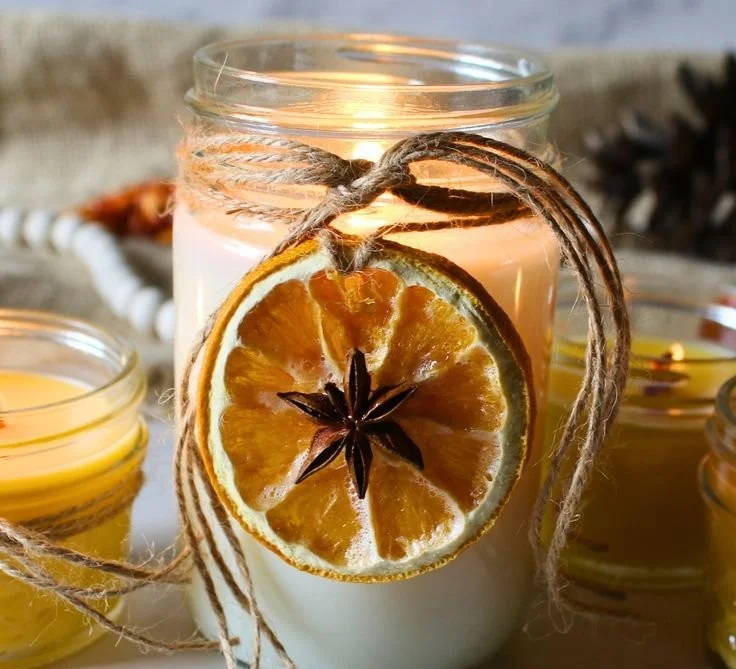
- Additives: Consider adding herbs, dried flowers, or glitter for visual appeal.
- Essential Oils: If you prefer natural scents, use essential oils; however, be aware they have a different scent throw compared to fragrance oils.
Storage and Shelf Life
Store your homemade mason jar candles in a cool, dry place away from direct sunlight. They can last for up to 12 months if stored correctly. Keep them in their jars to maintain their scent and appearance.
Safety Tips
- Always work in a well-ventilated area when melting wax and adding fragrance oils.
- Keep a fire extinguisher nearby when working with hot wax and open flames.
- Never leave unattended candles burning, and always place them on heat-resistant surfaces.
Frequently Asked Questions
Can I use other types of wax for candle making?
Yes, you can use paraffin, beeswax, or palm wax, but make sure to adjust the fragrance load and wick size based on the type you choose.
How do I know if my candle is burning correctly?
A properly made candle should burn evenly, create a full melt pool, and not produce excessive soot. If your candle is tunneling or smoking, consider adjusting the wick.
What type of wick should I use?
For mason jars, cotton or wood wicks are great options. The size of the wick should be proportional to the height and diameter of the jar you are using.
Can I use food coloring for my candles?
While it’s possible, it’s usually better to use candle dye specifically designed for wax to ensure even coloring and proper melting.
Conclusion
Making homemade mason jar candles is a delightful way to express your creativity while creating beautiful and functional pieces for your home or as gifts. Not only do they add a comforting ambiance, but they also allow for endless customization. As you gain confidence, feel free to explore new scents, colors, and techniques. Happy candle making! Try this project today and fill your space with warmth and light.