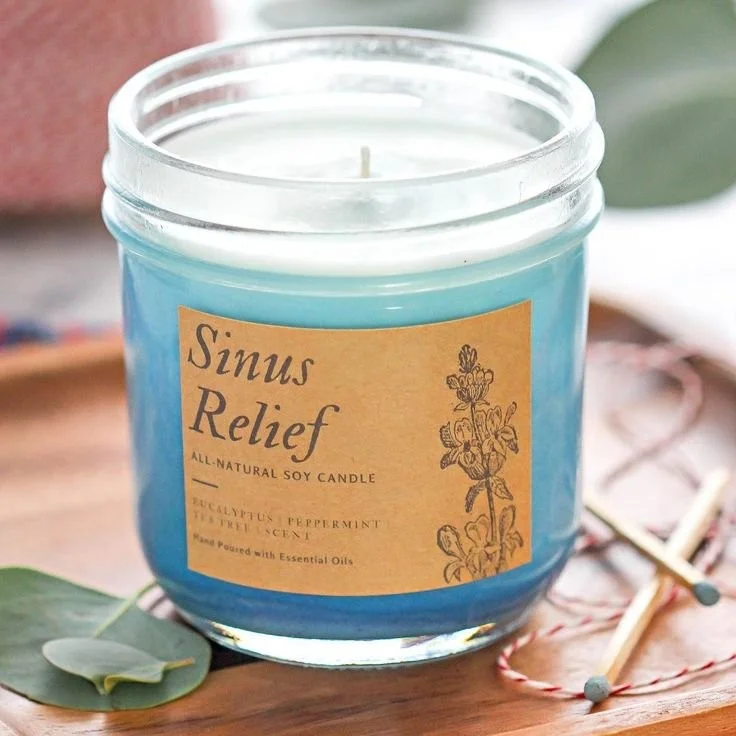

Suffering from Seasonal Allergies? Make Your Own Sinus Relief Aromatherapy Candle
If you suffer from seasonal allergies, you’re likely familiar with the discomfort that comes with sinus pressure and congestion. What if you could use the power of aromatherapy to create a soothing atmosphere in your home while managing those pesky allergy symptoms? In this article, we’re going to guide you on how to make your own sinus relief aromatherapy candle using our straightforward DIY recipe.
Why You Will Love This Recipe
Here are a few reasons why crafting your own aromatherapy candle is a fantastic idea:
- Natural Relief: Essential oils like eucalyptus and peppermint are well-known for their sinus-clearing properties.
- Personalized Fragrance: You can customize your candle with scents you love.
- Homemade Goodness: Creating your own candles ensures you know what ingredients are used, avoiding harmful chemicals often found in commercial products.
- Thoughtful Gift: Handmade candles make a wonderful gift for friends and family who are also struggling with allergies.
Ingredients
To craft your homemade sinus relief candle, you’ll need the following ingredients:
- Soy Wax: 1 pound (this is eco-friendly and burns cleanly)
- Essential Oils:
- Eucalyptus oil: 15 drops
- Peppermint oil: 10 drops
- Lavender oil: 5 drops
- Candle Wicks: Two (choose ones that match your container size)
- Containers: Two 8-ounce glass jars (or any heat-safe container)
Equipment
Gather the following equipment to make your candle-making process smooth:
- Double boiler or a microwave-safe container
- Stirring stick or spoon
- Thermometer (optional, but recommended)
- Wick holder or pencil (to secure the wicks in place)
- Scale (for accurate measurements)
Step-by-Step Instructions
Ready to start making your candle? Follow these simple steps:
Prepare Your Containers:
- Clean your glass jars thoroughly. If needed, use rubbing alcohol and let them dry completely.
Measure and Melt the Wax:
- Weigh out 1 pound of soy wax.
- Melt the wax using a double boiler method. Heat water in the bottom pot and place the wax in the top pot. Stir occasionally. If using a microwave, heat in 30-second intervals until melted.
Measure the Temperature:
- Once melted, check the temperature with a thermometer. Ideal pouring temperature for soy wax is around 140°F to 150°F (60°C to 65°C).
Add the Essential Oils:
- Remove the melted wax from heat. Add the essential oils: 15 drops of eucalyptus oil, 10 drops of peppermint oil, and 5 drops of lavender oil. Stir gently but thoroughly for about 2 minutes.
Prepare the Wicks:
- While the wax is cooling slightly, secure the wicks in the center of each jar using a wick holder or a pencil laid across the top of the jar.
Pour the Wax:
- When the wax is at the right temperature, carefully pour it into the containers. Fill each jar to about 1 inch below the rim to leave space for the candle to breathe.
Let It Set:
- Allow the candles to cool and set entirely. This may take about 4–6 hours.
Trim the Wick:
- Once the candles are set, trim the wick to about ¼ inch from the top.
Tips for Success
- Test the Scent Strength: If you’re using essential oils for the first time, you might want to test with a smaller batch to find your preferred scent strength.
- Temperature is Key: Ensure you’re pouring the wax at the right temperature to prevent sinkholes or deformities.
- Use High-Quality Essential Oils: Invest in high-quality, pure essential oils for the best fragrance and effectiveness.
Common Mistakes to Avoid
- Not Securing the Wick: Make sure your wick is centered before the wax cools.
- Pouring at the Wrong Temperature: Pouring too hot can cause your candle’s surface to crack.
- Forgetting to Measure: Make sure to measure your essential oils accurately for the desired scent balance.
Variations and Customization Ideas
Feel free to explore different scents and colors! Here are some ideas:
- For Additional Relief: Try adding lemon or tea tree oil for their refreshing properties.
- Color Your Candle: Add a few drops of candle dye (soy wax friendly) for a pop of color.
Storage and Shelf Life
Store your candles in a cool, dark place away from direct sunlight. When stored properly, your homemade candles can last for a year or more.
Safety Tips
- Use Heat-Resistant Containers: Ensure that whatever you’re pouring your wax into can handle high temperatures.
- Keep Away from Flammable Materials: Always burn your candles in a safe environment, away from curtains or other flammables.
- Never Leave Burning Candles Unattended: This is standard candle safety to prevent fires.
Frequently Asked Questions
Can I use other wax types?
Yes, you can use beeswax or paraffin, but this recipe is formulated specifically for soy wax.How do I know if I used the right amount of essential oils?
A good rule of thumb is about 1 ounce of essential oil for every pound of wax. This recipe follows that guideline.Can I reuse old candle jars?
Absolutely! Just make sure to clean them thoroughly and remove leftover wax before reusing.How do I clean up wax spills?
If wax spills, use warm soapy water to scrub it off. Scraping gently with a spatula can help as well.What should I do if my candle doesn’t smell strong enough?
You can always re-melt the candle (carefully) and add more essential oils before it completely cools down.
Conclusion
Making your own sinus relief aromatherapy candles can provide natural comfort and make your home smell divine. With this simple recipe, you can not only alleviate some of your allergy symptoms but also enjoy the therapeutic benefits of essential oils. So gather your supplies, follow these straightforward steps, and enjoy the process of crafting something that offers relief during the allergy season. Happy candle making!