
21 Luxury Inspiring Easy DIY Gifts
Creating handmade gifts brings a personal touch to your present-giving, and nothing says "I care" quite like a thoughtful DIY gift. Two of the most cherished homemade items are soaps and candles. These not only add a sense of luxury but are also practical gifts that anyone would love to receive. Whether it’s the soothing scent of a candle or the gentle touch of a handmade soap, both are incredibly rewarding to make. In this article, we’ll guide you through 21 easy DIY gifts, focusing on luxurious and inspiring ways to create your own homemade soap and candles.
Why You Will Love This Recipe
Making your own soap and candles allows for endless customization, letting you choose your favorite scents, colors, and shapes. Moreover, these projects are relatively simple and can be done in the comfort of your home. They make excellent gifts for holidays, birthdays, or just to show someone you care. Plus, knowing your loved ones are using your creations adds another layer of joy and satisfaction.
DIY Soap Recipes
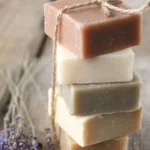
Melt and Pour Lavender Soap
Ingredients
- 1 lb (450g) melt and pour soap base (preferably shea butter)
- 2 teaspoons lavender essential oil
- 2 tablespoons dried lavender flowers
- Soap colorant (optional)
Equipment
- Soap mold (silicone molds work well)
- Microwave-safe bowl or double boiler
- Stirring stick or spoon
- Measuring spoons
Step-by-Step Instructions
- Prepare the Workspace: Clear a flat surface and gather all your materials.
- Melt the Soap Base: Cut the soap base into small chunks and place them in the microwave-safe bowl. Heat in the microwave for 30-second intervals until fully melted. (Alternatively, use a double boiler on the stove.)
- Add Fragrance and Color: Once melted, stir in the lavender essential oil and add soap colorant if desired. Combine thoroughly.
- Mix in Dried Lavender: Carefully fold in dried lavender flowers.
- Pour into Mold: Pour the mixture into your soap mold. Allow it to cool and harden for at least 1-2 hours.
- Remove from the Mold: Once firm, gently press the soap out of the mold.
Tips for Success
- Use a soap mold specifically designed for melt and pour soap for easier removal.
- Adjust the amount of essential oil to your scent preference; don’t exceed 3% of the total weight for safety.
Common Mistakes to Avoid
- Don’t overheat the soap base; this can cause it to bubble and lose clarity.
- Avoid adding too many herbs, as they may cause the soap to not set correctly.
Variations and Customization Ideas
- Substitute lavender with other essential oils such as eucalyptus or lemon for a different fragrance.
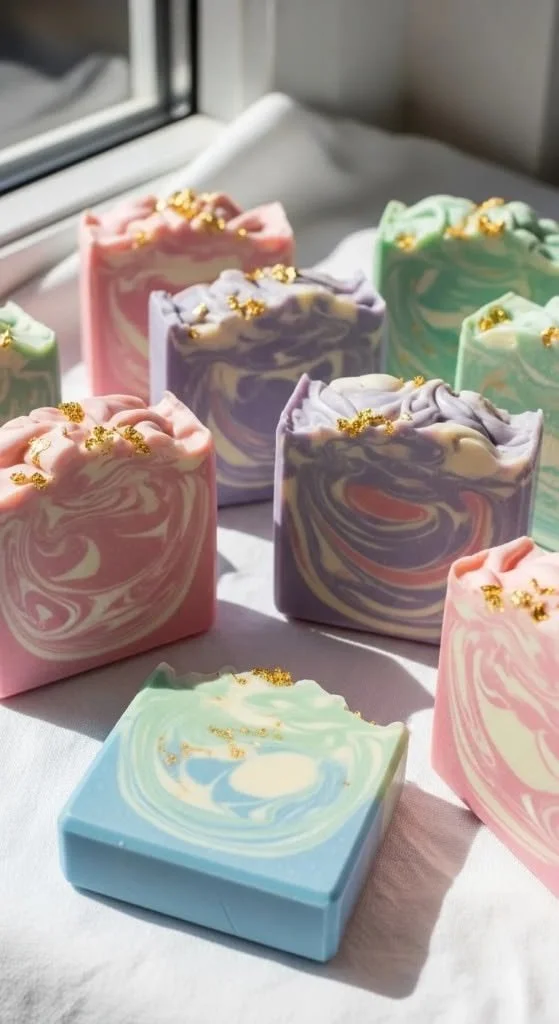
- Use different colors to create layers or swirls in the soap.
Storage and Shelf Life
Store in a cool, dry place. Melt and pour soap has a shelf life of up to a year if kept sealed.
Safety Tips
While melt and pour soap is safer than other methods, always remain cautious with hot melts. Use gloves if sensitive to fragrances.
DIY Candle Recipes
Scented Soy Candle with Essential Oils
Ingredients
- 2 cups (16 oz) soy wax flakes
- 1/2 cup (4 oz) essential oil (e.g., lavender, eucalyptus)
- 1 cotton wick (with wick holder or sustainer)
- Candle container (glass jar or metal tin)
Equipment
- Double boiler or microwave-safe bowl
- Thermometer
- Stirring utensil
- Wick holder (if not using adhesive)
Step-by-Step Instructions
- Measure the Wax: Use 2 cups of soy wax flakes, which will fill a standard container about halfway.
- Melt the Wax: If using a double boiler, add water to the bottom pot, then bring to a gentle simmer. Place the wax in the top pot and stir until melted. Alternatively, melt in the microwave in 30-second bursts.
- Check Temperature: Use a thermometer to ensure the wax reaches 180°F (82°C) before adding fragrance.
- Add Essential Oil: Stir in your essential oil for a pleasant scent. Use about 1/4 cup of oil per cup of wax for good fragrance.
- Attach the Wick: Secure the wick to the bottom of the container. You can use a dab of melted wax or wick sticker.
- Pour the Candle: Slowly pour the wax into your candle container, leaving a small amount in the pot for topping off later if needed.
- Set the Wick: Center the wick using a wick holder or by balancing it across the container opening.
- Allow to Cool: Let it cool completely, ideally overnight.
Tips for Success
- Always use a thermometer to monitor the temperature of the wax.
- Test burn your wick in a small candle first to ensure it burns correctly.
Common Mistakes to Avoid
- Don’t pour wax at too high of a temperature or it can cause cracks.
- Avoid over-scenting, as this can produce a candle that burns poorly.
Variations and Customization Ideas
- Mix different essential oils to create a unique scent blend.
- Add natural colorants such as crayon shavings for a vibrant look.
Storage and Shelf Life
Store candles in a cool, dark place. Properly poured soy candles can last up to 1-2 years.
Safety Tips
When burning candles, place them away from flammable materials and never leave them unattended. Use appropriate containers to prevent breaking.
Frequently Asked Questions
What is the best type of soap base for beginners?
Melt and pour soap bases are ideal for beginners as they are easy to work with and do not require lye handling.
How long do homemade candles take to cure?
Homemade candles should cure for 3-5 days before burning for the best scent throw.
Can I add color to my homemade soap and candles?
Absolutely! You can use soap colorants for soap and crayon shavings or candle dyes for candles.
How do I know what wick size to use for my candle?
Wick size depends on the diameter of your container. For standard sizes, refer to wick sizing charts available from candle-making suppliers.
Can I reuse candle wax from old candles?
Yes, you can melt down leftover wax from old candles and pour it into new containers. Just ensure any wick pieces are removed.
Is it safe to use essential oils in candles and soaps?
Most essential oils are safe for use in candles and soaps; however, always do a patch test first if you have sensitive skin.
Conclusion
Creating homemade soap and candles not only allows you to express creativity but also gives you the joy of making gifts that your loved ones will cherish. With these easy DIY recipes, you can start making luxurious, inspiring gifts for any occasion. So gather your materials, invite some friends over, and embark on a delightful journey into the world of soap making and candle crafting. Happy crafting!