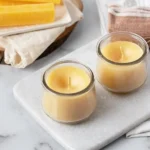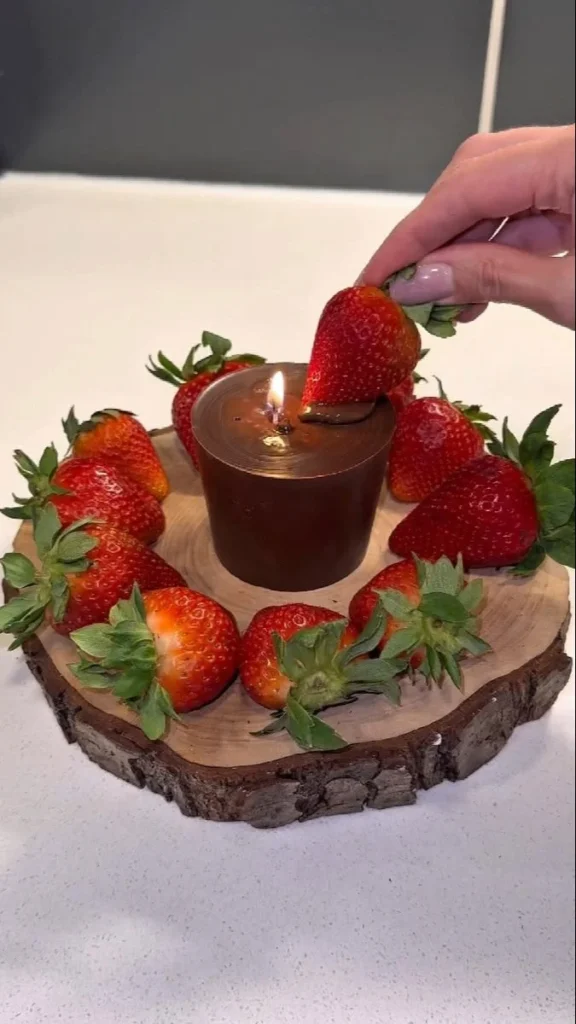

Making your own candles is a fun and rewarding DIY project that can brighten up your home and make for unique, personalized gifts. This guide will walk you through the process of creating a deliciously scented DIY Dessert Candle that evokes the delightful fragrances of fresh strawberries and rich chocolate. With the right ingredients and a bit of patience, you’ll learn how to create candles that not only smell amazing but also add a charming decorative touch to any space.
Why You Will Love This Recipe
This DIY Dessert Candle recipe is perfect for beginners. It involves simple ingredients and requires minimal equipment. Not only will you enjoy the process of making your own candles, but the finished product can serve as a beautiful centerpiece or a thoughtful homemade gift for friends and family. Plus, the mouthwatering scent combination of strawberries and chocolate is sure to create a cozy atmosphere wherever they’re placed.
Ingredients
For the Dessert Candle:
- 1 pound of soy wax
- 1 ounce of strawberry fragrance oil
- 0.5 ounce of chocolate fragrance oil
- Candle wick (size based on the container size)
- Candle dye (optional, for color)
Container:
- Heat-resistant glass or metal container (e.g., mason jar, tin)
Equipment
- Double boiler or a heat-safe glass bowl
- Thermometer (for measuring wax temperature)
- Stirring stick or spoon (preferably silicone or wood)
- Scale (for weighing wax and fragrances)
- Wick holder or pencil (to keep the wick centered)
- Safety gloves and eyewear
Step-by-Step Instructions
Preparation Time: 15 minutes
Making Time: 1 hour
Yield: 1 medium-sized candle (about 8 oz)
Prepare Your Workspace: Make sure your workspace is clean and free of clutter. Lay down newspapers or towels to catch any wax spills.
Measure the Wax: Weigh out 1 pound of soy wax. Soy wax is a popular choice for candle making as it burns cleanly and holds fragrance well.
Melt the Wax: Set up a double boiler by placing a heat-safe bowl over a pot of simmering water. Add the wax to the bowl and stir occasionally until completely melted. Use the thermometer to monitor the temperature; ideally, you want it to reach about 170°F (76°C).
Add Fragrance Oils: When the wax is melted, remove it from the heat and let it cool slightly (to around 160°F or 71°C). Add 1 ounce of strawberry fragrance oil and 0.5 ounce of chocolate fragrance oil. Stir thoroughly for about 2 minutes to ensure the fragrance is evenly distributed.
Add Color (Optional): If you’re using candle dye, add a small amount to the melted wax and stir until fully incorporated.
Attach the Wick: Secure the candle wick to the bottom of your container using a dabbing of melted wax or a glue dot. This keeps the wick steady while pouring in the wax.
Pour the Wax: Carefully pour the scented wax into the prepared container. Leave a small amount of wax in the boiler for topping off later if needed.
Secure the Wick: Use a wick holder or pencil to keep the wick centered in the middle of the candle.
Let It Cool: Allow the candle to cool untouched for several hours or until fully set. If you notice any surface imperfections, reheat the reserved wax and pour a thin layer on top to create a smooth finish.
Trim the Wick: Once fully cooled, trim the wick to about 1/4 inch above the wax surface before burning.
Tips for Success
- Use a Scale: Accurately measuring your ingredients ensures a successful candle.
- Temperature Matters: Make sure to monitor the temperature of the wax, as adding fragrance at too high a temperature can cause it to evaporate.
- Experiment With Scents: Feel free to mix fragrance oils to create your personalized scents.
Common Mistakes to Avoid
- Don’t rush the cooling process, as this can lead to cracks or uneven surfaces.
- Avoid using too much dye; a little goes a long way, and too much can affect the burning quality.
- Ensure your wick is the correct size for your container; a wick that’s too small won’t burn properly.
Variations and Customization Ideas
- Different Scents: Try using different fragrance combinations such as vanilla and peppermint, or lavender and vanilla to suit your personal preferences or for seasonal candles.
- Container Choices: Experiment with different size jars or tins; just adjust the wax amount accordingly.
- Layered Candles: Pour multiple colors in layers for a visually striking effect. Just allow each layer to cool slightly before adding the next.
Storage and Shelf Life
Store your candles in a cool, dry place away from direct sunlight. When properly made and stored, candles can last for several months before losing their scent.
Safety Tips
- Always work in a well-ventilated area when using fragrance oils.
- Wear safety gloves and eyewear to protect against hot wax spills.
- Never leave candles unattended while burning.
Frequently Asked Questions
Q: Can I reuse old candle wax?
A: Yes, you can melt down leftover candle wax and add new fragrance and dye. Just be aware of the original scent still present in the wax.
Q: Why does my candle have a "mushroom" wick?
A: A mushroom-shaped wick can occur due to overheating during burning. Trim your wick to 1/4 inch to prevent this.
Q: How can I fix a sinkhole in my candle?
A: Just top it off with melted wax after the candle has cooled completely.
Q: Can I use essential oils instead of fragrance oils?
A: Yes, essential oils can be used, but they often provide a subtler scent compared to fragrance oils.
Q: What do I do if my candle burns too quickly?
A: The wick could be too large for the candle size. Check your wick size and consider changing to the appropriate size.
Conclusion
Making your own Dessert Candle can be a delightful experience that not only fills your home with sweet fragrances but also channels your creativity. With this beginner-friendly guide, you can enjoy the satisfaction of crafting beautifully scented candles at home. Don’t hesitate to customize your candles with different fragrances and colors, and soon you’ll have an impressive collection of handmade gifts for any occasion. So why not start this project today? Happy candle making!